
Planning a skylight installation during renovation in Toronto is one of the smartest upgrades a homeowner can make, especially when a renovation is already underway. With ceilings open, structural framing exposed, and trades already on-site, incorporating a skylight into your project dramatically reduces both cost and disruption. The long summer days of 2026 make this an ideal season to capture natural light — and with the right sequencing, your contractor can integrate the skylight seamlessly into your broader renovation plan without delays or rework.
At Red Stone Contracting, we have guided hundreds of GTA homeowners through exactly this scenario. Whether you are renovating a kitchen in North York, finishing a master bathroom in Mississauga, or adding a loft in Oakville, the decision to add a skylight mid-project is one that pays dividends in natural light, energy performance, and resale value for decades. This guide explains how the sequencing works, what it costs, and how to avoid the common mistakes that turn a straightforward skylight installation into a costly rework.
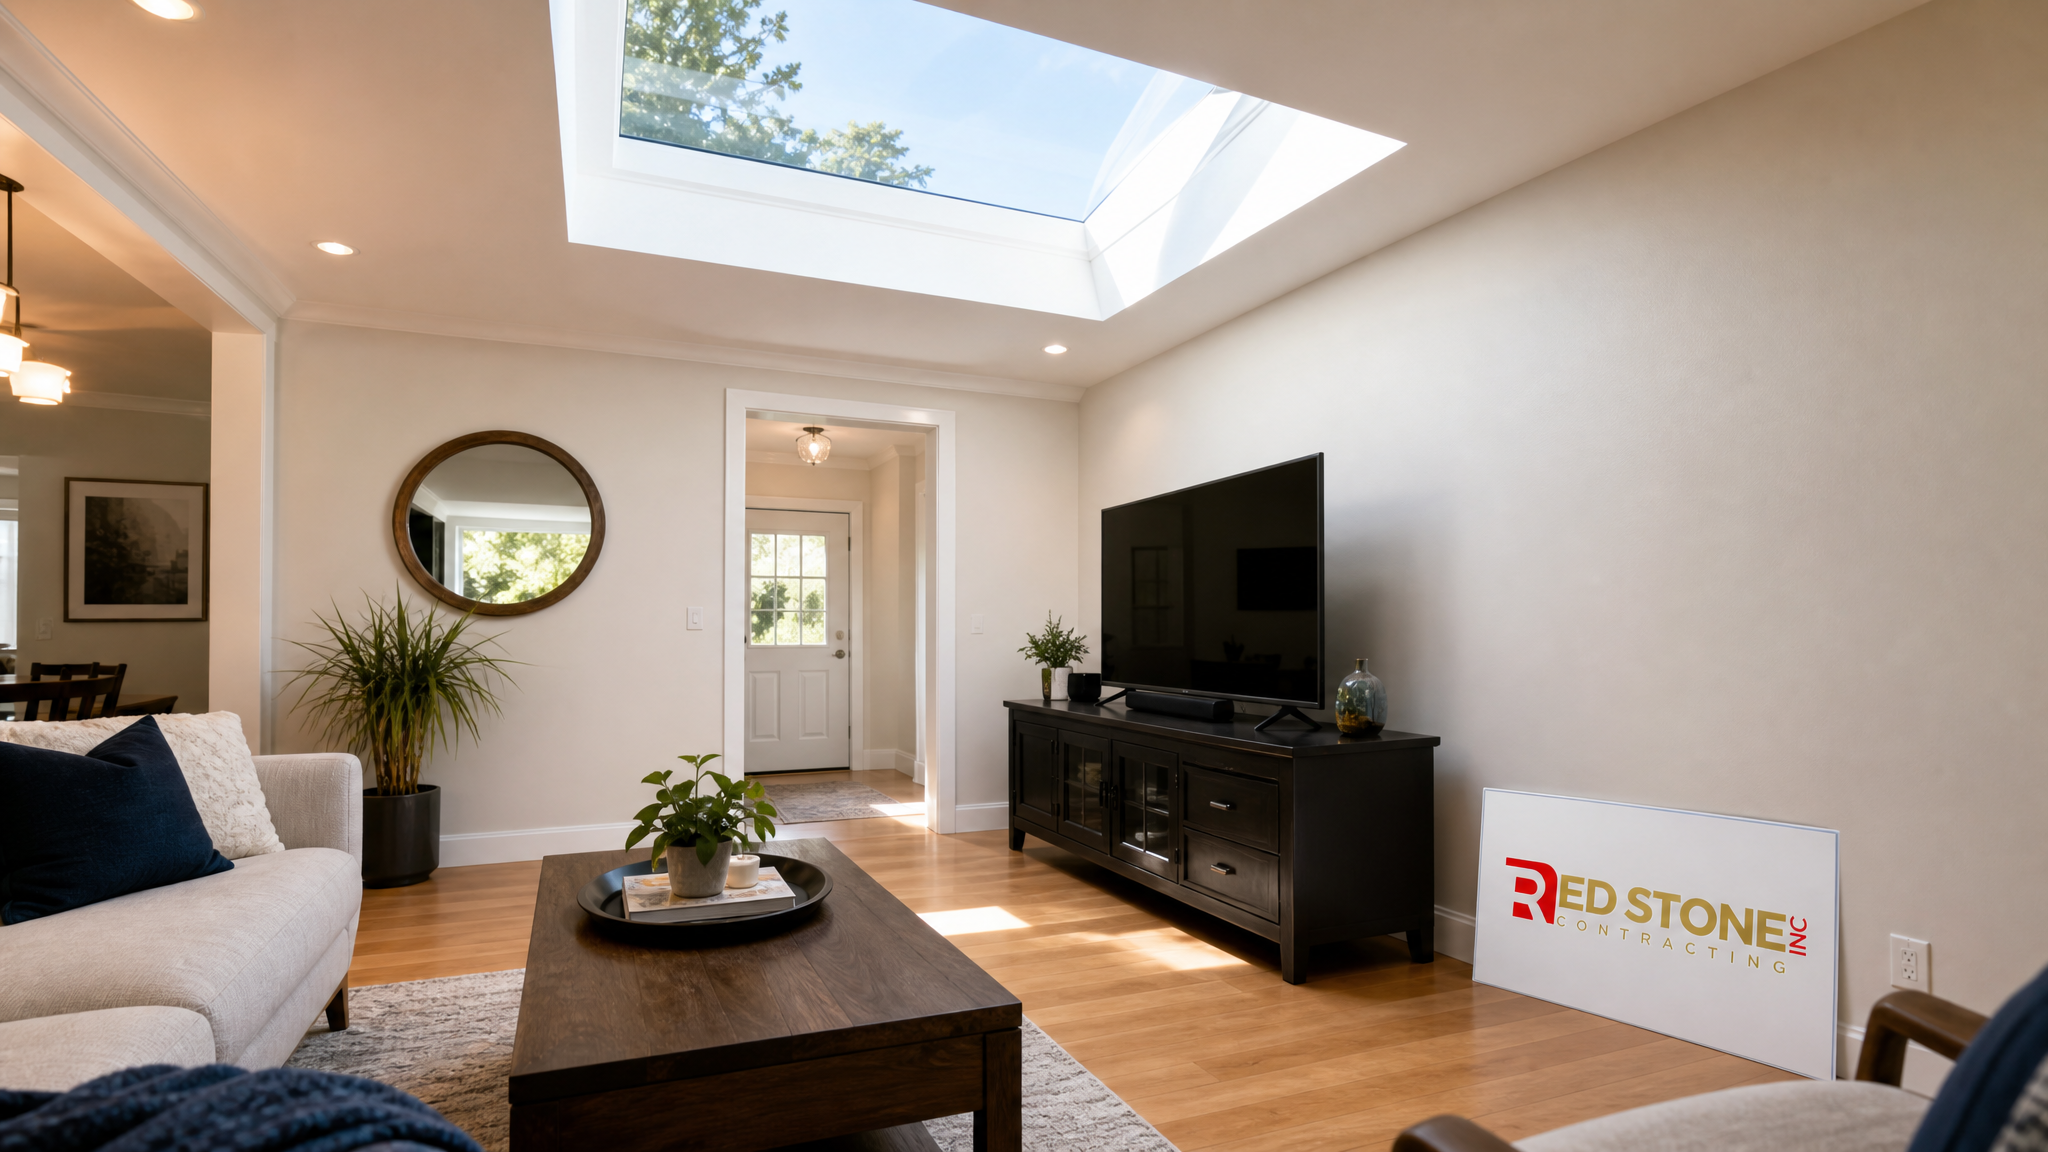
Why Skylight Installation During Renovation in Toronto Makes Financial Sense
The core logic is straightforward: renovation work already creates the conditions that skylight installation requires. Drywall is removed, framing is accessible, and finishing trades have not yet been booked. When you add skylight installation during a renovation in Toronto as a planned scope item rather than an afterthought, you avoid the single largest cost driver — opening and re-closing a finished ceiling.
In a standalone skylight installation, a contractor must cut through finished drywall, build a light shaft through attic insulation, frame a curb on the roof, install flashing, and then patch, prime, and paint everything back to match. That patch-and-match work alone can add $1,200 to $2,500 to your cost. When the renovation already has the ceiling open, that entire step disappears from the budget.
Toronto’s renovation market in 2026 has also seen a strong uptick in natural-light upgrades following changes to building energy codes. Skylights with Low-E glazing qualify for improved thermal ratings, and the City of Toronto’s green building guidelines incentivise natural daylighting in residential projects. Adding a skylight during your renovation positions your home well for future resale in a market where buyers increasingly prioritise light-filled interiors.
| Installation Scenario | Estimated Cost Range | Timeline | Disruption Level |
|---|---|---|---|
| Standalone skylight — finished interior | $3,800 – $6,500 | 2–4 days | High — ceiling opened and repaired |
| Skylight added mid-renovation (ceiling open) | $2,200 – $4,200 | 1–2 days | Low — integrates with existing scope |
| Skylight during full custom home build | $1,800 – $3,500 | Half day framing + glazing | Minimal — part of original schedule |
| Skylight during home addition | $2,000 – $3,800 | 1–2 days | Low — new roof structure already planned |
| Replacement skylight (existing curb) | $900 – $2,200 | 4–6 hours | Minimal — no new framing required |
How Toronto Contractors Sequence the Work: Phase by Phase
Proper sequencing is the difference between a skylight that integrates beautifully into your renovation and one that causes schedule conflicts, water damage, or rework. Here is how experienced Toronto renovation contractors — including our team at Red Stone Contracting — approach the sequencing of skylight installation during a renovation project.
Phase 1 — Design and Structural Assessment (Before Demolition)
Before a single piece of drywall is removed, the skylight location must be locked into the design. Your contractor or designer will confirm the roof pitch, identify any structural members (rafters, ridge beams, or load-bearing elements), and determine whether header framing will be needed to span the opening. In Toronto’s older housing stock — particularly the detached and semi-detached homes in areas like East York, the Annex, and Brampton — rafters may be 2×6 at unusual spacings, requiring custom header sizing.
This phase also involves confirming the size and style of the skylight unit. Fixed skylights are the most common choice for living spaces and bathrooms, while vented skylights are increasingly popular for kitchens and areas that benefit from passive airflow during Toronto’s warm June-through-September season. Tubular skylights are ideal for hallways, closets, or spaces where a full shaft is impractical. Each choice has structural implications that must be confirmed before framing begins.
Phase 2 — Rough Framing (During Demo and Structural Phase)
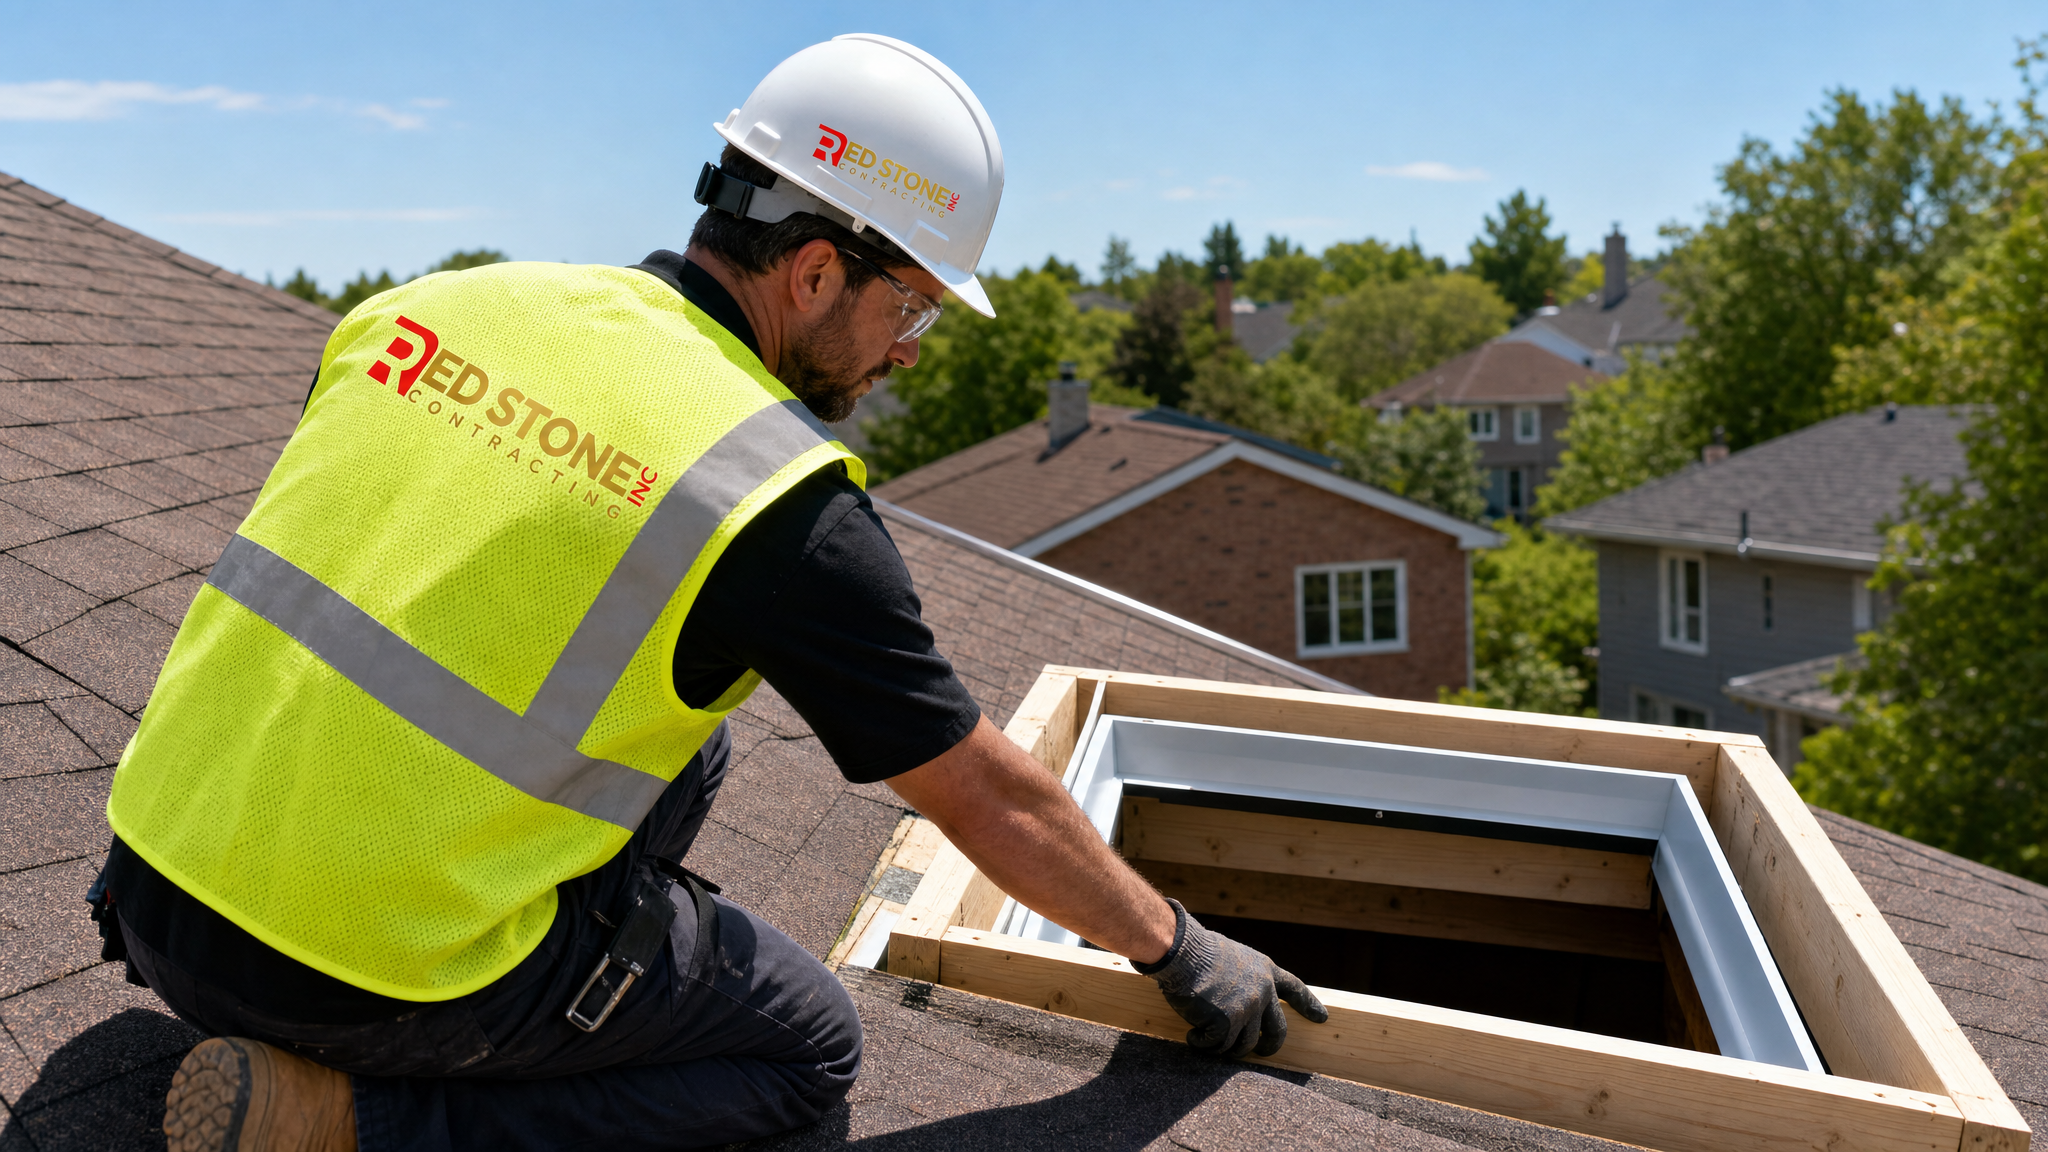
Once the renovation’s demo phase is underway and the ceiling cavity is accessible, the skylight rough opening is cut and framed. This is the optimal moment — trades are already on-site, the framing carpenter can cut the header and trimmer configuration in the same workflow as surrounding structural work, and debris removal happens in a single haul rather than a separate trip.
The light shaft — the angled or vertical chase that directs light from the roof opening down through the attic or ceiling cavity — is also framed at this stage. Shaft angle matters significantly for summer light quality: a splayed shaft (wider at the ceiling than at the roof) distributes light more evenly across the room than a straight vertical shaft. In deep two-storey homes in Vaughan or Markham, where the attic depth can exceed 1.2 metres, a well-designed shaft angle can make the difference between a dramatic light feature and a disappointing tunnel of light.
Phase 3 — Roofing and Waterproofing (Before Insulation)
The curb, flashing, and glazing unit are installed from the exterior while the roof is accessible and before any insulation is placed in the attic cavity. In summer conditions, this work is straightforward — no ice or frozen decking to contend with, and sealants cure properly in warm temperatures. Toronto’s June and July weather windows are among the most reliable for exterior roofing work.
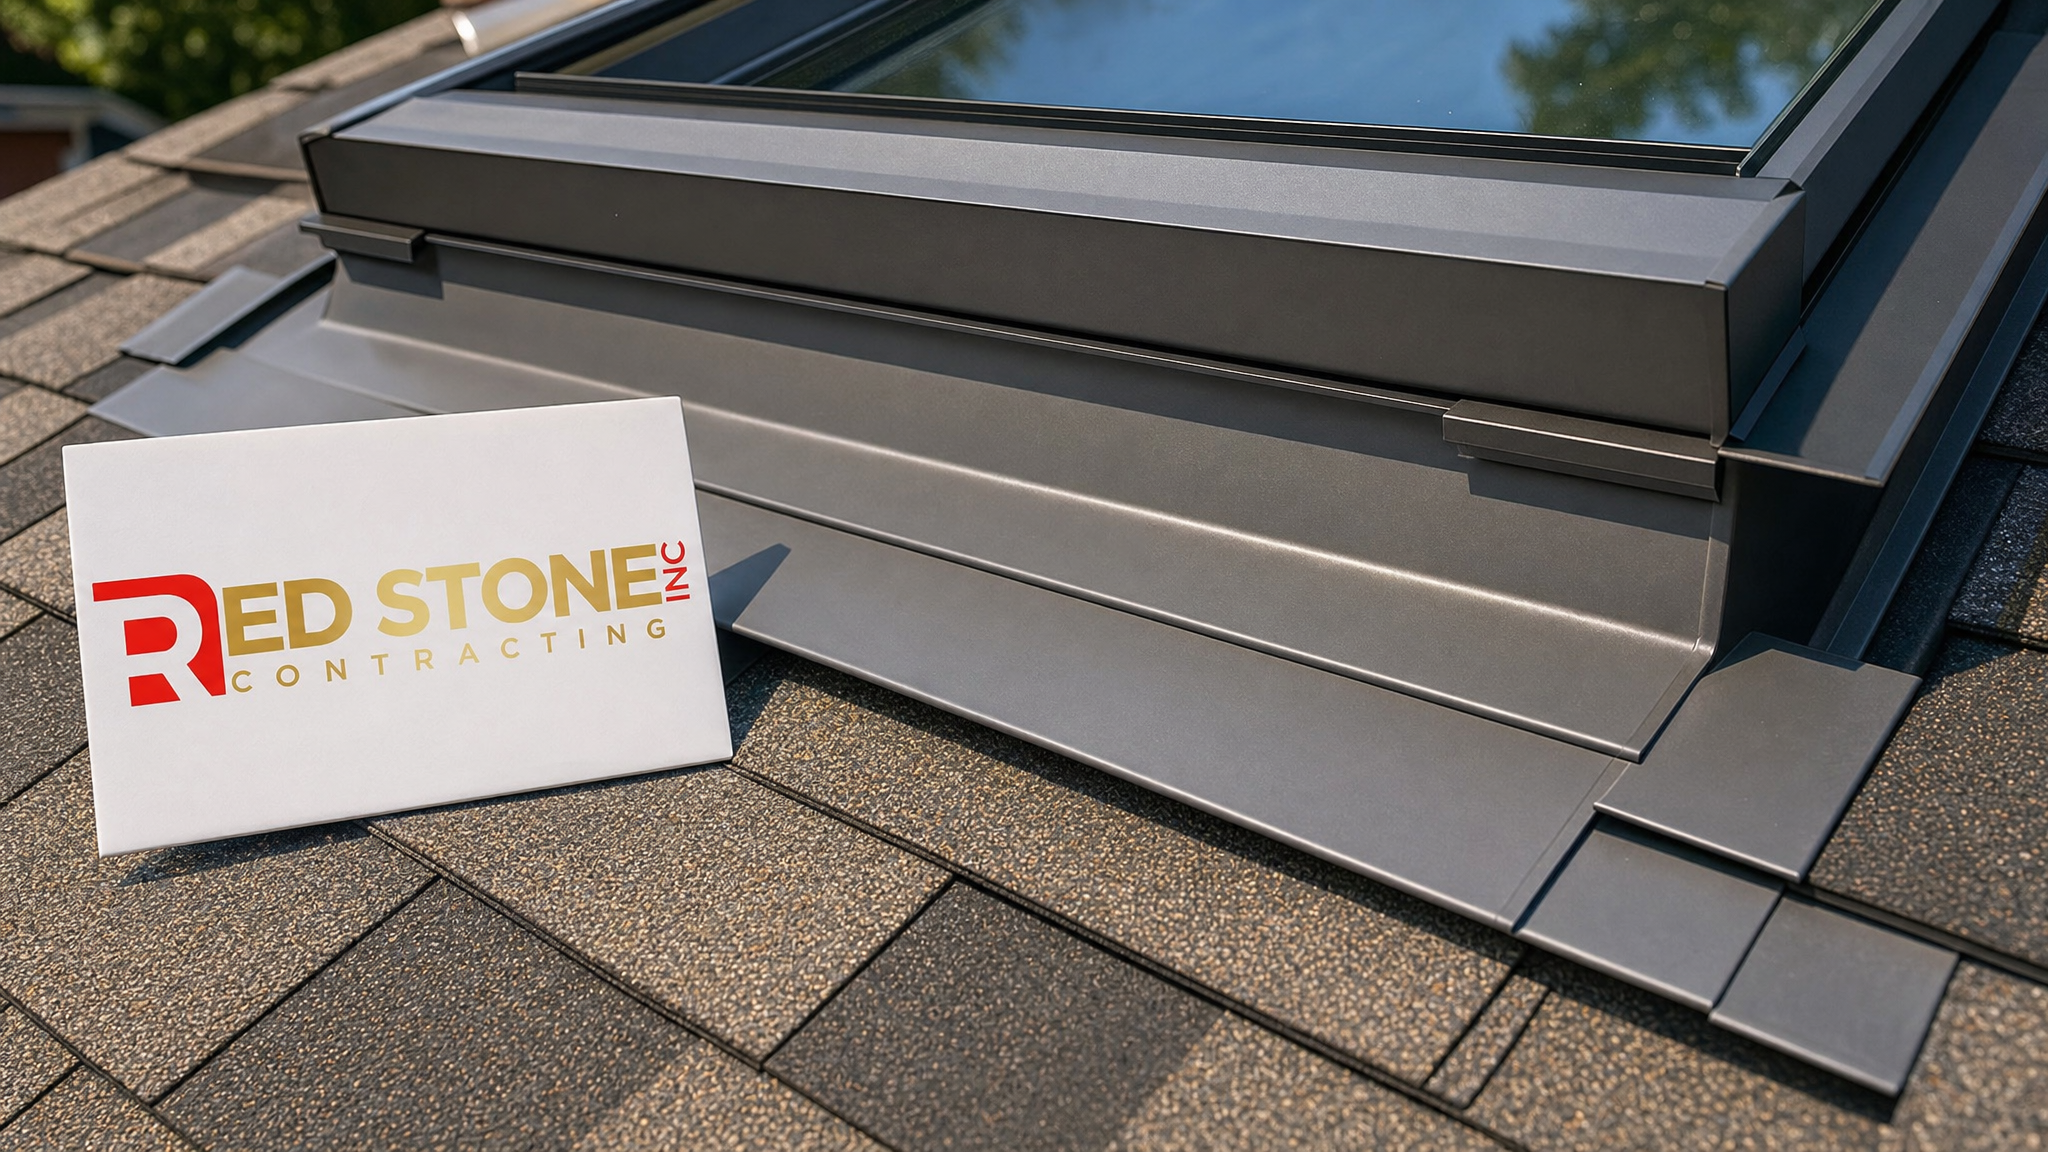
Flashing is the most critical waterproofing element. Integrated step flashing, combined with an EPDM or manufacturer-supplied saddle flashing kit, creates the watertight seal that keeps the installation performing for 20 or more years. Cutting corners on flashing — using only roofing cement or surface-applied sealant — is the root cause of virtually every skylight leak complaint we encounter when homeowners call us to diagnose an installation done by a less experienced contractor.
Phase 4 — Insulation and Air Barrier
Once the curb and flashing are confirmed watertight, insulation is wrapped around the light shaft and the attic cavity is sealed. The air barrier at the ceiling plane must be continuous around the shaft framing — any gap here becomes a source of condensation in the shaft, which is often misidentified as a leak. Spray foam is typically the most reliable air seal for the interface between the shaft framing and the ceiling drywall.
Phase 5 — Drywall and Finishing (Integrated with Renovation Finishing Phase)
The light shaft interior is drywalled, taped, and finished in the same workflow as the surrounding renovation. This is where the cost savings from combining scopes are most visible — the drywaller tapes the shaft corners in the same visit as the room’s walls and ceiling, and the painter finishes the shaft in the same session as the room. No return visits, no colour-matching complications, and no separate scheduling delay.
Skylight Types and What Suits Toronto Renovation Projects
Choosing the right skylight type is as important as the installation sequence. The Toronto climate — hot and humid in summer, with UV levels that can cause glazing degradation over time — demands that homeowners select units with appropriate performance ratings. Here is a breakdown of the most common skylight types we specify for skylight installation during renovation in Toronto.
| Skylight Type | Best Application | SHGC Rating | Typical Unit Cost | Summer Heat Consideration |
|---|---|---|---|---|
| Fixed Low-E glazing | Living rooms, bedrooms | 0.28 – 0.35 | $400 – $900 | Excellent — blocks UV and excess heat gain |
| Vented (manual open) | Kitchens, bathrooms | 0.28 – 0.35 | $700 – $1,400 | Good — allows hot air to escape in summer |
| Vented (solar-powered) | Kitchens, spa bathrooms | 0.28 – 0.35 | $1,100 – $2,200 | Excellent — auto-closes on rain sensors |
| Tubular / sun tunnel | Hallways, closets, dark corners | N/A (reflective tube) | $350 – $700 | Moderate — minimal heat gain through tube |
| Flat-roof / curb-mounted | Modern flat-roof additions | 0.25 – 0.40 | $600 – $1,800 | Variable — specify low-SHGC glazing for south-facing |
For Toronto’s summer climate, the Solar Heat Gain Coefficient (SHGC) is a critical specification. A south-facing or west-facing skylight with a high SHGC will add uncomfortable heat to a room during July and August afternoons. We typically specify Low-E coatings with an SHGC below 0.35 for any skylight with significant south or west exposure. North-facing skylights are less affected by summer heat gain and can tolerate higher SHGC values for improved winter light transmission.
If you are undertaking a kitchen renovation, a vented skylight directly above the cooking area is an outstanding investment — it provides natural ventilation that supplements a range hood, removes cooking odours passively, and floods a traditionally dark space with daylight without consuming any wall space that would otherwise hold upper cabinetry.
Permit Requirements for Skylight Installation During Renovation in Toronto
Toronto’s Building Code requires a permit for any new skylight installation that involves structural modifications — which includes virtually every new installation that requires a rough opening to be cut and header framing to be added. When your renovation already requires a permit (for structural work, electrical upgrades, or additions), adding a skylight to the permit scope is typically a minor amendment to the existing application rather than a new standalone application.
This is another practical advantage of skylight installation during a renovation in Toronto: the permit cost and inspection scheduling for the skylight are absorbed into the renovation’s existing permit framework. Your renovation contractor handles the amendment, the inspector reviews the skylight rough opening during the framing inspection that was already scheduled, and there is no additional permit fee for a small scope addition in most cases.
The Ontario Building Code requires that skylight rough openings be framed to support not less than the glazing unit’s specified load ratings, and that flashing be installed in accordance with manufacturer specifications. Roof sheathing repairs around the curb opening must restore the structural continuity of the sheathing panel. These requirements are standard practice for any qualified Toronto renovation contractor and should be confirmed in writing as part of your project scope.
For home addition projects that include a new roof structure, skylights can often be designed into the permit drawings from the outset, eliminating any permitting complexity entirely. A new flat-roof addition in Brampton, for example, can have curb-mounted skylights specified in the structural drawings and installed as part of the roof construction without any separate permit process.
Common Mistakes That Turn a Skylight Into a Problem
We have seen the same errors repeated across Toronto renovation projects, and most are entirely preventable with proper planning. Here are the most important ones to avoid when planning your skylight installation during a renovation in Toronto.
Wrong location relative to rafters: A skylight placed between two rafters is straightforward. A skylight that requires cutting a rafter — without proper header framing to transfer the load — creates a structural deficiency that may not be immediately visible but will cause sagging, cracking, and potential roof failure over time. Always confirm the structural solution before cutting.
Undersized flashing: The International Residential Code and Ontario Building Code both specify minimum flashing dimensions and overlap requirements. Contractor-fabricated flashing cut from sheet metal without following these specifications is the most common source of leaks. Always use manufacturer-integrated flashing kits or a certified roofing contractor for the exterior work.
Ignoring the summer UV load: Toronto receives strong UV radiation from late May through September. Low-quality glazing without UV-blocking coatings will fade flooring, upholstery, and artwork in the room below within two to three seasons. Always specify glazing with a UV transmission rating of less than 1% — standard on all major brand skylights but absent on cheap imported units.
Failing to insulate the shaft: An uninsulated or poorly insulated light shaft in a Toronto home loses heat in winter and allows condensation in the transitional seasons. The shaft walls should be insulated to at minimum R-20 and include a continuous air barrier before drywalling.
Booking the skylight trade separately: Homeowners who try to save money by booking a separate skylight subcontractor after the renovation is completed often end up spending more — because the separate contractor must open the finished ceiling, work around completed finishes, and patch everything back at higher labour rates. The renovation window is the right time. After it closes, the economics flip.
Integrating Skylights with Bathroom and Custom Home Renovations
Two renovation types that benefit most from skylight integration are bathrooms and custom home projects. In a bathroom renovation, a skylight provides natural light without compromising privacy — no window means no view of the street, but a ceiling-mounted glazing unit fills the room with daylight that makes the space feel larger and more spa-like. Vented skylights in bathrooms also assist with humidity management, supplementing the mechanical ventilation fan and reducing the risk of mould in the ceiling cavity.
For custom home renovation projects, skylights are a design element that transforms the character of key spaces. A double-height living room with a fixed skylight at the peak creates a dramatic light column. A kitchen with a row of tubular skylights above the island brings even, shadow-free task lighting that no artificial fixture can replicate. These design choices are far easier and less expensive to implement when they are part of the original renovation brief than when they are retrofitted later.
Our design solutions team works with homeowners from the earliest planning stages to identify where skylights will have the greatest impact — both for quality of life and for resale positioning in the GTA market. In Burlington and Oakville, where buyers are especially attentive to natural light and energy performance, a well-integrated skylight is consistently noted as a value-adding feature in real estate assessments.
What to Expect: Timelines and Milestones
One of the most common questions we receive from Toronto homeowners is: how long does skylight installation add to my renovation schedule? The honest answer — when properly sequenced — is very little. Here is a realistic timeline breakdown for a single fixed skylight integrated into a mid-scale home renovation.
| Milestone | Duration | Trade Responsible | Depends On |
|---|---|---|---|
| Design and structural confirmation | 1–3 days | Renovation contractor / designer | Permit application readiness |
| Permit amendment (if needed) | 5–15 business days | Contractor submits, City reviews | Existing permit in place |
| Rough opening framing and header | 3–5 hours | Framing carpenter | Demo complete, ceiling open |
| Roof curb, flashing, and glazing | 4–8 hours | Roofing trade | Framing complete, dry weather |
| Insulation and air barrier | 2–3 hours | Insulation trade | Roofing complete |
| Drywall, tape, and mud (shaft) | 1 day + 2 dry days | Drywall trade | Insulation complete |
| Finish painting (shaft interior) | 3–5 hours | Painter | Drywall fully dry |
When the skylight work is integrated into an existing renovation schedule, the net addition to your total project timeline is typically zero to three days — because most of the individual tasks happen in parallel with other renovation work rather than sequentially after it. The framing happens during the framing phase. The roofing happens on the same day as any other exterior work. The drywall and paint are completed alongside the rest of the room.
The only scenario where a skylight meaningfully extends a renovation timeline is when the permit amendment requires a separate inspection hold — the inspector must view the framing before drywall can close the shaft. In Toronto, these framing inspections can typically be booked within 3 to 5 business days, so the practical delay is a brief drywall pause rather than a project stoppage.
For homeowners in Mississauga or Burlington undertaking renovations with our GTA team, local permit processing times may differ slightly from the City of Toronto. We manage all permit scheduling on your behalf and build any anticipated hold periods into the master project timeline from the outset.
Is skylight installation during renovation in Toronto more affordable than a standalone installation?
Do I need a separate permit for skylight installation during my renovation project?
What is the best time of year for skylight installation in Toronto?
How do I choose between a fixed and vented skylight for my Toronto renovation?
Will a skylight make my Toronto home hotter in summer?
How long does skylight installation during a renovation in Toronto add to the project timeline?
Schedule Your Skylight Installation during Renovation Consultation Today
If you are planning a renovation in Toronto or anywhere across the GTA this summer, now is the time to add a skylight to your project scope. Red Stone Contracting brings together experienced renovation management, certified roofing trades, and in-house design support to deliver skylight installations that are properly sequenced, correctly permitted, and built to perform for decades. Our team handles everything from structural assessment and permit amendments through to the final coat of paint on your light shaft — so your renovation finishes on time and on budget, with a skylight that genuinely transforms your space.
Call us today at (905) 901-1006 or request a free consultation to get started.
Red Stone Contracting proudly serves Toronto, Mississauga, Brampton, Vaughan, Markham, and Burlington with full-service renovation and skylight installation solutions.