
A shiplap wall adds texture and shadow lines to a room in a way paint alone never will. It shows up behind beds, along stairways, in mudrooms and around fireplaces, and when it is done well it looks like part of the house rather than a trend applied on top. When it is done badly, the boards cup, the gaps fill with paint, and every outlet sits recessed in a little hole. The difference comes down to material choice, layout and a few installation habits that are easy to skip.
What follows separates real shiplap from the boards sold under the same name, explains how to fasten and finish it, and is honest about when plain drywall is the better choice.
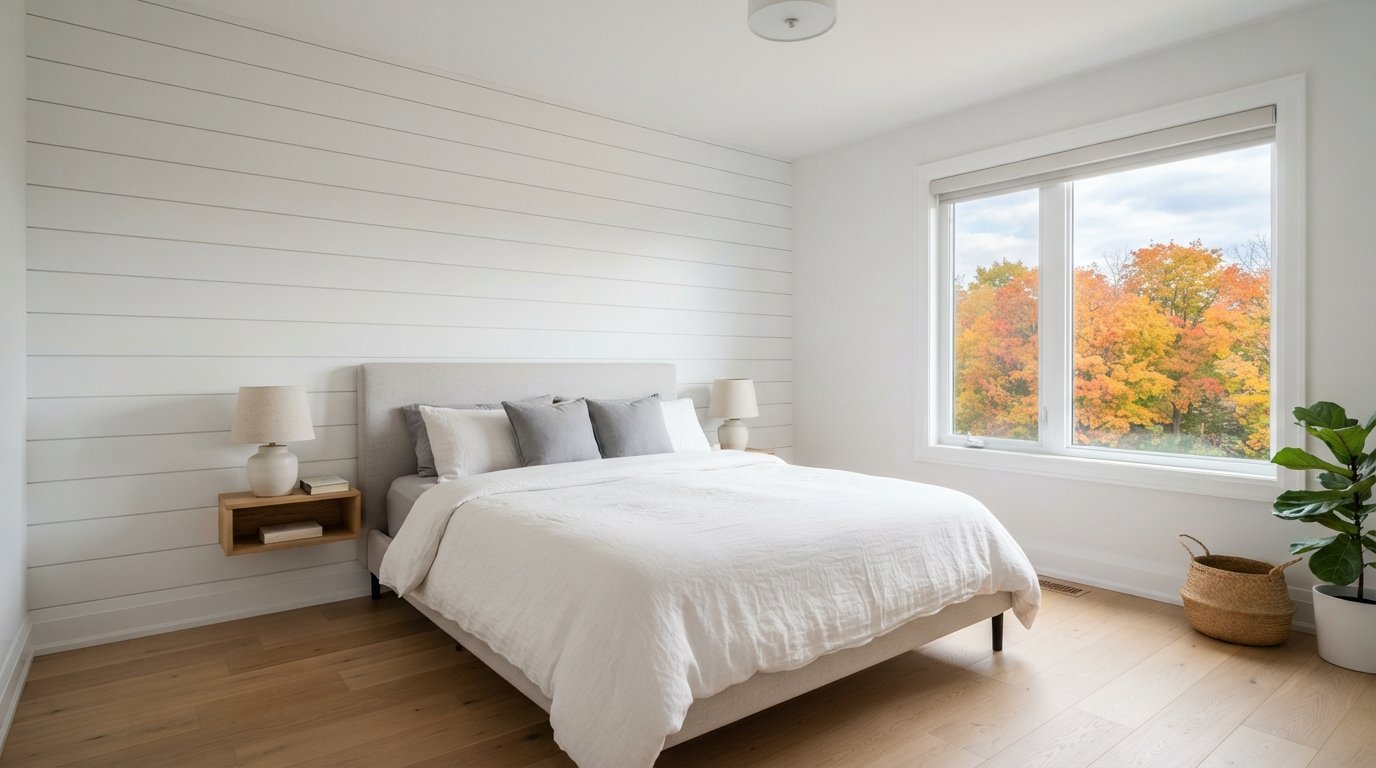
What A Shiplap Wall Actually Is
The name comes from exterior boards whose edges were rabbeted, meaning a notch was cut along the top of one board and the bottom of the next so they overlapped. That overlap shed water on barns and outbuildings, and it left a small, consistent shadow line where the boards met. In older houses, similar boards were often used as wall and roof sheathing, hidden under siding or shingles.
Today the term covers three different products:
- True rabbeted shiplap. Solid wood boards, usually pine, with overlapping half-lap edges. The overlap hides the wall behind as the boards shrink and swell, and it spaces the boards automatically.
- Nickel-gap boards. Boards milled with a built-in reveal, often in primed MDF, sometimes in pine. They look like shiplap from the front but join with a tongue and groove or a stepped edge designed for consistent gaps.
- Square-edge boards or plywood strips. Plain boards fastened with a spacer between them. Cheap and quick, but the gap shows whatever is behind it, and plywood edges are rough to paint.
A shiplap wall is also different from wainscoting. Wainscoting covers the lower part of a wall, typically capped with a rail. Shiplap normally runs floor to ceiling as a full wall finish. The two can be combined, but they are planned differently. Our design solutions for finishes and layouts often start by deciding which feature walls deserve this kind of texture and which should stay quiet.
Choosing The Material
Each material behaves differently over an Ontario year, with humid summers and very dry indoor air once the furnace runs.
| Material | Strengths | Weaknesses | Best rooms |
|---|---|---|---|
| Rabbeted pine | Real wood, overlap hides movement, durable | Moves seasonally, knots can bleed through paint | Living rooms, bedrooms, mudrooms, cottages |
| Primed MDF nickel-gap | Very stable, smooth paint finish, affordable | Swells and breaks down if it gets wet | Dry rooms: bedrooms, offices, dining rooms |
| Pine nickel-gap or tongue and groove | Wood character with consistent reveal | Gaps may widen in winter, needs prepainting | Feature walls, stairways |
| PVC or composite boards | Water resistant, will not swell | Costs more, can look less natural, expands with heat | Bathrooms outside the wet zone, laundry rooms |
| Plywood strips | Cheapest, quick to cut | Rough edges, gaps show the wall behind | Garages, utility rooms, temporary looks |
Wood movement and acclimation
Solid wood shrinks across its width in dry winter air and swells in humid summer weather. A board installed in August can show a wider gap by February. That is why rabbeted boards are forgiving: the overlap keeps the wall behind hidden even as the gap changes.
Bring the boards into the room for several days before installation so they adjust to its normal temperature and humidity. Autumn is a good time for this work, since the house is starting to dry out but has not reached its driest point.
Knots and resin
Pine knots bleed resin through latex paint, leaving yellow or brown spots months later. Seal knots with a stain-blocking primer before painting. Better-grade boards have fewer knots and less trouble.
Horizontal Or Vertical
Board direction changes how the room feels and how the boards are fastened.
- Horizontal boards make a room feel wider and calmer. They suit bedrooms, long hallways and walls behind a sofa or bed.
- Vertical boards draw the eye up and make ceilings feel taller. They suit small powder rooms, entry walls and low basement rooms.
- Ceilings can be clad too, usually with lighter boards fastened into joists.
Horizontal boards cross the studs, so each board can be nailed into framing every 16 inches or so. Vertical boards run parallel to the studs, so they need horizontal backing. In an open wall, that means wood blocking between studs. Over existing drywall, horizontal wood strapping is fastened through the drywall into the studs, and the boards nail to the strapping. Strapping adds thickness, which affects trim and outlets.
Installation Details That Make The Difference
Install over drywall
In most rooms, the boards go over the existing drywall rather than directly onto studs. Drywall keeps the air barrier and the fire protection that a wall had, and it gives a solid painted surface behind the gaps. Fastening wood finishes directly to studs may not be appropriate in some locations, such as walls separating an attached garage. Confirm with your contractor or building department if you are unsure.
Layout first
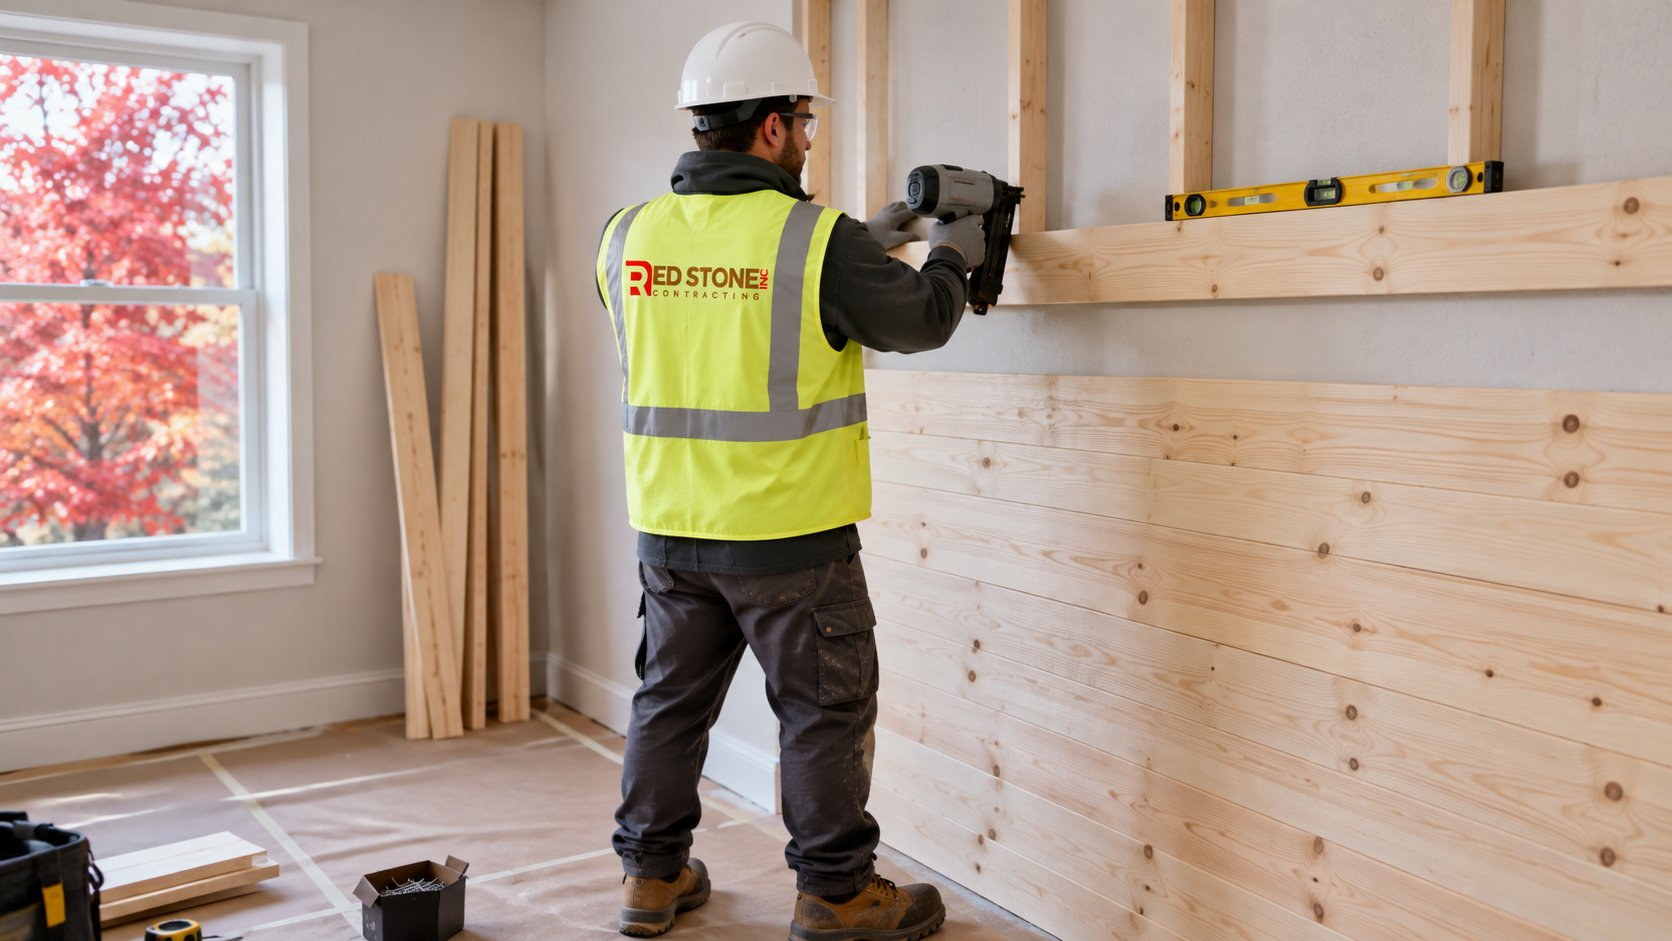
Before nailing anything, the installer measures the wall height and plans board widths so the top and bottom boards are not slivers. The layout also considers windows, so a board does not end in a tiny strip just above or below a sill. Older homes rarely have level ceilings or square corners, so the first board is set to a level line, and the top board is scribed to follow the ceiling.
For square-edge and nickel-gap boards, the gap itself needs a gauge. Installers use spacers of a consistent thickness between rows, commonly around an eighth of an inch, and check the level every few boards, because small errors add up across a tall wall. A story pole, a straight strip marked with every board line, makes it easy to confirm the rows will line up with window heads, sills and the top of the wall before the first nail goes in. On walls with an outside corner, both faces are laid out together so the board lines meet at the same height.
Fastening into studs
Boards should be nailed into studs or strapping, not just drywall. Finish nails or brad nails at each stud, set slightly below the surface, hold the boards securely. Some installers add a bead of construction adhesive, but that makes future removal harder and can trap moisture. Nails hidden in the lap or near the gap reduce filling later.
Outlets and switches
Adding boards brings the wall surface out by their thickness. Electrical boxes then sit recessed behind the new surface, which is not acceptable. Box extenders bring the opening flush with the boards, and the receptacles and switches are reset. Resetting devices is electrical work under Ontario’s Electrical Safety Authority, so leave it to a licensed electrician.
Windows, doors and trim
Window and door casings need a decision. One option is to remove the casing, run the boards to the jamb, add jamb extensions and reinstall the casing over the boards. The other is to butt the boards to the casing, which can leave the trim looking recessed. Baseboards are usually removed and reinstalled over the boards, sometimes with a thicker profile. Outside corners need mitred boards or a corner trim; inside corners are usually butted.
Painting And Caulk Lines
Most shiplap walls are painted, and the order of work matters.
- Prime and paint the edges first. Paint at least the edges of wood boards before installation so seasonal shrinkage does not reveal raw wood in the gaps.
- Seal knots and cut ends. Use a stain-blocking primer on knots and seal cut ends.
- Fill nail holes with wood filler and sand smooth.
- Caulk only the trim joints. Run flexible paintable caulk where boards meet casing, baseboard, ceiling and corners. Never caulk the gaps between boards, because that defeats the look and cracks as the boards move.
- Paint with a brush in the gaps, then roll the faces. Satin or eggshell finishes clean more easily than flat.
Gaps collect dust over time, especially in horizontal installations. A soft brush attachment on a vacuum keeps them clean.
Shiplap In Bathrooms And Humid Rooms
A shiplap wall can work in a bathroom, but not everywhere in it and not with every material.
- Keep it out of the shower and tub surround. Wet zones need tile or another waterproof system.
- Avoid standard MDF near sinks or tubs. It swells if water gets into cut edges or nail holes.
- Use PVC, composite or well-sealed wood, and seal every face, edge and end.
- Leave a small gap above tub decks and floors so boards do not wick water.
- Ventilate properly. A correctly sized, ducted exhaust fan protects the finish.
In a bathroom renovation, boards are usually limited to a vanity wall or the upper part of a powder room, where splashing is light and humidity drops quickly.
When Shiplap Beats Drywall, And When It Loses
Shiplap is not automatically an upgrade. It is a different finish with its own trade-offs.
| Situation | Shiplap tends to win | Drywall tends to win |
|---|---|---|
| Wall with cracked or uneven plaster | Covers problems without full repair | If repairs are simple |
| Hanging hooks and shelves | Light items fasten almost anywhere on solid wood; heavy loads still go into studs | Needs anchors or studs |
| Minimal modern style | Rarely | Flat surface suits it |
| Busy family areas | Hides scuffs with texture | Easier to patch and repaint |
| Cleaning | Gaps collect dust | Wipes quickly |
| Long-term style risk | Can feel dated if overused | Neutral and timeless |
Many homes look best with one shiplap wall per room or a feature space, not every wall. Using it in a mudroom, stair wall or bedroom accent tends to age better than cladding an entire floor.
Where A Shiplap Wall Works Best
Some spaces suit board walls far better than others, and the reasons are practical as much as visual.
- Mudrooms and back entries. Boots, bags and hockey equipment dent and scuff drywall. A painted pine shiplap wall takes knocks better, touch-ups blend into the texture, and light coat hooks can be screwed in almost anywhere on solid wood boards.
- Stairways. Long, tall stair walls are hard to keep looking fresh. Horizontal boards give a strong line that follows the run of the stairs, though the installer has to scribe carefully where boards meet the angled skirt board.
- Behind a bed or sofa. One textured wall gives a room a focal point without adding furniture. This is the most common use, and it rarely feels dated.
- Around a fireplace. Boards look natural on a fireplace wall, but combustible finishes must stay the manufacturer’s required distance from the firebox and any heat-producing surround. Check the fireplace installation manual before planning layout.
- Basement rooms. Vertical boards help a low ceiling feel taller. Keep wood off foundation walls that have shown any dampness, and install over a properly insulated, finished wall assembly.
Rooms where a shiplap wall struggles include formal, very contemporary spaces where a flat plane looks cleaner, and walls that will be covered by built-in cabinetry anyway.
What A Shiplap Wall Costs Installed
Material, wall size, trim work and electrical changes set the price. These are rough estimates for a typical interior feature wall, and every house differs.
| Board and scope | Rough installed estimate | What adds to it |
|---|---|---|
| Primed MDF nickel-gap, installed and painted | Often $8 to $16 per square foot of wall | Wall height, number of openings, paint coats |
| Solid pine shiplap, installed and painted | Commonly $12 to $22 per square foot | Board grade, knot sealing, prepainting |
| PVC or composite boards | Often $14 to $25 per square foot or more | Product line, trim pieces, moisture detailing |
| Strapping for vertical boards | Often adds $2 to $5 per square foot | Wall condition, fastening into studs |
| Electrical box extenders and resetting devices | Often $75 to $200 per box | Number of devices, electrician minimums |
Scribing to uneven ceilings in older houses, removing and reinstalling casings, and working around stair skirts all add labour that a simple square-foot price does not capture, so a good quote lists them separately.
Why Shiplap Walls Cup, Crack Or Stain
- Boards cupping or gaps opening: wood not acclimated or installed in very humid conditions.
- Yellow spots through paint: knots not sealed.
- Swollen edges: MDF exposed to water.
- Recessed outlets: no box extenders.
- Uneven gaps: no level line or inconsistent spacing.
- Cracked caulk between boards: gaps caulked instead of left open.
A painted sample board and a marked-up layout, approved before the first nail, settle gap size, sheen and trim details while they are still cheap to change. That is how our Toronto home renovation team starts a feature wall.
Can shiplap go directly on studs?
Is MDF or pine better for shiplap?
Should shiplap run horizontal or vertical?
Can shiplap be used in a bathroom?
Should I caulk the gaps between boards?
What happens to outlets on a shiplap wall?
Plan A Shiplap Wall That Lasts
The right board, a careful layout and a proper finish make the difference between a feature that ages well and one that needs redoing. Red Stone Contracting, an Oakville-based renovation contractor, settles the boards, trim and electrical details before the first nail, so the wall still looks right a few winters from now. Call us today at (905) 901-1006 or request a free estimate.
Feature walls and finish carpentry for Toronto homeowners and the wider GTA.