
If your walls or ceilings are going to be open during a renovation, that is the cheapest and cleanest moment you will ever get to plan pot lights properly. Once drywall is up and painted, every fixture you add means cutting holes, fishing wire across joists and patching. With framing exposed, an electrician can run cable exactly where it needs to go and deal with insulation and air sealing before anything is closed in.
Here is how we approach recessed lighting on a renovation: placement, spacing, beam and colour, safe housings for insulated ceilings, and how to avoid flicker and patchy light.
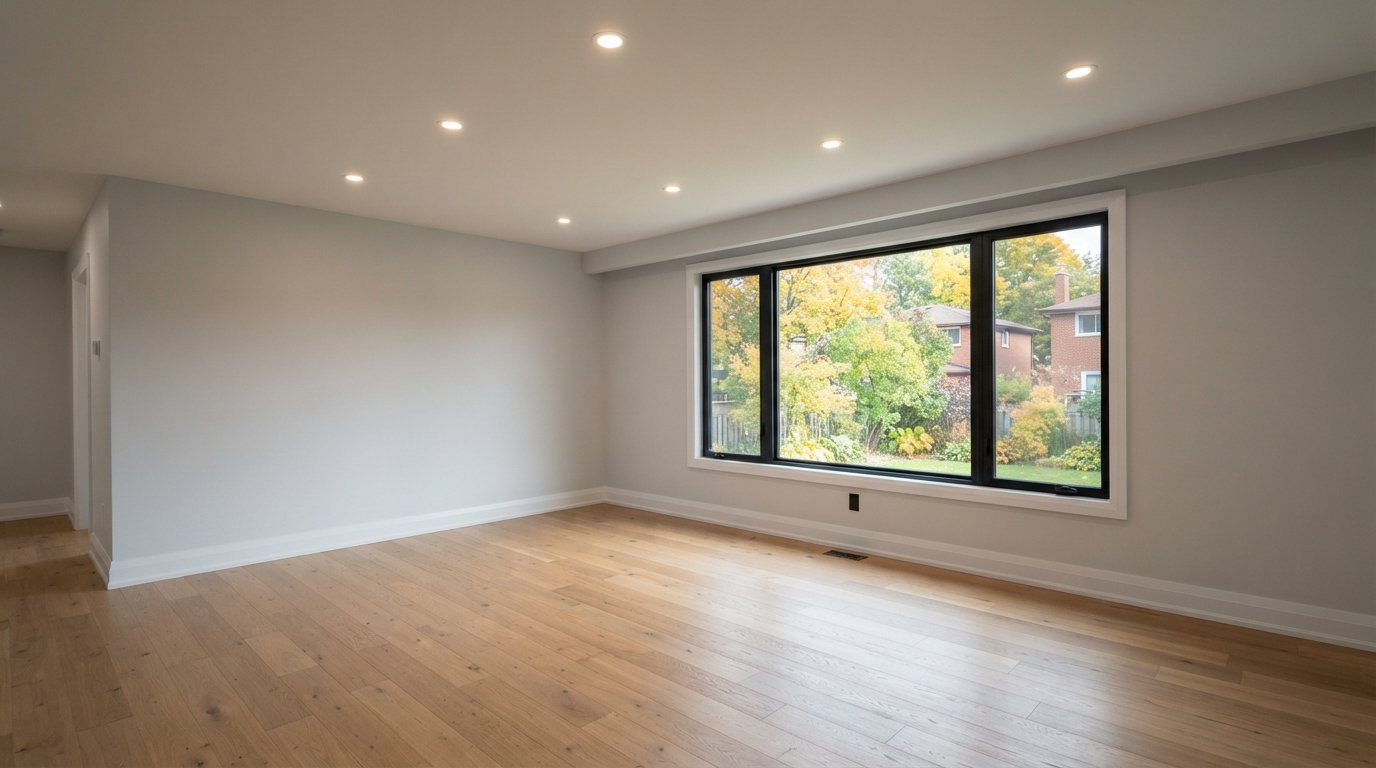
Start With What The Room Is For, Not With A Grid Of Pot Lights
The most common mistake we see is a ceiling covered in a perfect checkerboard of pot lights with no thought for how the room is used. The counter ends up in your own shadow, the feature wall is dim, and the sofa sits under a bright disc that glares on the television.
Before anyone picks up a hole saw, walk each room and sort it into three kinds of light:
- Task light: counters, a desk, a vanity. Light needs to land in front of you, not behind you.
- Accent light: a fireplace, built-ins or a stone backsplash, washed by fixtures placed close to the wall.
- General light: hallways and open floor, where a looser, evenly spaced layout makes sense.
Recessed lights are one layer. Most rooms also need pendants, under-cabinet strips, sconces or lamps. If you are rethinking a whole floor, our design solutions service for planning renovations can map lighting alongside cabinetry, furniture and windows so fixtures end up where your life actually happens. Sketch the furniture first, place lights relative to it, and only then check spacing.
Spacing Rules Of Thumb That Actually Hold Up
Ceiling height divided by two
For general lighting with typical wide-beam residential fixtures, a common starting point is to space pot lights apart by roughly half the ceiling height. An 8 foot ceiling suggests lights about 4 feet apart; a 10 foot ceiling about 5 feet. Narrow beams need tighter spacing to avoid dark gaps between pools of light.
Distance from walls
The first row usually sits about half the fixture spacing from the wall, often 2 to 3 feet. Lights jammed against a wall create harsh scalloping; lights too far away leave the edges of the room gloomy. To deliberately wash a wall or highlight stone, fixtures move closer, roughly 18 to 30 inches out.
Over kitchen counters
Aim counter lights so the beam lands on the working surface, usually centred roughly over the front edge of the counter rather than the middle of the walkway, where your head blocks the light. A fixture tight to the upper cabinet face lights the doors and throws a hard shadow onto the counter.
| Ceiling height | Typical spacing for general light | First row from wall | Notes |
|---|---|---|---|
| 7 to 7.5 ft (common in basements) | About 3.5 to 4 ft | About 2 ft | Low ceilings show glare quickly; slim fixtures with a soft diffuser help |
| 8 ft | About 4 to 5 ft | 2 to 2.5 ft | The most common residential case; wide-beam wafers suit it well |
| 9 ft | About 4.5 to 5.5 ft | 2.5 to 3 ft | Consider higher output fixtures so the floor does not look dim |
| 10 ft and above | About 5 to 6 ft | About 3 ft | Narrower beams and higher output usually needed |
| Sloped or vaulted | Varies with slope | Varies | Use housings rated for sloped ceilings or adjustable gimbals |
These are starting points. A manufacturer’s photometric data tells you more about a specific fixture than any rule of thumb, so ask your electrician or designer to check it. And line rows up with windows, islands and hallway axes: a few inches of compromise on spacing beats visibly crooked fixtures.
Beam Angle, Output And Colour Temperature
Beam angle
Most slim wafer fixtures have a very wide beam, often in the range of 90 to 120 degrees, which gives soft, even light and forgiving spacing. Traditional housings with reflector trims or adjustable modules can be much narrower, sometimes 25 to 60 degrees, which suits art, a fireplace or a high ceiling but creates distinct pools of light.
Light output
Output is measured in lumens. A typical 4 inch LED fixture might produce somewhere around 600 to 800 lumens, but models vary widely. More is not automatically better: an overbright low basement feels like an office. That is one reason we put almost every recessed lighting circuit on a dimmer.
Colour temperature and colour rendering
Colour temperature is measured in kelvin. 2700K is warm, like an old incandescent bulb, and suits living rooms and bedrooms. 3000K is slightly crisper and a popular all-round choice for kitchens. 3500K to 4000K is neutral to cool, good for laundry rooms and workshops. 5000K often feels clinical in a home.
Keep colour temperature consistent within a room and across open sightlines; 3000K pot lights next to 4000K under-cabinet strips is immediately visible. Many fixtures now have a selector switch on the junction box, which means someone has to set every one the same way before the trim goes in. Also check the colour rendering index (CRI): for kitchens, bathrooms and anywhere you choose paint colours, a CRI of 90 or higher is worth the small premium.
Wafer Fixtures Or Traditional Cans
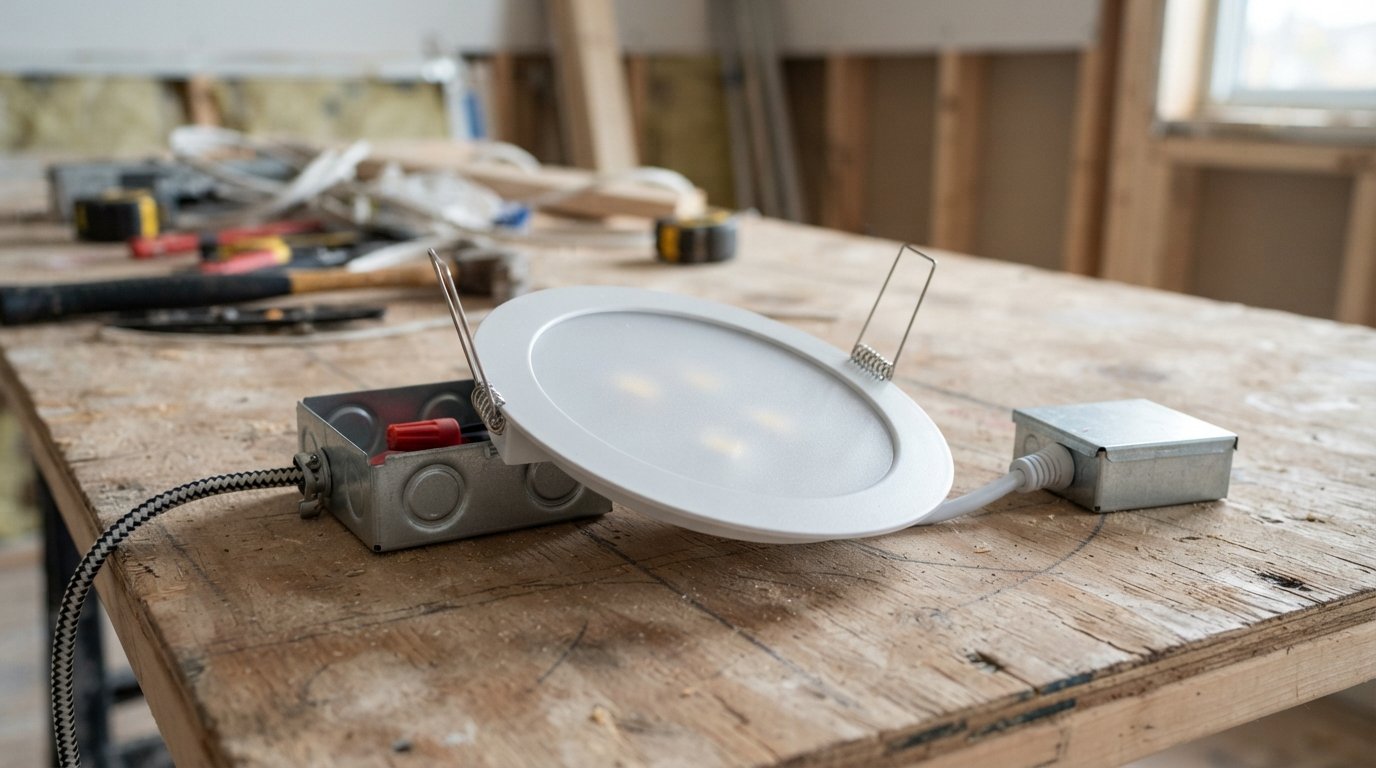
Traditional pot lights are a metal housing, the “can”, fastened to the joists, with a trim or LED module added later. Slim canless LED fixtures, usually called wafers, now take a large share of residential work. Both have a place.
| Factor | Slim wafer (canless) fixture | Traditional housing with trim |
|---|---|---|
| Ceiling depth needed | Very little; fits under ducts and in shallow bulkheads | Needs several inches of clear depth above the ceiling |
| Installation | Cut hole, connect remote junction box, clip fixture in from below | Housing mounted to framing before drywall, trim added after |
| Insulation contact and air sealing | Many models are IC rated and airtight; confirm on the label | Must buy IC and airtight rated housings for insulated ceilings |
| Beam and aiming | Usually wide, fixed beam | Wide choice of trims, gimbals, narrow beams and adjustable modules |
| Replacement | Whole fixture replaced if the LED fails | Trim or module can often be swapped without opening the ceiling |
| Best suited to | Basements, general light, retrofit into finished ceilings | High ceilings, accent lighting, sloped ceilings |
In a basement with ducts crowding the joist space, wafers are often the only practical choice. For a 10 foot living room ceiling with a fireplace to highlight, adjustable housings usually give a better result. Many homes end up with a mix.
Insulated Ceilings: IC Rating, Air Sealing And Fire Separations
IC rated means insulation contact
Any recessed fixture under an insulated ceiling, such as a top-floor ceiling with attic insulation above, must be rated for direct insulation contact, marked IC. Non-IC housings need clearance from insulation to shed heat, and in practice insulation gets pushed or settles back against them. They have no place in an insulated ceiling.
Airtight matters as much as heat
Every hole in a top-floor ceiling is a path for warm, moist house air into the attic. Through the heating season that moisture can condense on the cold roof sheathing, contributing to frost, damp insulation and mould. Choose fixtures marked airtight (often AT or ICAT), fit the gasket, and seal the ceiling air and vapour barrier to each fixture box while the ceiling is open. Where you can, keep recessed lights out of ceilings directly below an attic altogether.
Fire-rated ceilings
Some ceilings form a fire separation, such as an attached garage ceiling below living space, or a ceiling between a house and a secondary suite. Holes in those assemblies can compromise the separation, so you may need fixtures tested for that use, fire-rated enclosures or a different approach. Confirm requirements with your municipality’s building department before cutting.
Bathrooms and damp areas
Fixtures in a shower or over a tub must carry a damp or wet location rating that covers that spot. Many slim fixtures do, but not all.

How Installation Actually Goes With The Ceiling Open
- Layout on the floor first. Fixture locations are marked on the subfloor and transferred up to the joists with a laser, so you can check them against furniture and cabinets.
- Check for obstructions. Ducts, drains and blocking fight for space; locations shift a few inches so no fixture lands on a joist or trunk line.
- Rough-in wiring. Cable is drilled through the middle of the joists, not notched from below. Switch boxes go in now, including extra gangs for dimmers and lighting zones.
- Inspection. Electrical rough-in is typically inspected before insulation and drywall. Do not let anyone close the ceiling first.
- Insulation and air sealing. Airtight fixtures in top-floor ceilings are sealed into the air barrier.
- Drywall. Holes are cut cleanly to size; a trim can only hide so much.
- Fixtures and testing. After paint, fixtures go in, colour temperature is set, and every circuit is tested on its dimmer.
In older homes where plaster ceilings stay in place, cutting is slower and plaster can crack or let go of its lath around a new opening, so budget time for patching. Our home renovation team across Toronto weighs that trade-off in older houses regularly.
Dimmers, Switching And Why LEDs Flicker
Match the dimmer to the fixture
Some LED fixtures are designed for forward-phase (leading-edge or TRIAC) dimmers, others for reverse-phase (trailing-edge or ELV) dimmers. Most manufacturers publish a list of dimmers they have tested. Using a listed combination is the single best way to avoid flicker, buzz and poor low-end dimming.
Minimum and maximum load
LEDs draw so little power that a dimmer designed for incandescent loads may behave erratically on two or three fixtures. Dimmers also have a maximum LED rating, often lower than their incandescent rating. Check both.
One fixture model per dimmer
Different LED drivers respond differently to the same dimmer. Mix two models and one may dim smoothly while the other flickers. Keep each dimmed zone to one model, and split kitchens and open areas into zones: counter lights, general lights and accent lights on separate switches.
| Symptom | Likely cause | Typical fix |
|---|---|---|
| Flicker at low dim levels | Dimmer and LED driver not compatible, or low-end trim set too low | Use a dimmer from the fixture’s compatibility list; adjust the low-end setting |
| Lights glow faintly when switched off | Small leakage current through some dimmers | Compatible dimmer, or a neutral-wire dimmer where available |
| Audible buzz | Mismatched dimming type or overloaded dimmer | Match leading or trailing edge type; reduce fixtures per dimmer |
| Light cuts out after running a while | Overheating, often a non-IC fixture buried in insulation | Replace with IC rated fixtures; have the circuit checked |
| Uneven bright and dark patches | Spacing too wide for beam angle, or mixed fixture outputs | Adjust layout, use wider beam fixtures, keep models consistent |
| Staining around top-floor ceiling fixtures | Air leakage into the attic condensing through the heating season | Airtight fixtures, sealed air barrier, attic inspection |
Electrical Safety Authority Notification And Wiring Basics
In Ontario, electrical work is overseen by the Electrical Safety Authority (ESA). Adding pot lights involves new wiring and devices, so as a general rule the work should be filed with ESA and inspected. Anyone you hire for electrical work should be a Licensed Electrical Contractor, and they would normally file the notification. Ask for their licence number, and check ESA’s website for the current rules for homeowners and contractors.
If the renovation also needs a building permit, for example to remove walls or reframe ceilings, a contractor running the whole job should coordinate both inspections before anything is closed in. An inspected job is also a simple answer when an insurer or a buyer’s home inspector asks about recent electrical work.
What Pot Lights Typically Cost In A Renovation
Treat these as rough estimates that vary with the house, access and scope. With ceilings already open, installed costs for standard slim LED fixtures often fall somewhere in the range of $100 to $250 per light. Retrofits into finished or plaster ceilings, or under hard-to-reach attics, can run noticeably higher. New circuits back to the panel, extra switch locations, premium adjustable fixtures and fire-rated ceilings all add to the total.
Questions To Ask Before Anyone Cuts A Hole
- Can you show me the layout on a plan, with dimensions from walls and features?
- Are the fixtures IC rated and airtight where needed, and how will you seal them?
- What colour temperature and CRI, and will every fixture be set the same?
- Is the dimmer on the fixture manufacturer’s compatibility list?
- Who files with ESA, and when will the rough-in inspection happen?
Vague answers are a warning sign. You can see how past clients describe our planning on our client reviews page.
How far apart should recessed lights be in a room with an 8 foot ceiling?
Can recessed fixtures touch attic insulation?
What colour temperature works best in a kitchen?
Why do my new LED lights flicker on the dimmer?
Do I need an ESA permit to add ceiling lights?
Are slim wafer fixtures as good as traditional cans?
Planning Pot Lights For Your Renovation
Lighting is one of the few things you get to design properly only once, while the ceilings are open. Red Stone Contracting plans recessed lighting as part of the whole renovation, coordinating the layout with cabinetry and furniture, working with licensed electricians, and sealing insulated ceilings before drywall goes up. If you want pot lights that light the right places without glare or flicker, we can walk the space with you.
Call us today at (905) 901-1006 or request a free estimate.
Proudly serving homeowners in Toronto and across the wider GTA.