
A coffered ceiling is a grid of beams that divides a flat ceiling into recessed panels. It is one of the most effective ways to give a plain room architectural weight, and it suits dining rooms, libraries, living rooms and large family rooms. It is also one of the easiest details to get wrong: beams too deep for the ceiling height, a grid that does not line up with the room, or a lighting plan that leaves dark boxes overhead.
With the days getting shorter and more time spent indoors, early autumn is a good moment to plan an interior project like this. Here is what we look at before recommending one.
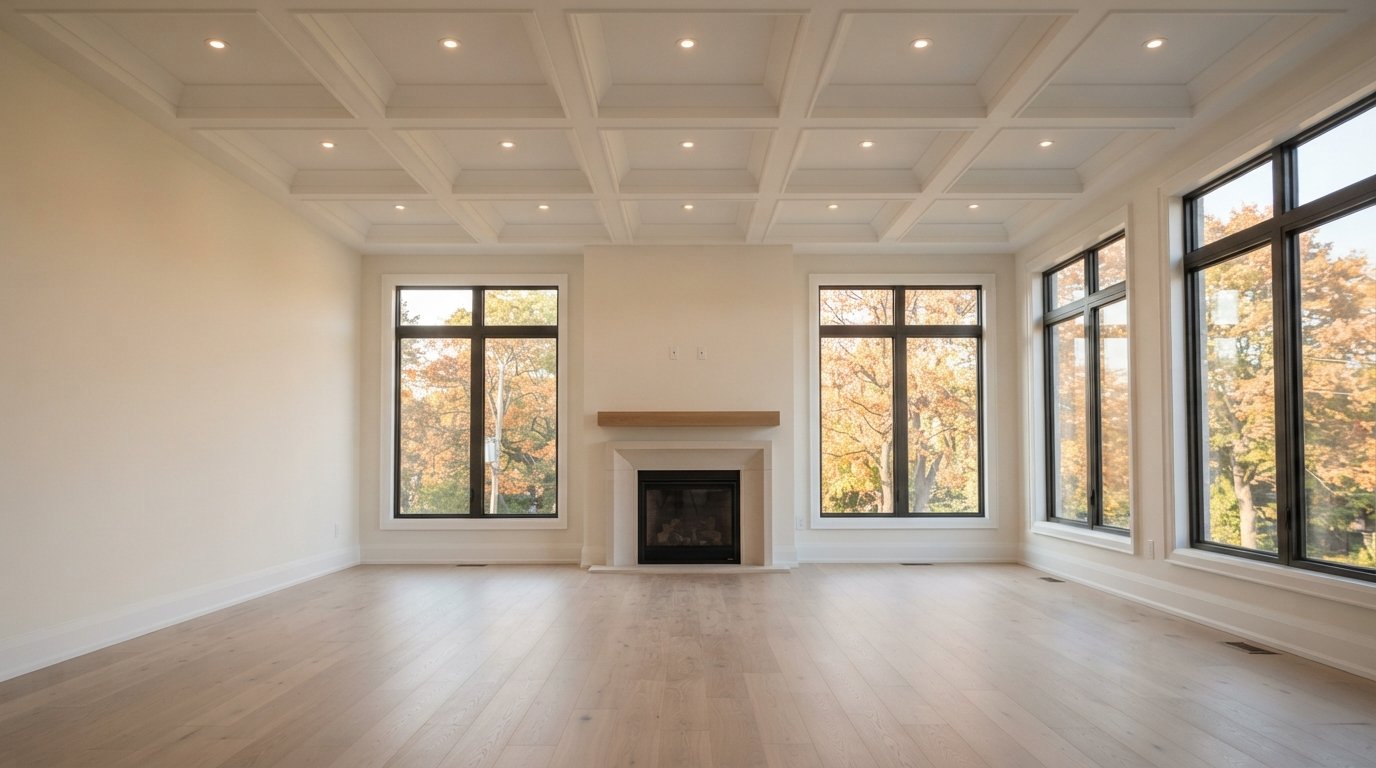
Does Your Room Suit A Coffered Ceiling?
Not every room benefits. The two things that decide it are ceiling height and room proportions.
Ceiling height
Beams bring the ceiling down visually at the grid lines. On a 9 foot or higher ceiling, beams of a reasonable depth add richness without making the room feel low. On an 8 foot ceiling, a full coffered ceiling can feel heavy, and the beams need to stay shallow. Many designers prefer a shallow, flat-panel treatment at that height, or reserve a coffered ceiling for rooms with more height. Below 8 feet, as in many basements, it is rarely a good idea.
Room proportions
Coffers look best in rooms that are reasonably regular in shape. Square and rectangular rooms are easy to divide. L-shaped rooms, rooms with angled walls, or rooms broken up by bulkheads need more careful planning, sometimes treating one zone with coffers and leaving the rest flat. Very narrow rooms can end up with a single row of long rectangles, which looks more like a series of beams than a coffered grid.
Think about the whole room too. A coffered ceiling reads as formal, so it pairs naturally with wainscoting, substantial crown moulding and traditional casings. In a minimal modern room, a simpler shallow grid in the same colour as the ceiling can work. If you want help judging the fit, our design solutions for interior renovations include ceiling details as part of a whole-room plan.
| Ceiling height | Typical beam depth | Suggested approach |
|---|---|---|
| Under 8 ft | Not recommended | Consider a flat panel moulding grid or tray detail instead |
| 8 ft | About 3 to 5 in | Shallow beams, fewer and larger coffers, same colour as ceiling |
| 9 ft | About 5 to 7 in | Classic coffered proportions work well |
| 10 ft and above | About 6 to 10 in or more | Deeper beams, layered mouldings inside each coffer, contrast colour possible |
| Vaulted or sloped | Varies | Beams following the slope; needs careful layout and more carpentry |
Beam Depth, Width And Grid Spacing
Depth and width
Beam depth and width should be in proportion to each other and to the room. A very narrow, deep beam looks like a joist; a very wide, shallow beam looks like flat trim. Many coffered ceilings use beam widths somewhere around 5 to 8 inches, with depth chosen to suit the ceiling height as in the table above. Mock up a beam section with cardboard or scrap and hold it in place before you commit.
Grid spacing
Coffers usually work best somewhere between about 3 and 6 feet across. Smaller coffers look busy and multiply the carpentry; larger ones lose the effect. The steps to a good layout:
- Find the centre of the room and the key features: a fireplace, a window wall, a dining table or a light fixture location.
- Decide whether a beam or a coffer sits on centre. A chandelier usually hangs in the centre of a coffer, so the grid is laid out from there.
- Divide each direction evenly so every coffer is the same size, and adjust the perimeter so the outer coffers are not slivers.
- Decide how beams meet the walls. Most designs run a perimeter beam or frieze around the room so the grid ends cleanly.
Square coffers feel classic. In rectangular rooms, slightly rectangular coffers often look more natural than forcing squares, which would leave uneven perimeter panels.
Framed Beams, Applied Kits Or Solid Wood
There are three common ways to build a coffered ceiling. The right one depends on budget, the finish you want and what is above the ceiling.
Site-framed beams
Carpenters build a lightweight box frame, usually with dimensional lumber, fastened through the ceiling into the joists or into blocking. The frame is then wrapped in paint-grade MDF, plywood or drywall and finished with trim at the inside corners. This method adapts to any layout, handles uneven ceilings well because the frame can be shimmed, and leaves hollow space inside for wiring.
Applied beam kits
Prefabricated U-shaped beams, often MDF or polyurethane, are mounted to cleats screwed to the ceiling. They go up faster and give consistent profiles, but they are less forgiving of out-of-level ceilings and come in set sizes. Polyurethane beams are light and can be moulded with a wood-grain texture for a rustic look, though up close they will not pass for real timber.
Solid or veneered wood
For a stained coffered ceiling, beams are built with hardwood veneer plywood and solid wood trim, or occasionally solid timber. This is the most expensive route and heavier; solid beams in particular need proper structural fastening. It is also the most striking, especially in a library or den.
| Method | Strengths | Limitations | Best finish |
|---|---|---|---|
| Site-framed, MDF wrapped | Any layout, adjusts to uneven ceilings, space for wiring | More carpentry time on site | Paint |
| Applied beam kit | Fast installation, consistent profiles | Set sizes, less forgiving of crooked ceilings | Paint, or textured faux finish |
| Hardwood veneer and solid trim | Rich stained look, heirloom quality | Highest cost, careful fastening, seasonal wood movement | Stain and clear finish |
| Drywall-wrapped framing | Seamless with the ceiling, economical | Crisp corners take skill; less detail | Paint, same colour as ceiling |
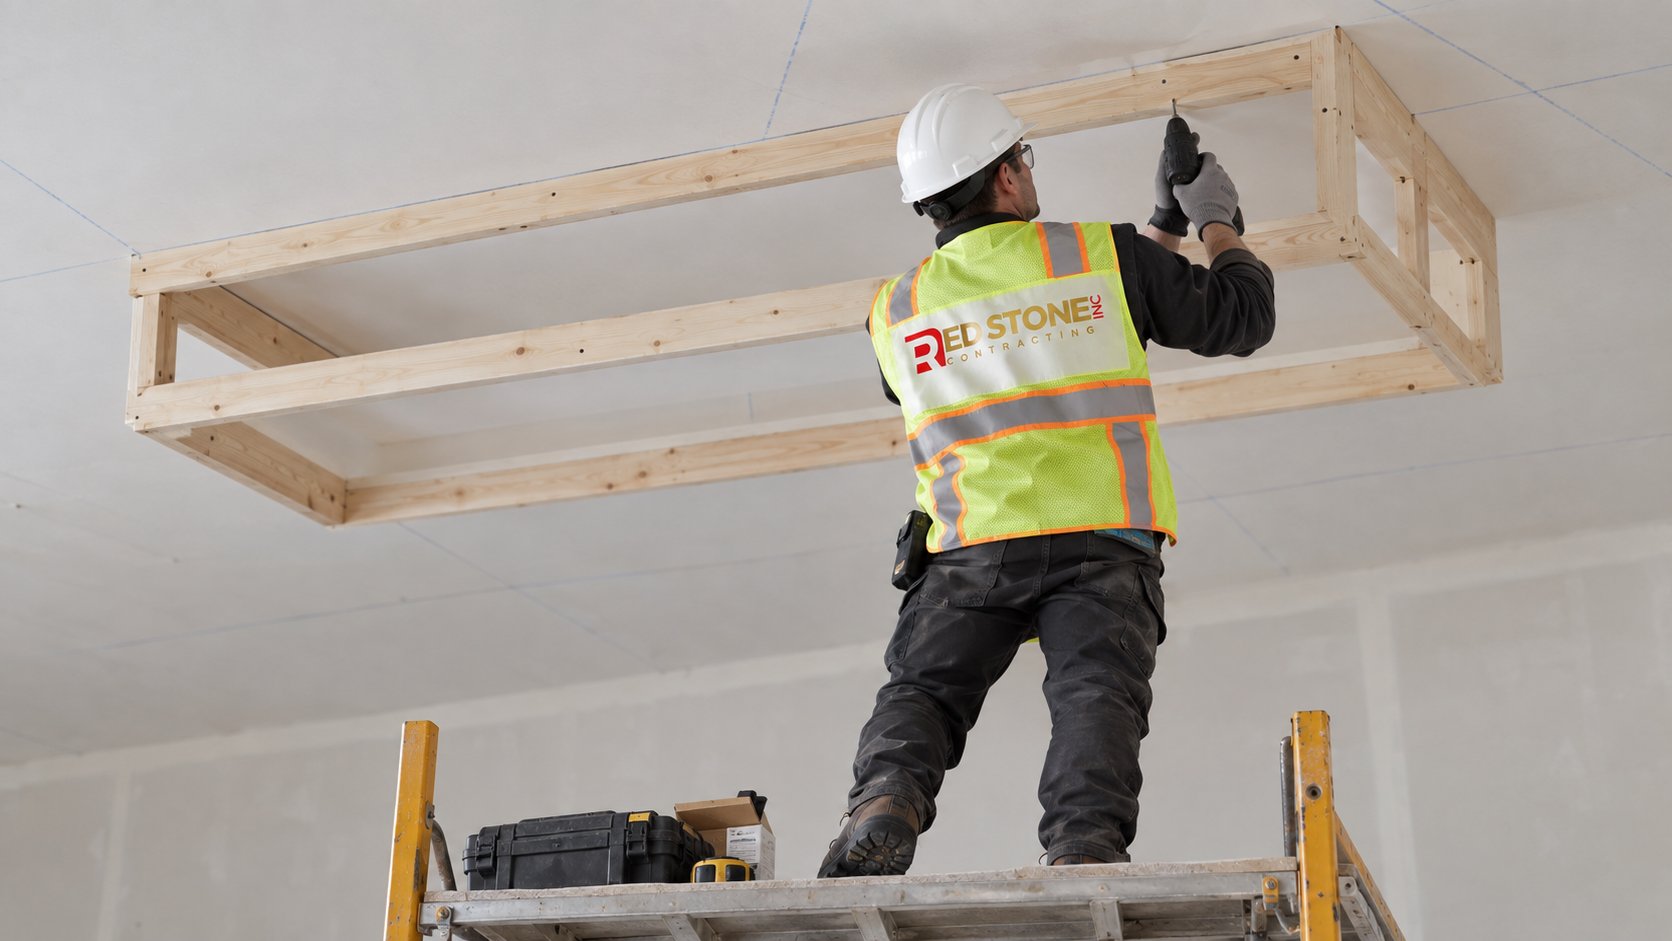
Hiding Lighting And HVAC In The Grid
A coffered ceiling can solve problems as well as look good. The hollow beams and perimeter frieze can carry wiring and, in some cases, disguise ducts.
Lighting options
- Recessed lights centred in coffers. Clean and effective. Slim LED fixtures need little depth, which suits shallow ceiling cavities. Centring every light in its coffer is essential; an off-centre light is obvious.
- Cove lighting inside the coffers. An LED strip hidden behind a small lip at the top of each beam washes the recessed panel with soft light. It needs a planned ledge and access to drivers.
- A central chandelier or pendant. Usually in the centre coffer over a dining table, with blocking installed above for support.
All new wiring is electrical work that falls under Ontario’s Electrical Safety Authority, and it should be done by a licensed electrician and inspected before the beams are closed. Smoke alarms and any other ceiling devices also need to be located to suit the new grid and the manufacturer’s instructions.
Ducts and bulkheads
An awkward bulkhead can sometimes be absorbed into the grid by making it one of the beams and building the others to match. Supply registers can move into the centre of coffers. Beams should not block returns or trap warm air, and ducts should not be crushed or rerouted without an HVAC contractor’s input.
Working Around Joists And Plaster In Older Homes
Older houses bring particular challenges. Our home renovation team across Toronto works in many homes with original plaster ceilings, and the same issues come up regularly.
- Ceilings that are not level or flat. Joists sag over time and plaster was hand-applied. Beam frames are shimmed so their bottoms form a level plane, and the gap at the ceiling is hidden with trim or scribed.
- Finding solid fastening. Joist spacing in older homes can be irregular. Beams must be fastened into framing, not into plaster alone, and sometimes blocking has to be added from above or by opening the ceiling.
- Loose plaster. Screwing through plaster can crack it or break it from its lath. Loose areas are secured first, or the ceiling is replaced with drywall if it is in poor condition.
- Hidden hazards. Some older ceiling finishes and textures can contain asbestos. Have suspect material tested before drilling or cutting.
- Joists must not be cut. Wiring runs inside the beams or through properly drilled holes, not through notched joists.
In some older homes, the practical choice is to take the ceiling down to the joists, correct the framing, install new drywall and build the coffered ceiling on a flat, level surface. It adds cost upfront but produces crisper lines. For heritage interiors, our restoration work often balances keeping original plaster with adding new detail.
Paint Or Stain: Finishing The Ceiling
Most coffered ceilings are painted. Painting hides joints and small imperfections with caulk and filler, and it lets you choose between tone-on-tone and contrast.
- All one colour: beams and coffers the same white or soft neutral. Subtle and good for lower ceilings.
- Contrast coffers: white beams with a slightly darker or coloured coffer panel, which deepens the recess visually.
- Wallpaper or grasscloth in the coffers: a traditional detail for dining rooms and libraries.
A satin or low-sheen enamel on beams shows fewer flaws than gloss, which exaggerates every bump in raking light. Flat or matte paint in the coffers hides ceiling texture.
| Finish scheme | Effect in the room | Best suited to | Watch for |
|---|---|---|---|
| Beams and coffers in one ceiling white | Quiet texture, keeps the room bright | 8 and 9 ft ceilings, modern or transitional rooms | Needs good lighting so the grid still reads |
| White beams, tinted coffers | Deepens the recesses, adds depth | Dining rooms and living rooms with 9 ft or taller ceilings | Test the colour on a large sample board overhead |
| Wallpaper or grasscloth in coffers | Traditional and richly layered | Formal dining rooms, libraries | Hanging paper overhead is slow, skilled work |
| Stained hardwood throughout | Warm, heavy, clubby | Dens, libraries, rooms with 10 ft ceilings | Precise joinery, seasonal gaps, higher cost |
| Painted beams with stained cap or trim | Hint of wood without the weight | Rooms with existing stained trim to tie into | Stain and paint lines must be crisp |
Stained wood is a different commitment. Every joint and fastener shows, so construction has to be precise, and solid wood moves with seasonal humidity, which can open small gaps through the heating season. The result is warm and rich, but less forgiving and more costly.
The Order Of Work And Common Mistakes
A coffered ceiling is finish carpentry, but it depends on work that happens earlier. The usual sequence runs like this:
- Layout drawing. The grid is drawn to scale with light, register, alarm and fixture locations marked.
- Ceiling preparation. Loose plaster is secured or the ceiling is replaced, blocking is added, and the ceiling is checked for level.
- Electrical rough-in. Boxes and cable for coffer lights, cove lighting and any chandelier go in, and the rough-in is inspected.
- Chalk lines and frames. The grid is snapped on the ceiling, and beam frames are fastened and shimmed to a level plane.
- Cladding and trim. Beams are wrapped, and inside mouldings, perimeter frieze and crown are installed.
- Filling, caulking and paint. The most time-consuming stage, and the one that decides how crisp the result looks.
The mistakes we see most often in a coffered ceiling built by others are predictable: a grid laid out from one wall instead of the centre, leaving a narrow row of panels on the far side; lights that are not centred in their coffers; beams fastened only to drywall or plaster; and beams that follow a sagging ceiling so the bottoms visibly dip. Each is avoided by planning the layout on paper and correcting the ceiling first.
Costs And Timeline
These are broad estimates only; prices vary with the house, access and scope. A painted coffered ceiling built with site framing and MDF in an average-sized room often falls somewhere in the range of several thousand dollars to over $15,000. Stain-grade wood, integrated cove lighting, complex layouts and ceiling repairs in older homes can push it higher. Installation often takes one to two weeks for carpentry, followed by finishing and painting time.
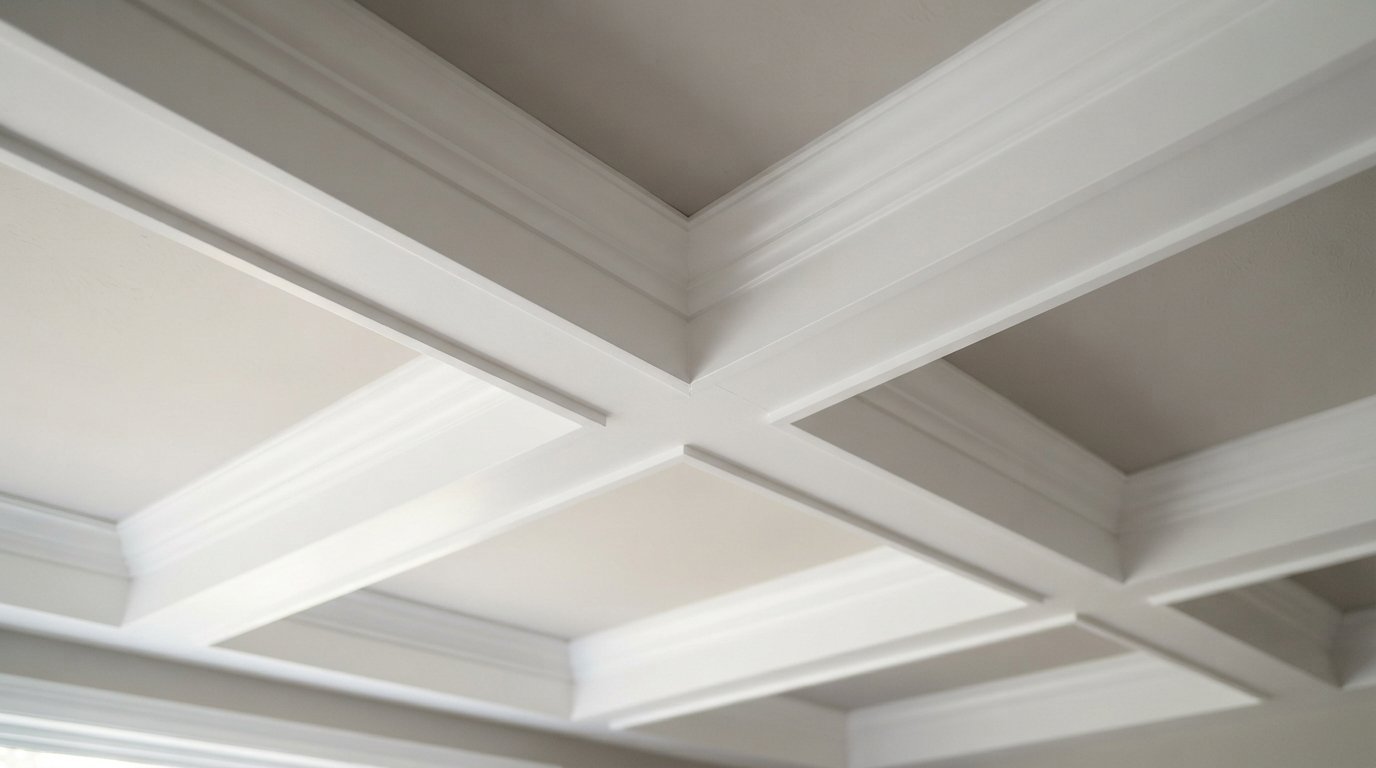
What is the minimum ceiling height for beams and coffers?
How big should each coffer be?
Can pot lights go inside the grid?
Can beams be added to an old plaster ceiling?
Should the beams be painted or stained?
Can a bulkhead be hidden in the design?
Planning A Coffered Ceiling For Your Home
A well-proportioned coffered ceiling comes down to getting the height, grid, fastening and lighting right before the first beam goes up. Red Stone Contracting designs and builds ceiling details as part of interior renovations, including older homes where framing and plaster need careful handling.
Call us today at (905) 901-1006 or request a free estimate.
Serving homeowners in Toronto and across the wider GTA.