
If you are planning to convert your lower level into a comfortable living space, the single most important decision you will make happens long before you choose paint colours or flooring. Getting your basement waterproofing before finishing toronto homeowners trust right is the difference between a dry, healthy, value-adding room and a mould-ridden renovation you tear out in three years. In a city where clay-rich soil, freeze-thaw cycles, aging weeping tile, and intense summer storms all conspire against your foundation, sealing water out first is non-negotiable. This 2026 guide walks Toronto, Mississauga, Burlington and GTA homeowners through why waterproofing comes first, what it costs, which methods work, and how to sequence the project so you never have to open up new drywall to chase a leak.
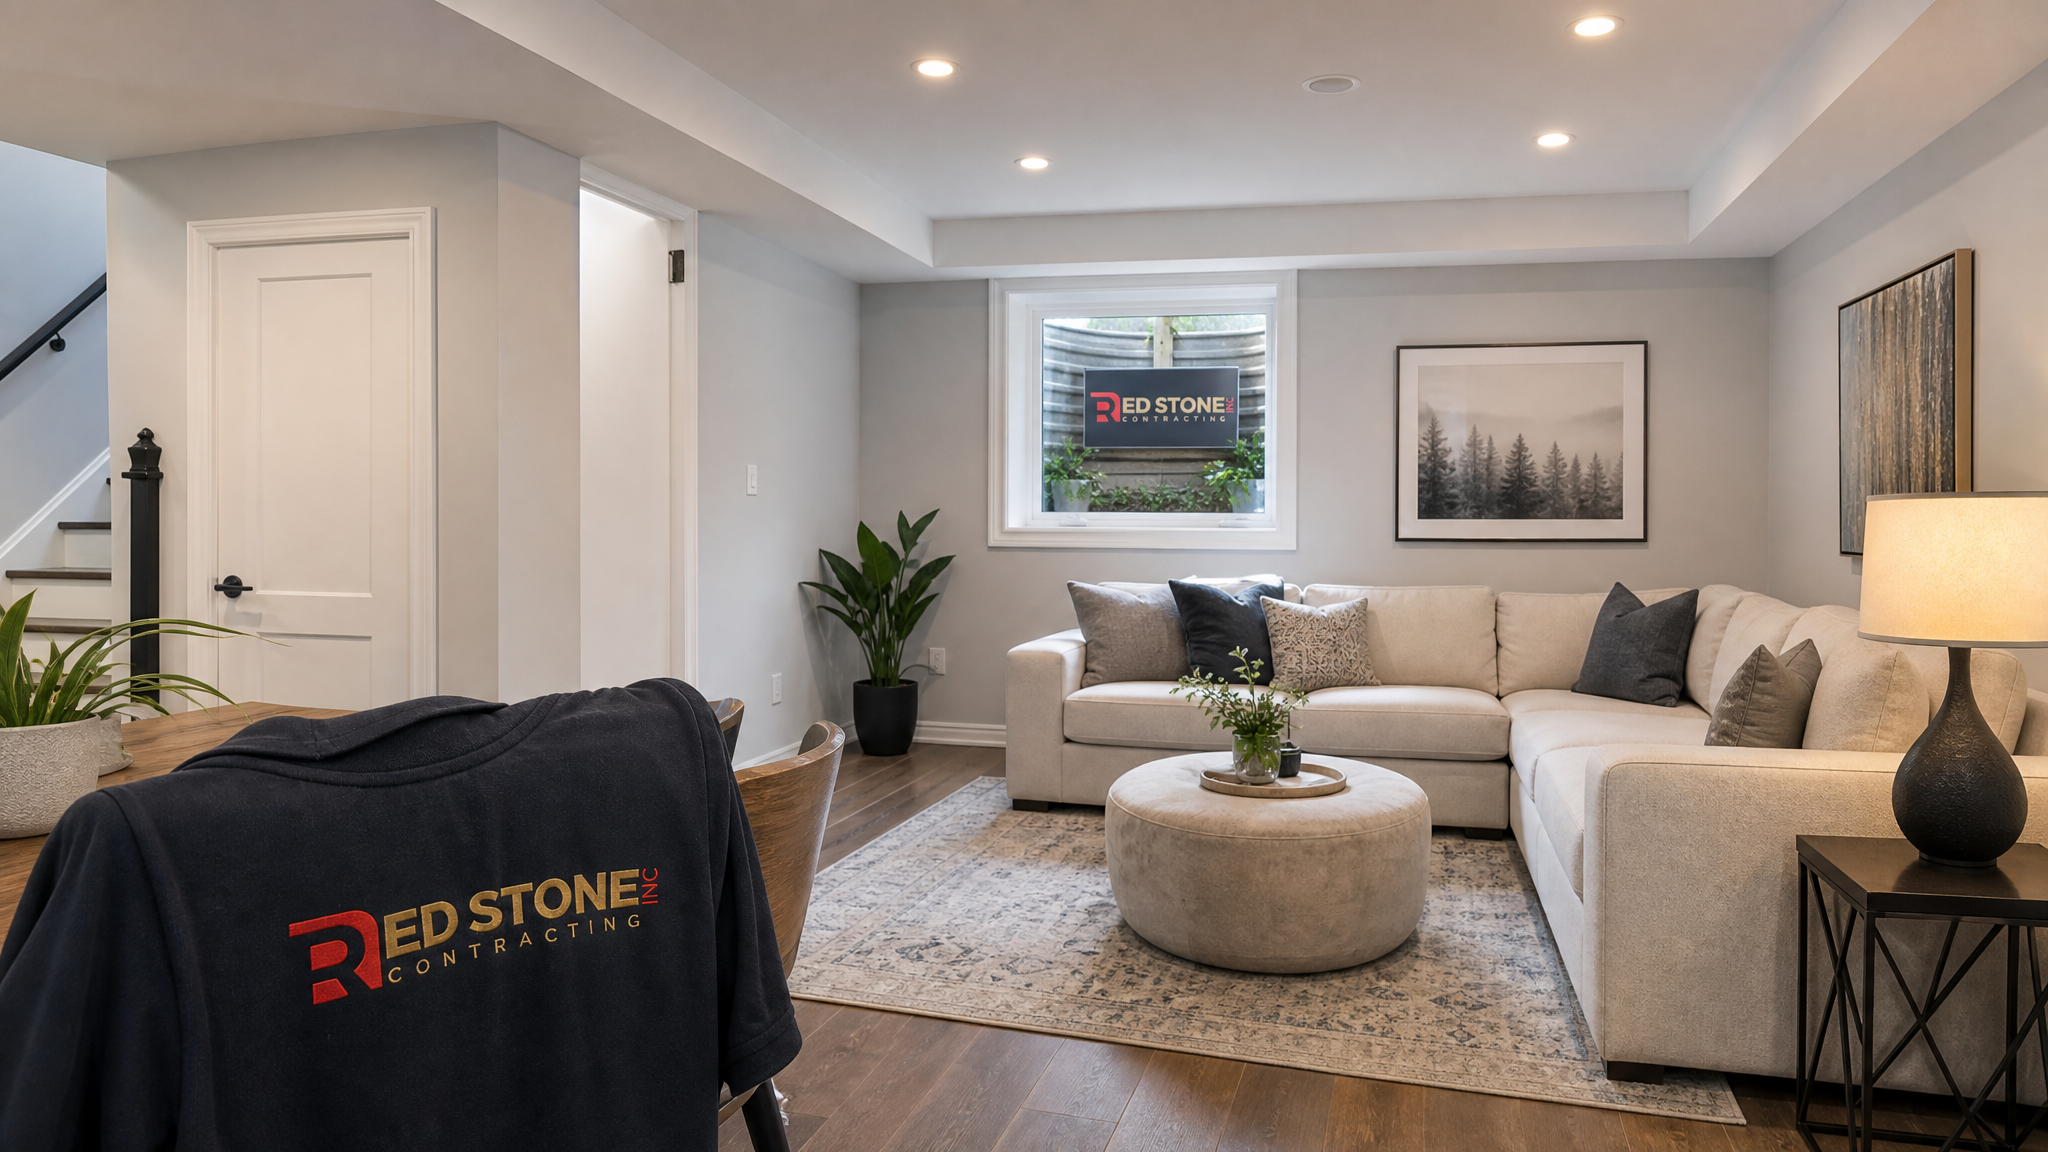
Why Basement Waterproofing Before Finishing in Toronto Matters
Finishing a basement traps your foundation walls behind framing, insulation, vapour barrier and drywall. If even a small amount of moisture is migrating through the concrete, you will never see it until it has already fed mould colonies and rotted bottom plates. This is exactly why basement waterproofing before finishing is the order of operations every reputable contractor in Toronto insists on. Once the walls are closed in, diagnosing a leak means demolition, and demolition means you pay for the same finishing twice.
Toronto and the surrounding GTA present specific challenges. Much of the older housing stock in the city core, the Beaches, Leaside and East York was built with rubble or cinder-block foundations and the original clay weeping tile, which collapses and clogs over decades. Newer subdivisions in Mississauga, Brampton and Burlington sit on heavy clay soil that holds water against the foundation and exerts hydrostatic pressure after every thaw. Add climate-driven storms that now routinely dump 50 to 75 mm of rain in an hour, and even a structurally sound foundation can weep through hairline cracks. Waterproofing addresses the cause; finishing only conceals the symptom.
There is also a real estate dimension. GTA buyers and home inspectors in 2026 are sharp about basements. A finished basement with documented waterproofing and a transferable warranty is a selling feature; a finished basement with a musty smell and efflorescence on the walls is a deal-killer that knocks tens of thousands off your asking price. Doing the work in the right sequence protects both your family’s health and your largest asset.
How to Tell Your Basement Needs Waterproofing First
Before you frame a single wall, walk your basement with a critical eye and ideally a moisture metre. Not every symptom means a catastrophic foundation failure, but every symptom means you investigate before you finish. The table below maps common warning signs to their likely cause and the typical fix.
| Warning Sign | Likely Cause | Typical Solution |
|---|---|---|
| White chalky residue (efflorescence) on walls | Moisture wicking through concrete/block | Interior membrane or exterior waterproofing |
| Damp or wet floor near wall-floor joint (cove) | Hydrostatic pressure, failed weeping tile | Interior drainage + sump pump |
| Visible vertical or stair-step cracks | Foundation settlement or seasonal movement | Crack injection (epoxy/polyurethane) |
| Musty odour, peeling paint, condensation | High humidity, vapour drive | Dehumidification + vapour control |
| Water pooling after heavy rain | Grading, downspouts, window wells | Exterior grading + drainage correction |
A professional assessment usually combines a visual inspection, moisture readings, and sometimes a camera scope of the weeping tile and drain. If you are weighing a full lower-level conversion, it pays to bundle the diagnosis with your basement renovation planning so the waterproofing scope is priced into the project from day one rather than discovered halfway through.
Interior vs Exterior Waterproofing: Methods Compared
There is no single best method; the right choice depends on your foundation type, the source of water, your budget, and whether your landscaping and porches can be excavated. Broadly, waterproofing falls into interior systems, exterior systems, and crack-specific repairs. Each has a place in the GTA.
Exterior waterproofing is the gold standard because it stops water before it touches the foundation. Crews excavate to the footing, clean the wall, apply a membrane or rubberized coating, install a dimpled drainage board, replace or supplement the weeping tile, and backfill with clear gravel. It is the most disruptive and expensive option, but it carries the longest warranty and addresses the problem at the source.
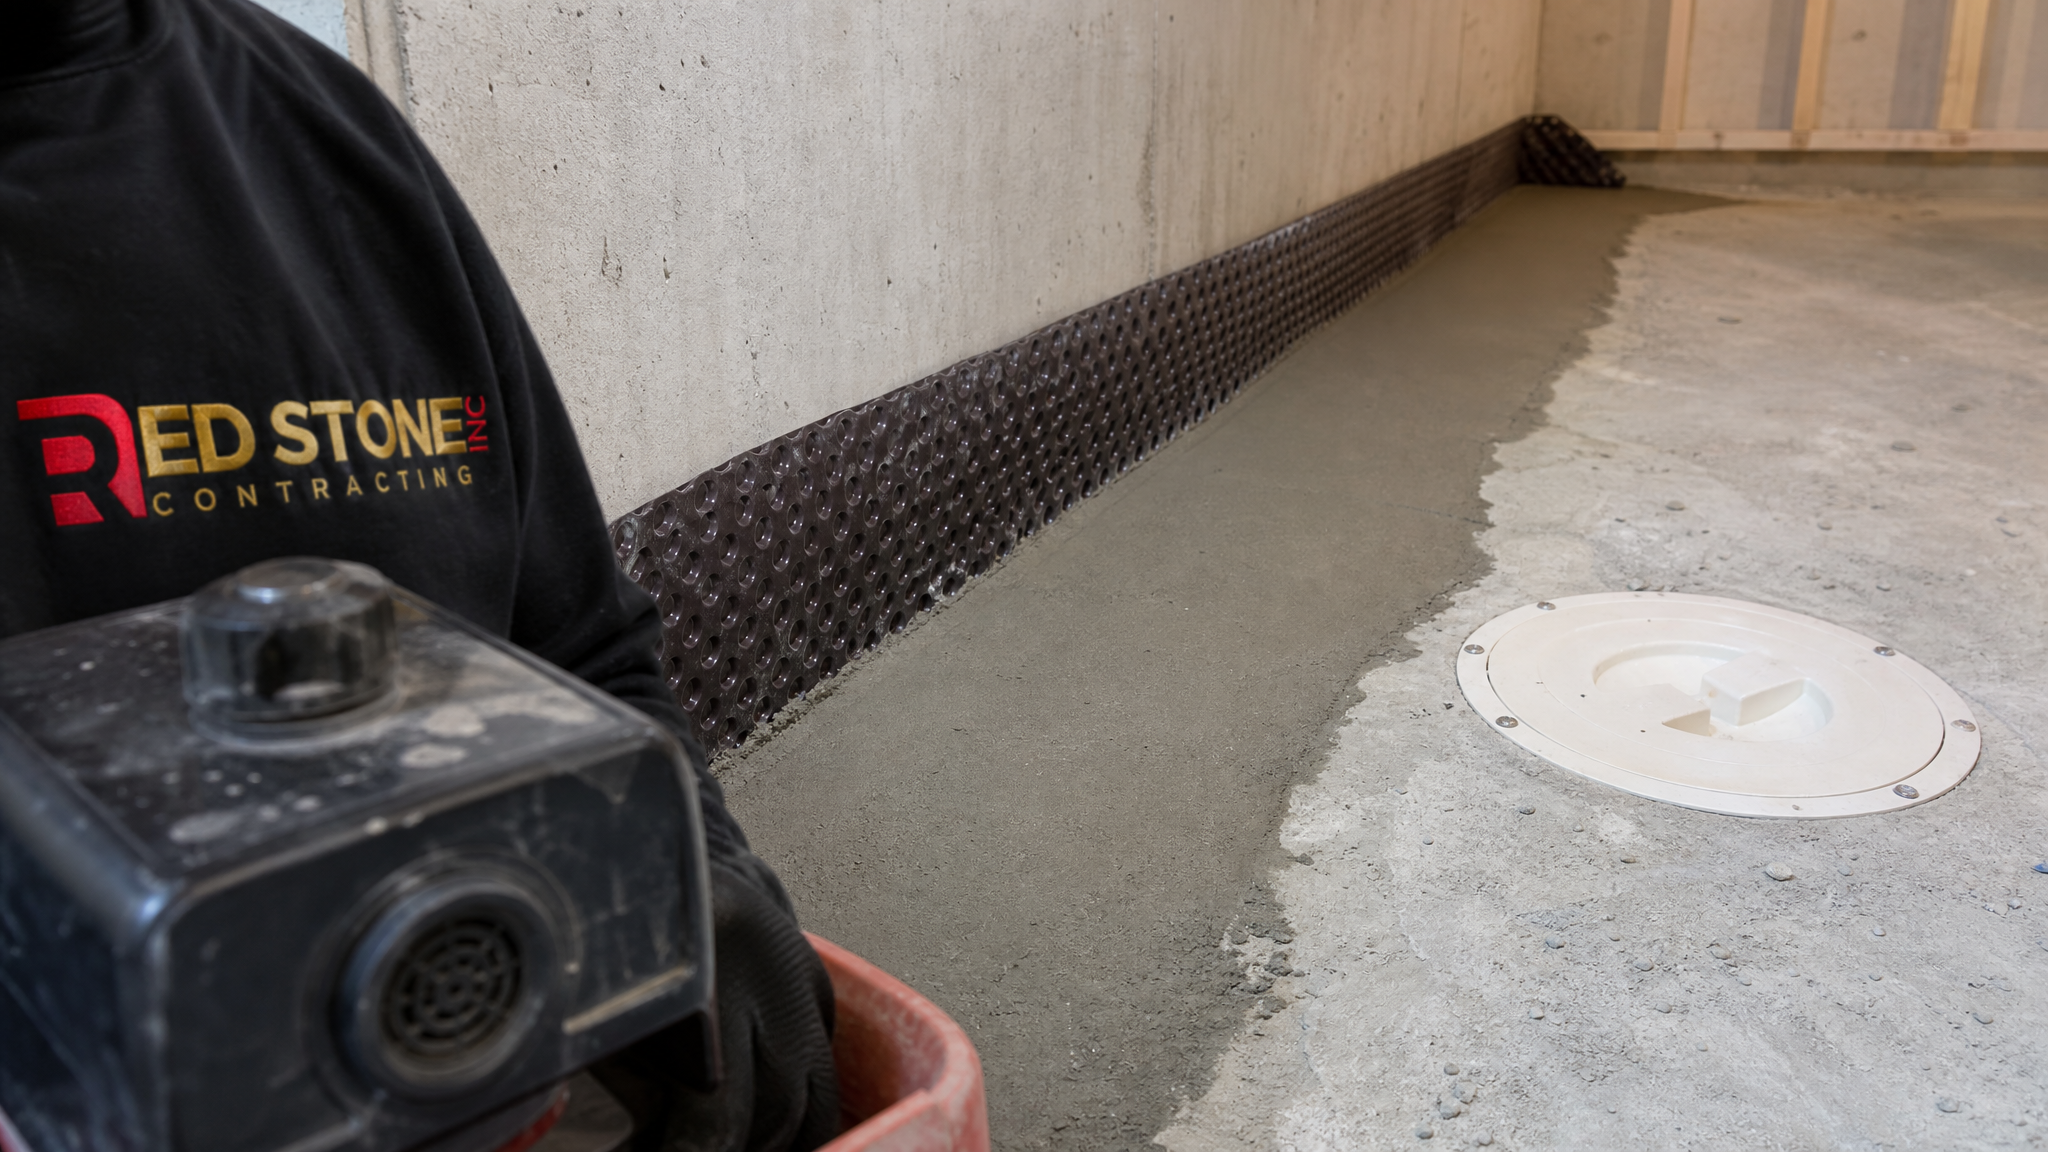
Interior waterproofing manages water that has already reached the foundation by channelling it into a perimeter drain and out through a sump pump. It is less disruptive, can be done in winter, and is often the practical choice for attached homes, tight lot lines, or finished exteriors. The trade-off is that water still contacts the concrete; you are controlling it rather than excluding it.
| Method | Best For | 2026 GTA Cost Range | Typical Warranty |
|---|---|---|---|
| Exterior excavation + membrane | Severe leaks, full wall failure | $120 to $300 per linear metre | 15 to 25 years |
| Interior perimeter drain + sump | Hydrostatic seepage, clay soil | $90 to $180 per linear metre | 10 to 25 years (often transferable) |
| Crack injection (poly/epoxy) | Single poured-wall crack | $450 to $900 per crack | 5 to 10 years |
| Interior membrane / vapour control | Minor dampness before finishing | $1,800 to $4,500 total | Material-dependent |
| Sump pump + battery backup install | Power-outage insurance | $1,200 to $3,000 | 3 to 7 years (pump) |
For many GTA homes the smartest approach is a hybrid: inject any active cracks, install an interior drainage system to manage hydrostatic pressure, correct exterior grading and downspouts, and add a reliable sump with battery backup. A seasoned renovation team can scope this alongside your finishing plan so the systems integrate cleanly with future framing.
The Correct Sequence: From Dry Foundation to Finished Room
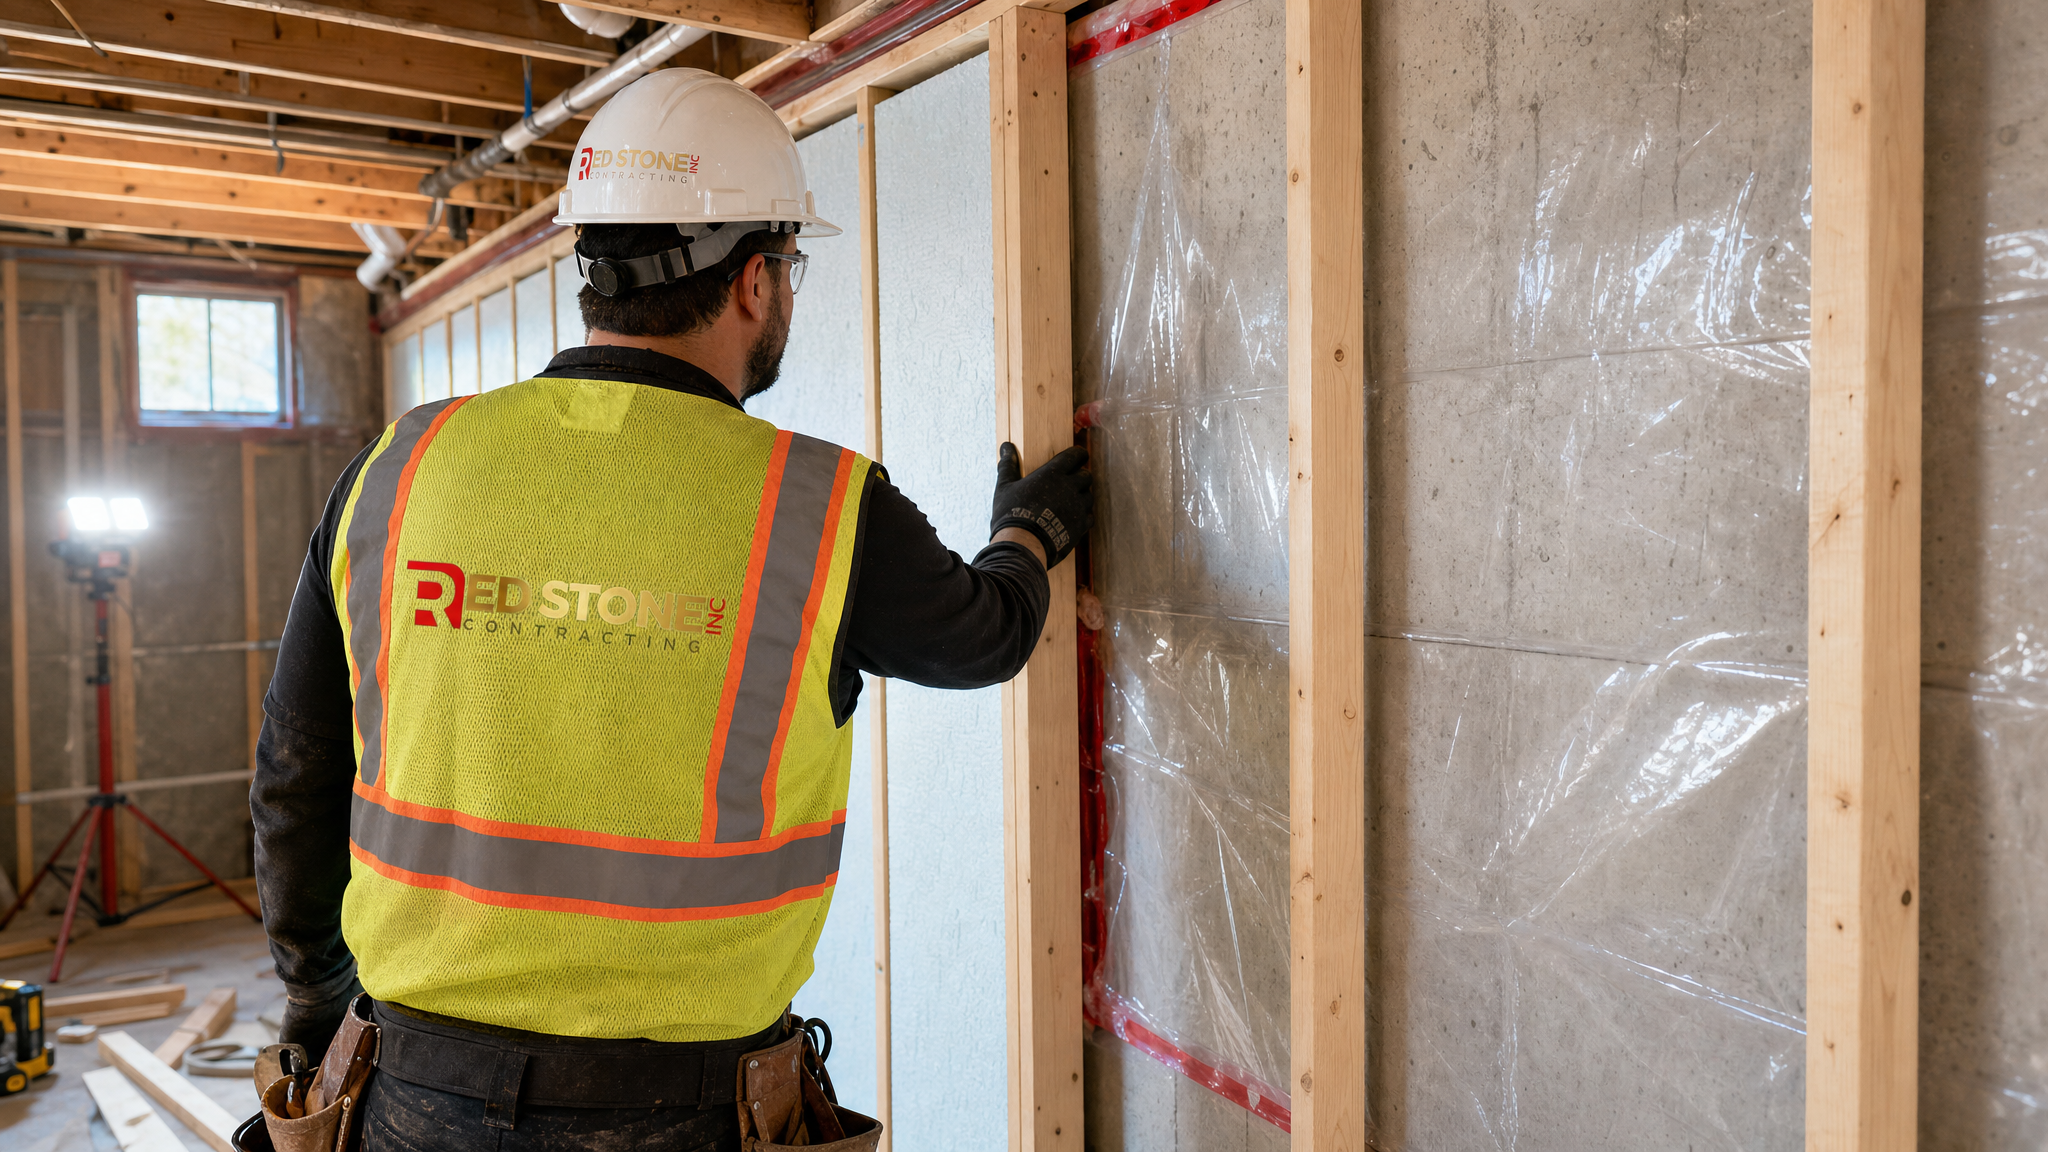
Sequencing is everything. Skipping a step or doing it out of order is the most common reason GTA basements fail their first wet season. Here is the order professional crews follow, and why each stage depends on the one before it.
| Phase | Work Performed | Typical Duration |
|---|---|---|
| 1. Assessment | Moisture testing, crack mapping, drain scope | 1 to 2 days |
| 2. Waterproofing | Crack injection, interior/exterior system, sump | 3 to 7 days |
| 3. Drying & verification | Concrete cure, moisture re-test, observe a rain event | 1 to 3 weeks |
| 4. Rough-in | Electrical, plumbing, HVAC, permits | 1 to 2 weeks |
| 5. Insulation & framing | Rigid foam, vapour control, steel/wood studs | 1 to 2 weeks |
| 6. Finishing | Drywall, flooring, trim, paint | 3 to 6 weeks |
Notice phase three: a deliberate drying-and-verification window. Good contractors will not close in walls until the system has been tested against an actual rainfall or a controlled flood test of the drain. This patience is what separates a basement that stays dry for decades from one that traps moisture behind new drywall. If you are coordinating multiple trades, working with a single design-build team through integrated design solutions keeps the waterproofing, framing, and finishing schedules in lockstep.
Toronto Building Code and Permit Considerations for 2026
Finishing a basement in the GTA almost always triggers a building permit, and the work must satisfy the Ontario Building Code. Waterproofing itself rarely needs a permit, but the finishing that follows does, and inspectors will look closely at moisture management, insulation, egress and ventilation. Knowing the requirements upfront keeps your project legal and your future resale clean.
| Requirement | 2026 Specification (Ontario / Toronto) |
|---|---|
| Ceiling height | Minimum 1.95 m over required areas for habitable space |
| Egress window (bedroom) | Min. 0.35 m² openable, no dimension under 380 mm, sill within 1.5 m of floor |
| Wall insulation (full height) | Effective R-value to meet current SB-12 / energy provisions |
| Vapour barrier / control | Continuous, sealed; rigid foam recommended against concrete |
| Smoke & CO alarms | Interconnected on every level, including the new basement |
Egress is the requirement most homeowners underestimate. If your plans include a bedroom, you will likely need an enlarged egress window with a proper window well and drainage, which itself becomes a waterproofing detail. Coordinating window-well drainage with your perimeter system prevents a brand-new leak point. Reputable GTA renovators handle the permit drawings, inspections, and code compliance as part of a turnkey scope, which is one reason homeowners across Toronto renovation services and Mississauga renovation services prefer a full-service contractor over piecing the job together.
Budgeting: What Waterproofing Plus Finishing Really Costs in the GTA
Homeowners often budget for finishing and forget waterproofing, then face sticker shock mid-project. Building the waterproofing into your number from the start gives you a realistic figure and protects the investment. The ranges below reflect 2026 GTA labour and material pricing for a typical 700 to 1,000 square foot basement.
| Scope Item | Low | High |
|---|---|---|
| Waterproofing (interior system + sump + cracks) | $9,000 | $22,000 |
| Framing, insulation, vapour control | $8,000 | $16,000 |
| Electrical, plumbing, HVAC rough-in | $7,000 | $18,000 |
| Drywall, flooring, trim, paint | $15,000 | $35,000 |
| Bathroom addition (optional) | $12,000 | $28,000 |
| Permits & engineering | $1,500 | $4,500 |
A complete waterproofed-and-finished basement in the GTA commonly lands between $50,000 and $110,000 depending on size, bathroom inclusion, and finish level. Waterproofing typically represents 10 to 20 percent of the total, money that protects the other 80 percent. If you are adding a bathroom or kitchenette to create an in-law suite, the plumbing and our bathroom renovation expertise should be sequenced after waterproofing and before finishing. Larger projects that expand the home’s footprint may also intersect with home additions planning.
Common Mistakes Toronto Homeowners Make
Experience across hundreds of GTA basements reveals the same avoidable errors. Knowing them helps you ask better questions and hire the right team.
Painting over the problem. Waterproofing paint on the interior may hide efflorescence for a season, but it does nothing for hydrostatic pressure and often blisters off, taking your finishes with it.
Finishing before a wet-season test. Closing walls in during a dry summer feels productive, then the spring thaw reveals the leak you never tested for. Always verify against real water.
Ignoring the exterior basics. Roughly a third of GTA basement moisture comes from poor grading, disconnected or short downspouts, and clogged window wells, the cheapest fixes that homeowners skip.
Sealing the foundation without a drainage path. If you block water without giving it somewhere to go, pressure simply finds the next weak point. Drainage and a sump must accompany sealing.
No vapour strategy. Even a dry foundation drives vapour into warm finished space. Rigid foam against the concrete and a sealed, continuous vapour control layer prevent condensation inside the wall assembly.
Avoiding these mistakes is largely about hiring a contractor who treats the basement as a single integrated system rather than a sequence of disconnected trades. That whole-home perspective is why families across Burlington renovation services rely on a design-build approach for projects from basements to a full custom home renovation.
Do I really need basement waterproofing before finishing my Toronto basement?
How much does basement waterproofing before finishing cost in the GTA in 2026?
Interior or exterior waterproofing, which is better?
How long should I wait after waterproofing before finishing the basement?
Will waterproofing my basement add value when I sell in Toronto?
Do I need a permit for basement waterproofing and finishing?
Schedule Your Basement Waterproofing Before Finishing Toronto Project Today
Protect your investment by getting the sequence right from the start. Red Stone Contracting brings a whole-home, design-build approach to every lower-level project, integrating waterproofing, code compliance, and finishing into one coordinated scope so your basement stays dry for decades, not just one dry summer.
Call us today at (905) 901-1006 or request a free consultation to get started with a professional moisture assessment and a transparent, all-in quote.
Red Stone Contracting proudly serves homeowners across Toronto, Mississauga, Burlington and the Greater Toronto Area with expert basement waterproofing, finishing, and full-home renovation services.