
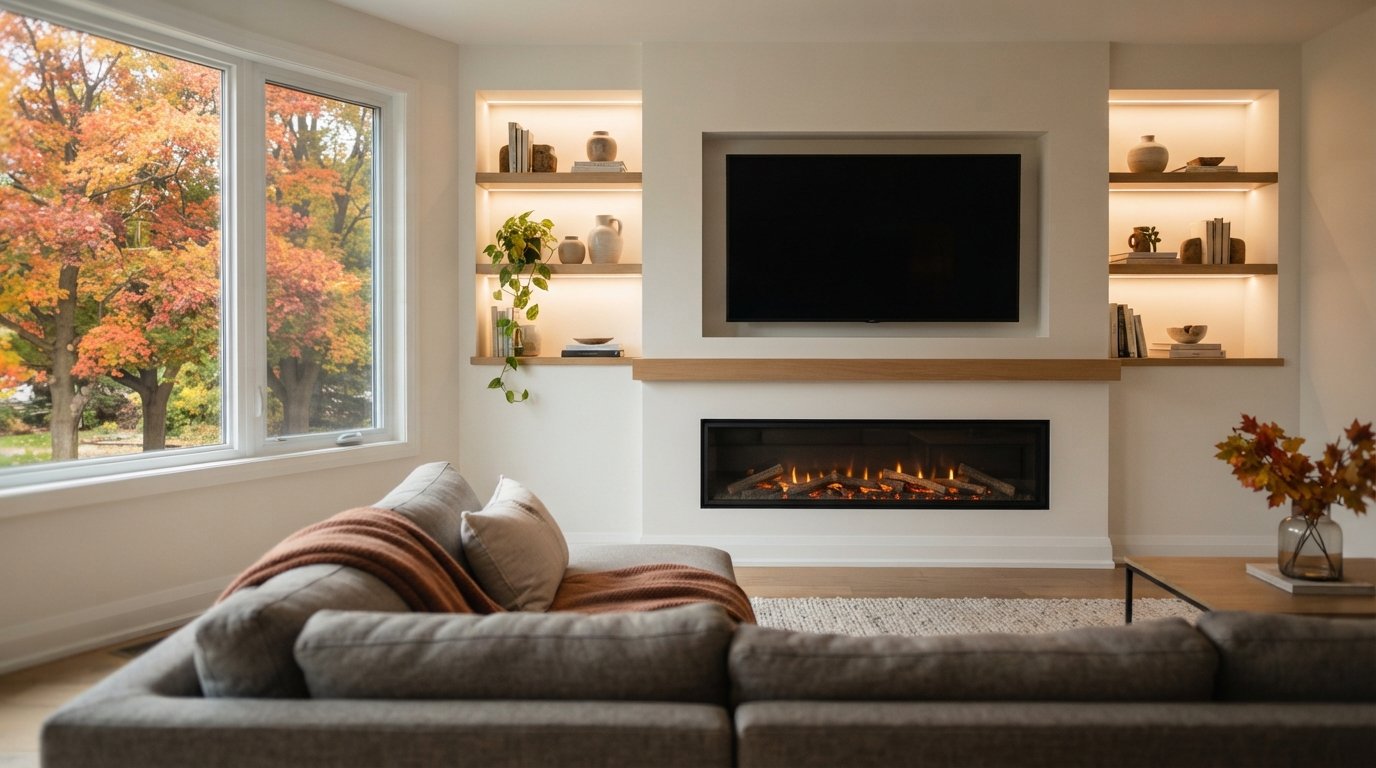
A media wall pulls the television, fireplace, storage and lighting into one built feature, so the cables disappear and the room has a clear focal point. It is also one of the easiest built-ins to get subtly wrong: a screen mounted too high, a fireplace that bakes the TV above it, a sealed cabinet that overheats the receiver, or an HDMI cable buried in drywall that fails two years later. With the evenings drawing in and more time spent indoors, autumn is when many homeowners decide the family room needs a proper focal wall, and planning it carefully before framing starts is what separates a feature you love from one you keep working around.
What A Media Wall Is And How It Is Built
At its simplest, a media wall is a framed bump-out in front of an existing wall that creates depth for a recessed TV, a fireplace insert, hidden wiring and sometimes shelving. More elaborate versions use custom cabinetry across the full width of the room. The approach you choose affects how much floor space the wall takes, what it costs and how easily it can be changed later.
| Build approach | Typical depth | Strengths | Trade-offs |
|---|---|---|---|
| Drywall bump-out with TV niche | Shallow to moderate | Clean, modern look; cost effective | Limited storage unless cabinets are added |
| Bump-out with fireplace insert | Set by the insert’s specifications | Strong focal point, heat and ambience | Needs careful TV height and clearance planning |
| Full width custom millwork | Cabinet depth plus framing | Lots of storage and display | Highest cost; takes more floor space |
| Feature panel without bump-out | Very shallow | Saves floor space; slats or panels hide wiring channels | No recess for TV or fireplace |
Framing is usually wood or steel studs, set out from the existing wall and anchored to the floor, ceiling and wall framing. Deciding on the depth early matters, because everything else, from the fireplace insert to the TV niche, has to fit inside it. A design stage that lays out the TV, insert, cabinets and lighting together at scale saves costly rework; our design solutions service exists for exactly this kind of coordinated built-in.
Framing details that are easy to miss
- Existing services on the wall. Outlets, cable jacks, thermostats and heat registers on the original wall have to be extended, relocated or deliberately abandoned by the right trade. A supply register hidden behind a bump-out leaves part of the room without heat.
- Exterior walls. If the media wall goes against an outside wall, the bump-out should not disturb the existing insulation and vapour barrier. Penetrations into the outer wall for wiring should be sealed so cold air does not find a new path in.
- Room depth. Every centimetre of bump-out comes off the room. In a narrow family room, a shallow niche or a side by side layout may be better than a deep, fireplace depth wall.
- Future screens. TVs keep getting larger and thinner. Size the niche and blocking for the next screen, not just the current one, and leave conduit capacity for cables you do not own yet.
TV Blocking And Mount Height
Blocking behind the drywall
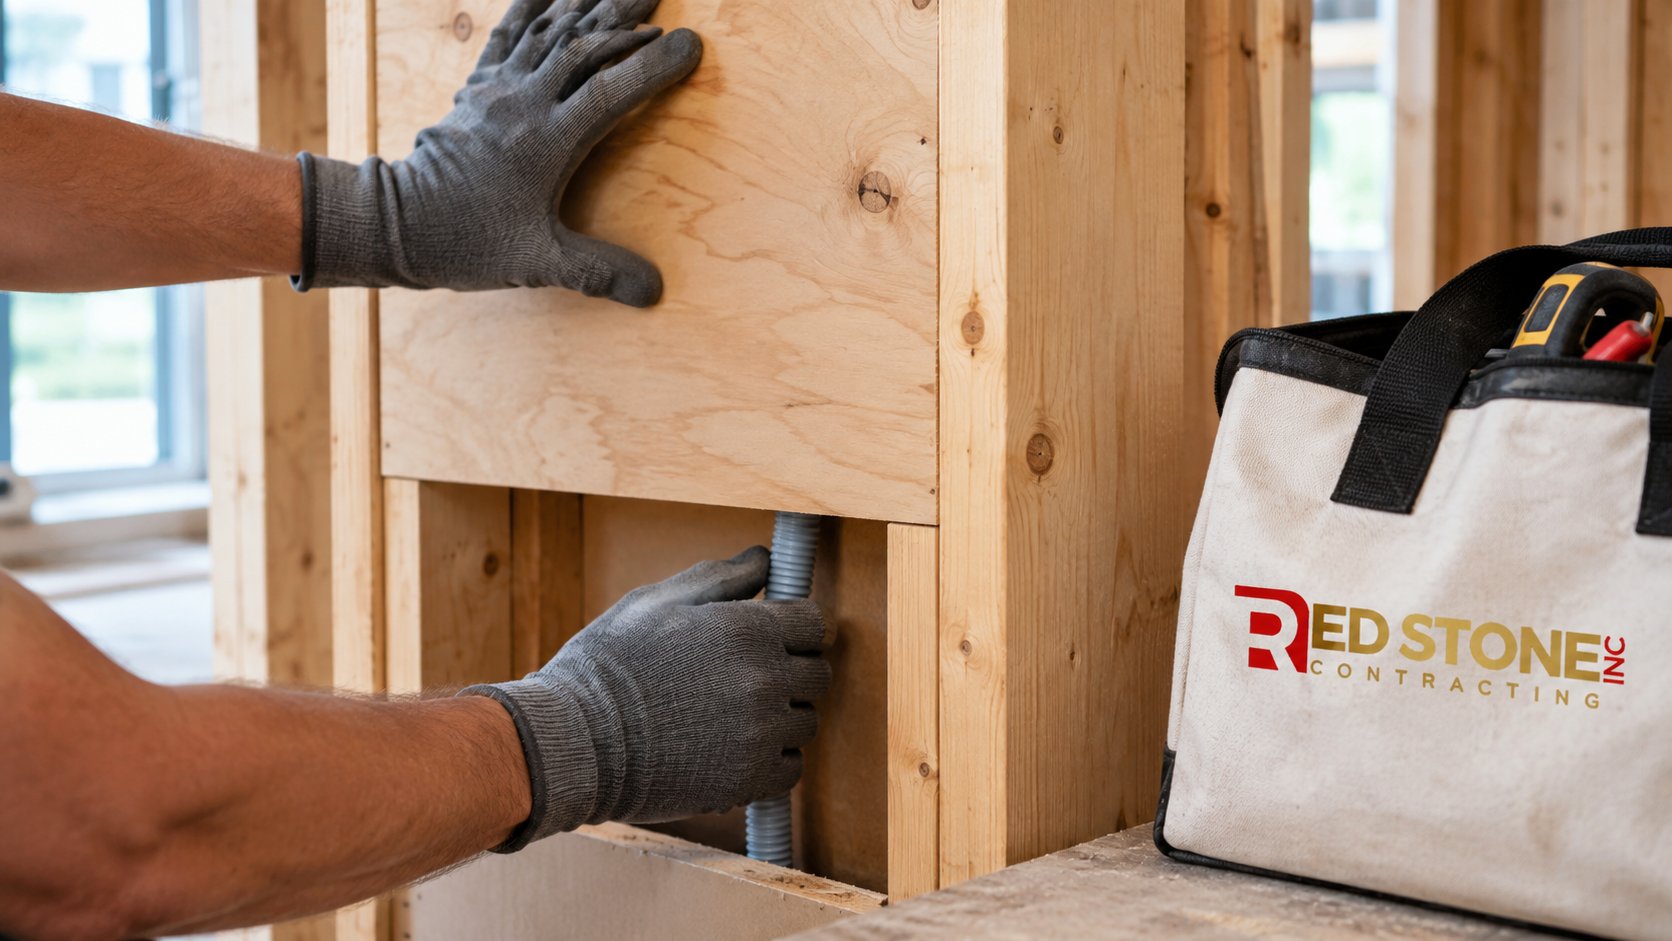
A modern TV is not especially heavy, but an articulating arm puts a lot of leverage on its fasteners when it is pulled out and swivelled. Rather than trying to hit two studs, many builders sheet the whole TV area of the bump-out in plywood behind the drywall, or install solid lumber blocking across the area. That lets the mount go exactly where it should rather than where the studs happen to be, and it leaves room for a larger screen in the future. With steel studs, solid blocking is essential because the studs themselves are not a good anchor.
How high should the screen go?
For comfortable viewing, many designers aim to put the centre of the screen near seated eye level, which for a typical sofa often lands roughly around a metre off the floor. That is a starting point, not a rule: seat height, room depth and screen size all play a part. Viewing distance matters too; a larger screen needs more distance, and a common rule of thumb for 4K screens is to sit somewhere around one to one and a half times the diagonal away.
The classic mistake is mounting the TV high above a fireplace, which pushes the screen well above eye level and leads to neck strain. If you want both, options include:
- Choosing a low, linear fireplace placed close to the floor so the TV can sit lower above it.
- Placing the fireplace and TV side by side on a wide wall.
- Using a pull-down mount that brings the screen down to viewing height when in use.
Before the wall is closed, tape the TV’s outline on the drywall or framing and sit on your sofa to check the height. It costs nothing and prevents a permanent compromise.
Wiring A Media Wall: Power And Low Voltage
The difference between a media wall that ages well and one that frustrates you is usually what is inside it. The goal is to hide every cable while keeping every cable replaceable.
- Conduit, not buried cables. Install flexible conduit from the TV location down to the equipment cabinet, wide enough to pull HDMI and data cables through later. HDMI standards change and cables fail; with conduit, replacing one is a short job instead of opening a wall.
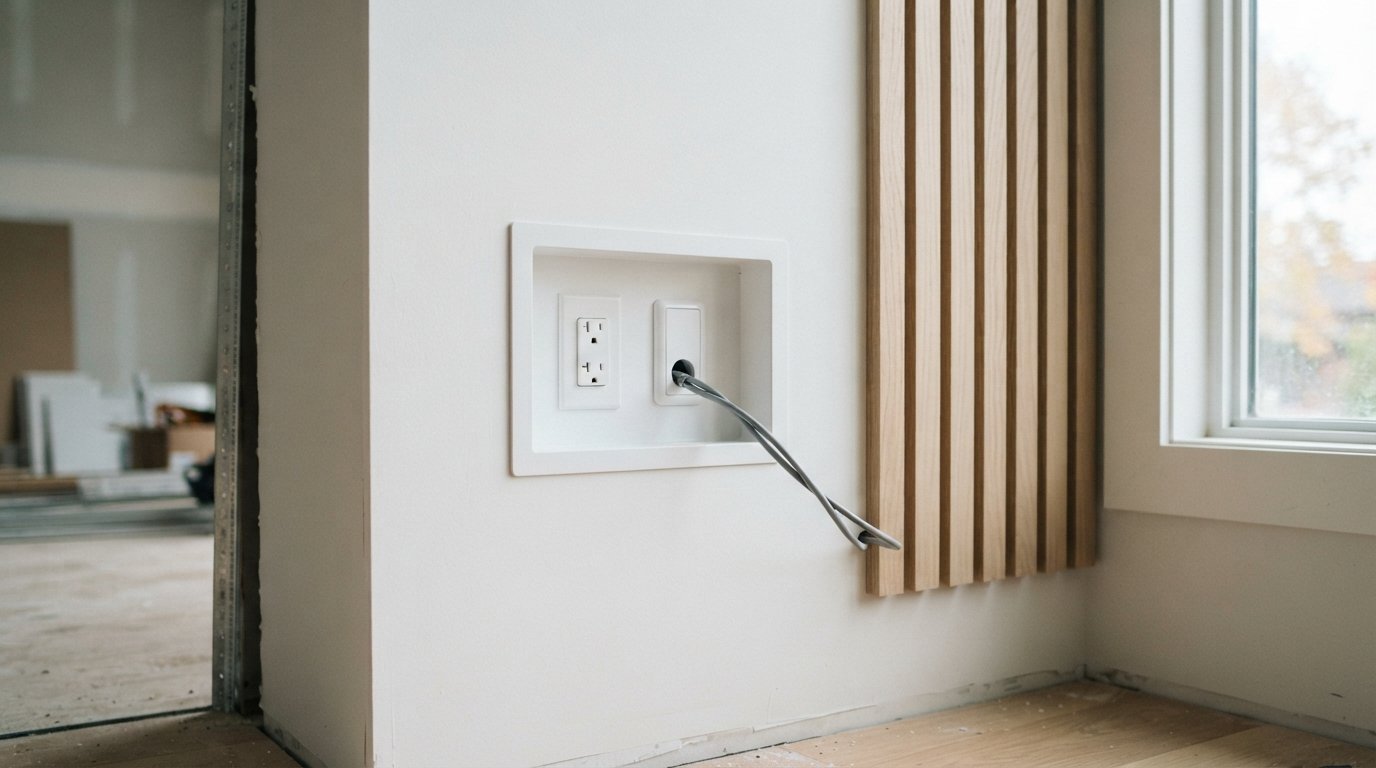
- Power behind the TV. A TV’s power cord is not designed to run inside a wall. The right approach is a receptacle installed behind the screen, often in a recessed box that keeps plugs flush so the TV can sit tight to the wall. That is electrical work for a licensed electrical contractor.
- Separate power and signal. Keep low voltage cables away from power wiring, crossing at right angles where they must, to reduce interference.
- Wired data. Run network cable to the TV and the equipment cabinet even if you use Wi-Fi now. Streaming boxes and consoles work better when wired.
- Speaker wire. Use wire rated for in-wall use for any built-in speakers or a subwoofer.
| Item | Where it goes | Why it matters |
|---|---|---|
| Recessed power and data box | Behind the TV, centred on the mount | Lets the TV sit flush and hides plugs |
| Flexible conduit | From TV box down to the equipment cabinet | Cables can be replaced or added later |
| Network cable | To the TV and the cabinet | Reliable streaming and updates |
| Fireplace power | As specified in the insert’s manual | Some plug in, some are hardwired or need a dedicated circuit |
| Lighting circuits and drivers | Accessible location, such as inside a cabinet | LED drivers fail eventually and must be reachable |
| Speaker or soundbar wiring | Below or around the TV and to the subwoofer spot | Avoids visible wires across the room |
New receptacles, circuits and hardwired fireplace connections are ESA-notified work in Ontario. Make sure the quote names who is doing the electrical and includes the notification, rather than discovering it later as an extra.
Ventilation For Electronics
Receivers, game consoles and streaming devices produce heat, and a closed cabinet with no air flow can push them past their operating limits. That shortens their life and can cause shutdowns during a long movie or game.
- Leave space around equipment as its manufacturer recommends, especially above receivers.
- Use open backs or vent cut-outs to let warm air escape into the wall cavity or room, and an intake at the bottom.
- Consider a quiet, thermostatically controlled cabinet fan for equipment that runs warm.
- Remote signals need a path. Glass, mesh or slatted doors work with infrared remotes; solid doors may need an IR repeater or devices that use radio or Bluetooth control.
Electric Fireplace Inserts And Clearances
Electric fireplace inserts are popular in media walls because they need no venting and can be installed in a framed wall. They still have clear installation requirements, and every model is different.
- Follow the manufacturer’s installation manual for framing dimensions, clearances to combustible materials, mantels and the TV above, and the type of power connection.
- Heater outlets are usually at the top or bottom of the insert. A top-discharge heater directly under a TV can warm the screen; many models are designed to direct heat forward or downward, which suits a media wall.
- Finishes around the opening may need to be within certain limits, so check the manual before choosing stone, tile or wood surrounds.
- Service access matters. Some inserts are serviced from the front; others need a removable panel. Plan accordingly.
Gas fireplaces are a different project. They require venting, a gas line and installation by a TSSA-registered gas contractor following the manufacturer’s instructions and Ontario’s gas code. If you want a gas unit in a media wall, plan the vent route and clearances from the start.
Lighting And Finishes
Lighting that adds depth without glare
- LED strips in recessed aluminium channels with diffusers give smooth lines along shelves, niches and the top of the bump-out.
- Bias lighting behind the TV reduces eye strain in a dark room.
- Downlights should not sit where they reflect on the screen; check sightlines from the seating.
- Dimmers on separate circuits let you set the mood for movies versus general use.
- Warm colour temperatures suit living rooms; match all fixtures for consistency.
Choosing finishes
Matte paint reduces reflections around the screen. Wood slat panels add warmth and some acoustic softening, and the gaps can hide access to wiring. Large format porcelain or stone around a fireplace is striking but heavy, so the framing has to be designed to carry it and the finish must suit the insert’s clearance requirements. Custom millwork in a painted or wood veneer finish can match existing cabinetry in the house.
Soundbar And Speaker Planning
Audio is often an afterthought, yet it affects where everything else goes.
- Soundbar under the TV. Plan a shelf or bracket at the right height and leave the front open. Tucking a soundbar deep into a niche muffles it.
- In-wall or in-ceiling speakers. They disappear visually but need rough-in wiring, back boxes and correct placement relative to seating. Decide on them before drywall.
- Subwoofer. A sub can sit in a vented cabinet or a corner, but it needs a power outlet and signal path planned in advance.
- Acoustics. Soft furnishings, rugs and slat panels help tame echo in rooms with hard floors and large windows.
These decisions shape the cabinet layout, wiring plan and lighting. Homeowners planning home renovation across Toronto and the wider area often fold a media wall into a broader family room update so flooring, lighting and audio are coordinated.
Build Sequence: Equipment First, Drywall Last
A media wall most often gets rebuilt because it was framed before the equipment was chosen. Working in this order prevents that:
- Choose the equipment first: TV size, fireplace insert model, soundbar or speakers. Get the spec sheets.
- Draw the wall at scale with the TV, insert, cabinets, shelves, lighting and seating positions, including viewing height.
- Frame and block to those drawings, with framing sized for the insert and any heavy surround.
- Rough in power, conduit, data, speaker wire and lighting, then have the electrical work inspected as required.
- Test before closing up: pull a cable through the conduit and power up the insert if the manual allows.
- Drywall, millwork and finishes, then mount the TV and set up the equipment.
Skipping the first step is the most common error. Framing a niche before the fireplace insert is chosen often means rebuilding it when the chosen model is a few centimetres deeper or taller than expected.
Budgeting For A Built-In TV Wall
Every figure here is a rough estimate. Wall width, materials, the fireplace, the electrical scope and the finish level all shift it.
| Build | Rough estimate | Main variables |
|---|---|---|
| Drywall bump-out with TV niche, blocking and conduit | Often $3,000 to $8,000 | Wide walls, recessed boxes, added lighting |
| Bump-out with electric fireplace insert | Often $8,000 to $20,000 | Large linear inserts, stone or porcelain surrounds |
| Full width custom millwork media wall | Often $15,000 to $40,000 or more | Veneers, glass doors, integrated lighting |
| Electrical work and new circuits | Often a few hundred to a few thousand dollars | Dedicated circuits, long runs, panel capacity |
| In-wall or in-ceiling speaker rough-in | Varies widely by system | Number of speakers, premium components |
Quick Answers On Media Walls
Can I put a TV above an electric fireplace?
Is it safe to run the TV cord inside the wall?
How deep does a media wall need to be?
Will my equipment overheat in a cabinet?
Should I run conduit even if I use Wi-Fi?
What permits does a built-in TV wall need?
Design A Media Wall That Works For Years
The best media wall looks simple because the hard work, such as blocking, conduit, ventilation and fireplace clearances, was planned before the drywall went up. Red Stone Contracting can design and build a media wall that suits your room, your equipment and the way your family uses the space.
Call us today at (905) 901-1006 or request a free estimate.
Designing and building family rooms for homeowners in Toronto and across the wider GTA.