
Popcorn ceiling removal looks like a simple weekend job until you learn what that bumpy white texture might be made of. In many Ontario houses built or renovated before about 1990, sprayed acoustic texture was mixed with asbestos fibres, and you cannot tell by looking. The order of operations matters more than the scraper: test first, choose a method second, and plan dust control and lighting before anyone touches the ceiling.
Here is how testing works, what changes when a sample comes back positive, the three realistic ways to get a flat ceiling, and how to read a quote.
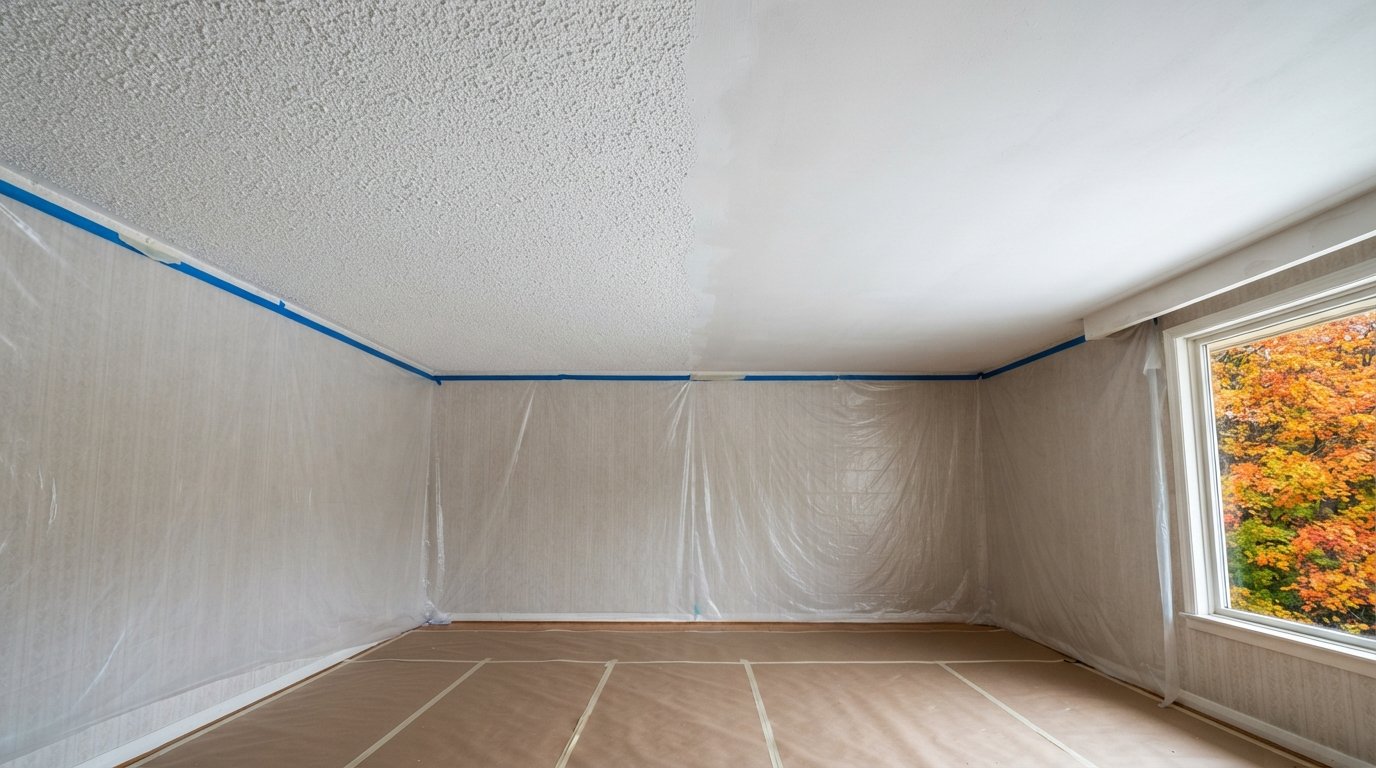
Why Popcorn Ceiling Removal Starts With A Lab Test
Sprayed ceiling texture was popular for decades because it was fast, hid uneven drywall seams and softened sound. Some of those mixes contained chrysotile asbestos. Canada now prohibits the manufacture, import and sale of asbestos products, but that does nothing about material already installed in older homes. If your house predates about 1990, or you do not know when the ceiling was sprayed, treat the texture as suspect until a lab says otherwise.
Intact asbestos texture that nobody touches poses a low risk. Scraping, sanding, drilling for pot lights or pulling down a fixture releases fibres too small to see, and they settle into carpets, ductwork and furniture. Once a house has been contaminated, the cleanup costs far more than the test would have.
How sampling actually works
A proper sample is a small piece of texture taken through its full depth to the drywall paper, sealed in a bag and sent to a laboratory accredited for bulk asbestos analysis, usually by polarized light microscopy. A few points make the result more useful:
- Sample every distinct area. Ceilings were often sprayed at different times, and a basement or addition may have a different product.
- Include patches. A spot repaired after a leak can test differently from the original spray.
- Ask about the joint compound. Some older drywall compounds also contained asbestos. If seams will be sanded or drywall removed, they may need testing too.
- Use a qualified sampler. Cutting a sample is itself a small disturbance. Have an asbestos consultant or abatement firm collect it with the area misted and the cut sealed afterward.
Results usually take a few business days. Keep the lab report for your contractor, a future buyer and your own records.
If The Sample Tests Positive
A positive result does not mean your family has been harmed. It means nobody should disturb that ceiling except a firm trained and equipped for asbestos work. In Ontario, asbestos work by contractors falls under a regulation made under the Occupational Health and Safety Act that sorts operations by risk and sets out containment, protective equipment, training and disposal requirements. Removing anything more than a small patch of sprayed texture is generally treated as higher-risk work, which typically means a sealed enclosure, negative air pressure with HEPA filtration, a decontamination area and air testing before the enclosure comes down.
The details depend on scope and can change, so confirm current requirements with an asbestos abatement contractor or an independent consultant, and ask them which risk classification your job falls under.
Asbestos popcorn ceiling removal is never a DIY project, however small the room. The waste also has to be bagged, labelled and taken to a disposal site that accepts it, not left at the curb.
Your options after a positive result
- Abatement, then refinish. The abatement firm removes the texture under containment and provides clearance documentation. A renovation contractor then skims, primes and paints.
- Encapsulate and cover. Sometimes the texture can be sealed and covered with new drywall. That still means screwing through it, so the abatement firm or consultant should approve the approach and specify precautions.
- Leave it alone. An intact ceiling you have no plans to drill into can reasonably stay for now. Record its location so future trades know.
Ceilings like this often turn up during wider projects, and our restoration work on older homes is planned around test results from the first site visit, not discovered halfway through demolition.
The Three Real Ways To Get A Smooth Ceiling
Once the texture is confirmed asbestos-free, or abatement is complete, the question becomes how to get a flat, paintable surface. Each of the three methods suits a different ceiling.
1. Wet scrape and skim coat
The texture is misted with water, given time to soften, then scraped off with a wide blade. Unpainted texture usually releases easily. Painted texture is the problem: paint seals the surface so water cannot soak in, and the crew may need to score it, use a removal product or switch methods.
Bare drywall after scraping is never as clean as people expect. There are fastener heads, old tape seams, blade gouges and patches of torn paper. Torn paper must be sealed with a primer made for that purpose before any compound goes on, or moisture in the compound raises the paper into bubbles. Then come two or three skim coats, sanding between, primer and finish paint.
2. Skim coat over the texture
Where the texture is thin, firmly bonded and already painted, a crew can knock down the high points, apply a bonding primer and build skim coats over it. It avoids soaking and much of the debris. The trade-off is weight and bond: if the original texture is loose in spots, the new compound pulls it off in sheets. A test patch in a corner tells you quickly whether this method will hold.
3. New drywall over the existing ceiling
Fastening thin drywall or lightweight ceiling board through the old ceiling into the joists creates a new surface with no scraping at all. It is the cleanest option inside the house and often the best one for ceilings that are cracked, sagging, stained or heavily patched. It also suits rooms getting pot lights, because the new layer goes up after the wiring.
You lose a little height, every electrical box needs an extender, and crown moulding and ceiling registers have to be reset. Moving boxes or adding lights is electrical work that needs an ESA notification in Ontario, which is one more reason to bring in a licensed electrician.
| Factor | Wet scrape and skim | Skim coat over | New drywall over |
|---|---|---|---|
| Best suited to | Unpainted texture on sound drywall | Thin, painted, well-bonded texture | Cracked, stained or heavily patched ceilings |
| Mess inside the home | Highest: wet debris and sanding dust | Moderate: mainly sanding dust | Lowest: cutting and taping only |
| Ceiling height change | None | Negligible | Slight, depending on board thickness |
| Main risk | Torn paper and gouges causing bubbles | Loose texture letting go under compound | Missed joists, fastener pops, box depth issues |
| Works with asbestos texture | Only after specialist abatement | Only with specialist approval | Only as an approved encapsulation plan |
Choosing A Method For Your Ceiling
The right method depends on what is above the ceiling as much as what is on it.
- Has the texture been painted? Hold a damp sponge against it for a minute. If it softens, scraping will be straightforward. If water beads and runs, plan on extra effort or a cover-over method.
- Is there an attic directly above? Top-floor ceilings often sit under loose insulation. Soaking that drywall can make it sag, especially thinner board. Light misting in sections is safer than flooding the surface.
- What condition is the drywall in? Water stains, nail pops and cracked seams all need fixing after scraping. If there are many, new board over the top may cost less in labour.
- Are you changing the lighting? Adding pot lights or moving a fixture is easiest before the final surface goes on.
You can phase the work floor by floor if you need to keep living in part of the house. Homeowners who combine popcorn ceiling removal with a whole-home renovation tend to get the best value, because containment, painting and electrical work happen once.
Dust Control And Protecting The Rest Of The House
Even texture that tests clear makes a remarkable mess. Wet scraping produces a grey slurry that sticks to everything, and sanding produces fine powder that travels on air currents.
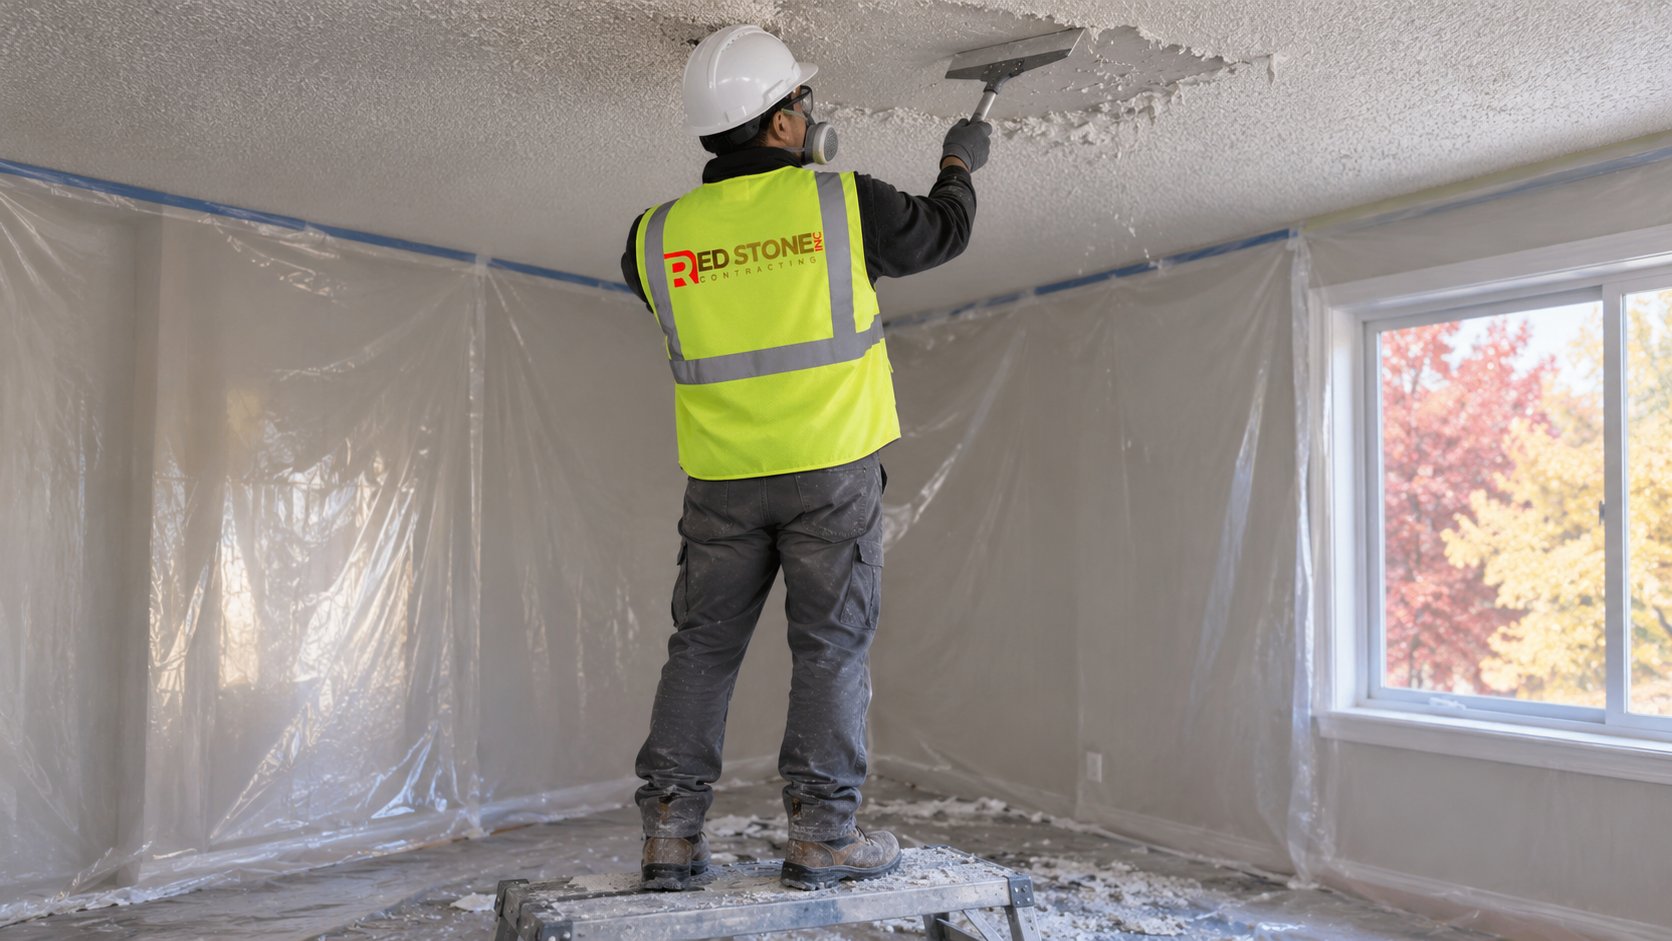
- Empty the room where possible, and wrap anything that stays.
- Sheet the walls with plastic taped just below the ceiling line, overlapping onto floor protection.
- Protect floors in layers: plastic first, then durable paper or board so ladders and boots do not tear through.
- Seal the HVAC. Tape over supply registers and returns in the work area and switch the furnace fan off during scraping and sanding.
- Shut off and cover electrical. Fixtures come down, the circuit is turned off at the panel, and boxes are covered before any water is sprayed.
- Capture sanding dust at the source with sanders connected to a HEPA vacuum, plus a zip wall at the doorway.
Autumn and winter suit this interior work, with one caution: joint compound dries slowly in cool, damp air. Most manufacturers list a minimum room temperature on the bag. Once scraping and sanding are finished and the registers are uncovered, keep the room heated and run a dehumidifier so each coat dries before the next goes on.
Lighting, Flat Ceilings And Why Finish Level Matters
Popcorn texture hides almost everything. A flat ceiling hides almost nothing. After popcorn ceiling removal, light skimming across the surface reveals every ridge, seam and trowel mark.
Raking light is the culprit. Low autumn sun through a tall window, wall sconces, pot lights close to a wall and cove lighting all graze the ceiling at a shallow angle, so a seam that looks perfect from below can cast a shadow. Before the final coat, a good finisher holds a work light flat against the ceiling and checks each area from several angles.
Ask what finish standard is being quoted. A full skim across the entire ceiling, often called a Level 5 finish, gives the most uniform surface and is worth it for living rooms, kitchens and anywhere with strong side light. Modestly lit bedrooms and hallways can often get away with less. Flat ceiling paint helps too, because sheen exaggerates imperfections, and pot lights spaced a little further from walls create softer raking light.
Popcorn Ceiling Removal Cost: What Drives The Price
There is no single number for popcorn ceiling removal cost. The ranges below are rough planning estimates for the GTA, and a real quote may land outside them depending on access, ceiling height, room count, drywall condition and patching.
| Item | Typical range (estimate) | What moves it up or down |
|---|---|---|
| Asbestos sampling and lab analysis | Often a few hundred dollars for a small house; more for many areas or rush results | Number of samples, consultant site visit, turnaround time |
| Wet scrape, skim coat and prime (non-asbestos) | Commonly $3 to $7 per square foot of ceiling | Painted texture, drywall damage, high ceilings, finish level |
| New drywall over existing ceiling, taped and finished | Often $4 to $9 per square foot of ceiling | Board type, box extensions, moulding and register resets |
| Professional asbestos abatement of ceiling texture | Frequently several times a standard scrape, with minimum job charges | Containment complexity, room count, air testing, disposal |
| Ceiling primer plus finish coat | Often $1 to $3 per square foot if not already included | Colour change, number of coats, cutting in at crown moulding |
Stairwells and open-to-above foyers that need scaffolding, ceilings crowded with fixtures, and painted texture that refuses to come off all push popcorn ceiling removal cost up. Doing several rooms in one visit and combining the work with planned painting or lighting changes bring it down.
Be wary of a quote dramatically lower than the others. It often skips testing, assumes the texture will scrape easily, leaves out primer and paint, or includes only a light skim that will show defects under good light.
Problems That Show Up After The Work
Most callbacks on textured ceiling jobs trace back to a few predictable causes, usually rushing, skipping primer or treating scraped drywall as if it were new.
| Problem | Likely cause | Usual fix |
|---|---|---|
| Bubbles or blisters in the skim coat | Torn drywall paper not sealed before compound | Cut out, seal with a suitable primer, re-skim |
| Visible ridges along seams in side light | Too few skim coats or poor feathering | Additional skim across the seam, wider feathering |
| Patchy, uneven paint sheen | No primer over fresh compound, causing flashing | Prime the whole ceiling, then repaint |
| Sagging between joists | Drywall over-soaked during scraping, insulation above | Refasten or replace affected board |
| Nail or screw pops weeks later | Original fasteners loosening, wood movement | Add screws nearby, set and patch the pop |
| Brown or yellow spots bleeding through | Old water stains or nicotine in the original surface | Seal with a stain-blocking primer before paint |
Questions To Ask Before You Hire
Whether one company handles everything or you hire a separate abatement firm and finisher, these questions reveal a lot.
- Has the texture been tested, and can I see the lab report? A contractor willing to scrape an older ceiling without testing is a reason to look elsewhere.
- Which method do you recommend for each room, and why? A thoughtful answer mentions paint, drywall condition and what is above the ceiling.
- What finish level are you quoting? Does the skim cover the entire ceiling or only seams and repairs?
- What is included? Containment, floor protection, fixture removal and reinstallation, primer, paint and cleanup should all be named.
- What is the schedule, including drying time? Good finishers let compound dry fully between coats instead of forcing it.
Our renovation FAQs explain how projects are scheduled. For home renovation across Toronto and the rest of the GTA, a ceiling job like this begins with a walk-through: which rooms are textured, roughly when they were sprayed, where samples will be taken, and which method suits each ceiling once the lab report is back.
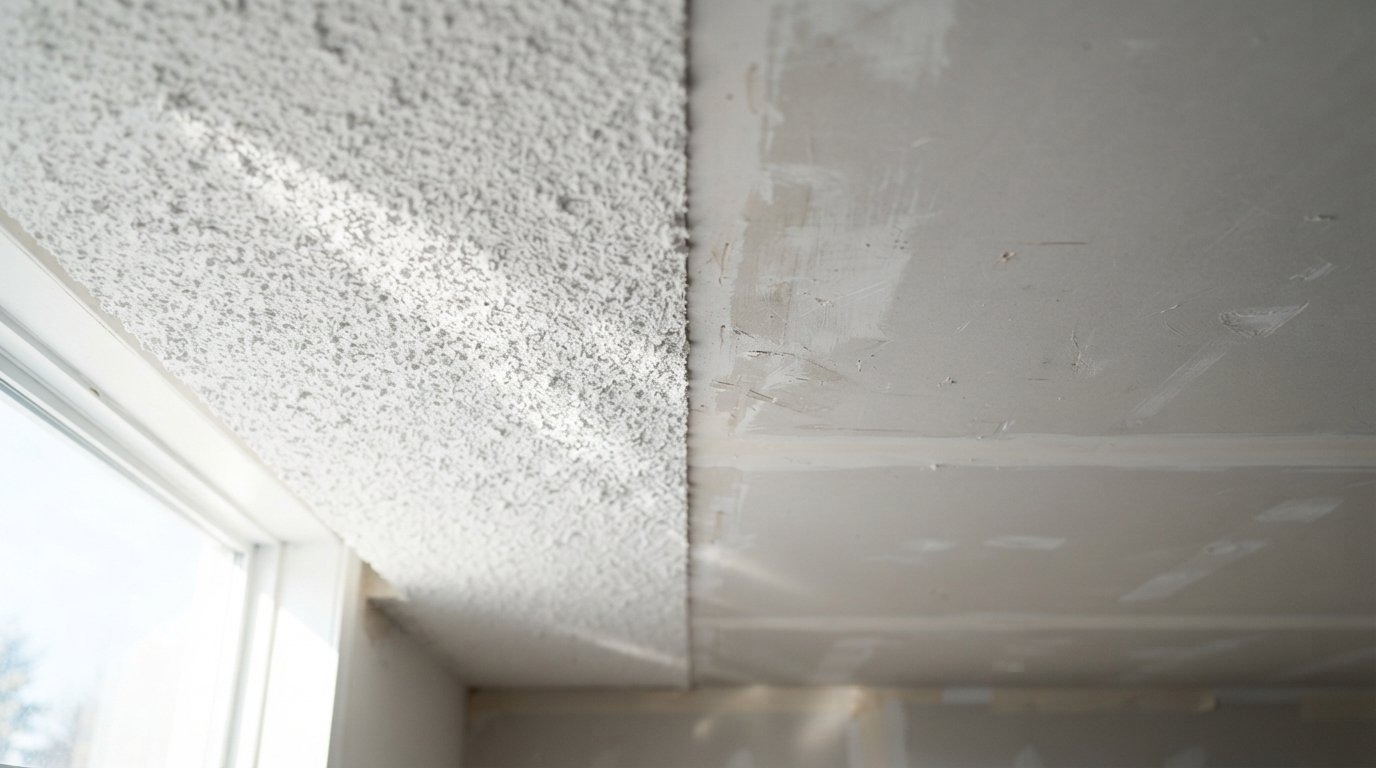
How do I know if my popcorn ceiling has asbestos?
Can I remove an asbestos popcorn ceiling myself?
What is the cheapest way to get rid of a textured ceiling?
How long does it take to remove a textured ceiling?
Will my ceiling look perfect after the texture comes off?
Is it safe to drill into a popcorn ceiling for new lights?
Get A Room-By-Room Popcorn Ceiling Removal Plan
A smooth ceiling changes how a room looks and how light moves through it, but only when the work is done in the right order. Red Stone Contracting approaches popcorn ceiling removal with testing first, a room-by-room method and a written scope covering containment, finishing and paint. Call us today at (905) 901-1006 or request a free estimate.
Ceiling refinishing and restorations for Toronto homes and the wider GTA, from our base in Oakville.