
Wainscoting is one of the few finishing details that changes a room’s character without moving a wall. Done well, it adds depth, protects the lower wall from chairs, boots and hockey bags, and makes a plain drywall box feel built rather than bought. Done badly, it looks like a kit that was stuck on: panels at an awkward height, outlets floating in the middle of a stile, and a cap rail that crashes into the window casing.
The difference is nearly always in the planning. This guide covers the main styles, how to choose a height, which material belongs in which room, and the joinery problems a carpenter solves before the first board goes up.
Four Wainscoting Styles And Where Each Belongs
Most wainscoting falls into four families. They differ in how formal they look, how much labour they take and how forgiving they are of crooked walls.
Raised panel
The most formal style. Each panel has a bevelled field that stands proud of the frame, traditionally made as a solid wood panel floating in a grooved frame of rails and stiles. It suits dining rooms, stair halls and older homes with deep trim. It is the most expensive to build and the least forgiving: panel widths have to divide evenly along each wall, and uneven walls show.
Flat or Shaker panel
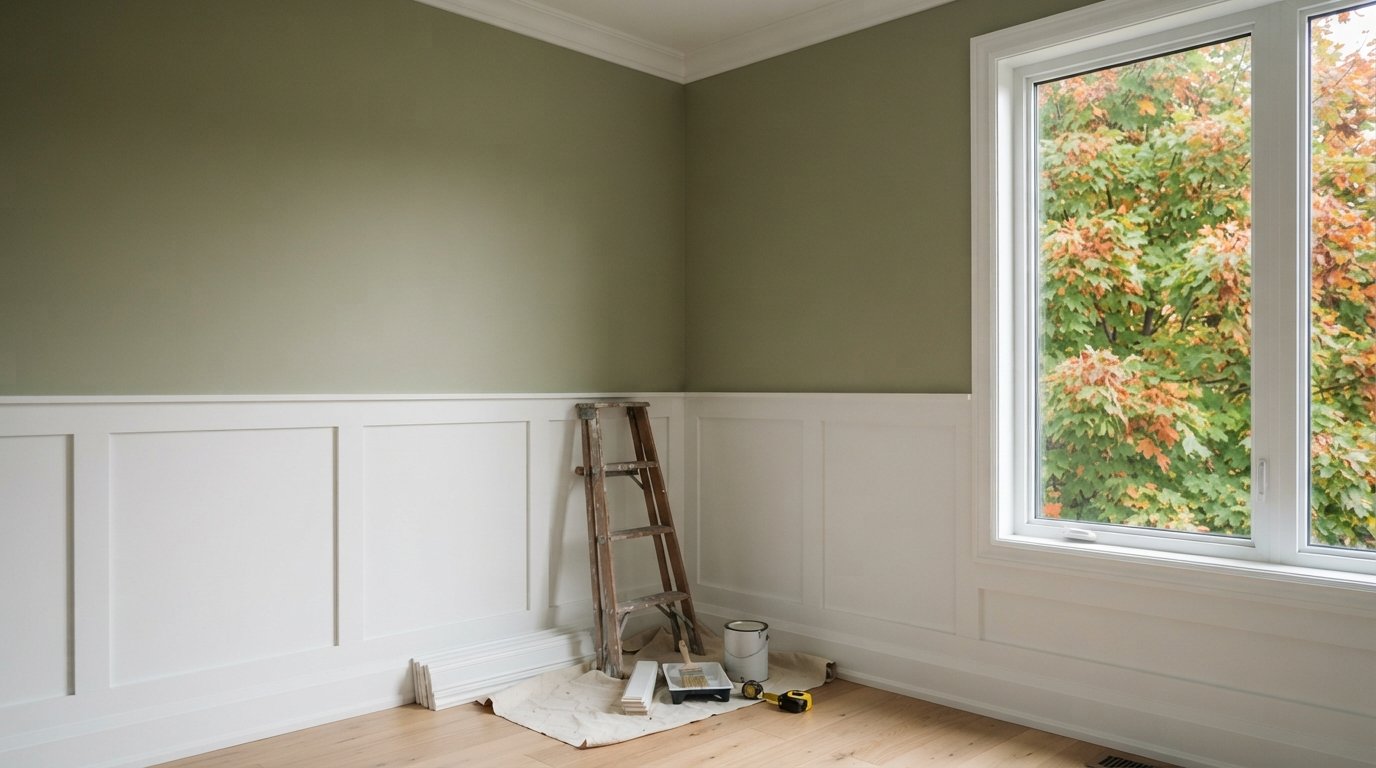
A flat recessed panel inside a square-edged frame. It reads as clean and slightly traditional, which is why it works in everything from new builds to century homes. On a renovation it is often built with a flat MDF backer and applied rails and stiles, a quicker method that still looks like frame-and-panel once caulked and painted.
Board and batten
Vertical battens over a flat background, often with a horizontal top rail and sometimes a middle rail to form squares or rectangles. It is usually run taller than traditional panelling and suits mudrooms, entries, bedrooms and farmhouse-leaning designs. It is the most DIY-looking style if spacing is inconsistent, so layout matters.
Beadboard
Narrow vertical boards with a small bead profile between them, sold as individual tongue-and-groove boards or larger sheets. It suits bathrooms, laundry rooms and cottage styles. Sheets install quickly; individual boards look better and handle out-of-square walls more gracefully.
| Style | Look | Relative labour | Forgiveness on uneven walls | Typical rooms |
|---|---|---|---|---|
| Raised panel | Formal, traditional | Highest | Low | Dining rooms, stair halls, formal living rooms |
| Flat or Shaker panel | Clean, transitional | Moderate | Moderate | Almost anywhere, including hallways and bedrooms |
| Board and batten | Casual to modern | Low to moderate | Moderate to high | Mudrooms, entries, bedrooms, feature walls |
| Beadboard | Cottage, relaxed | Low (sheets) to moderate (boards) | High with individual boards | Bathrooms, laundry rooms, porches |
If you are unsure which style suits the rest of your house, our design solutions team can help match trim and panelling to your home so the new wall treatment looks original rather than added on.
Getting The Height Right: The One-Third Rule And When To Break It
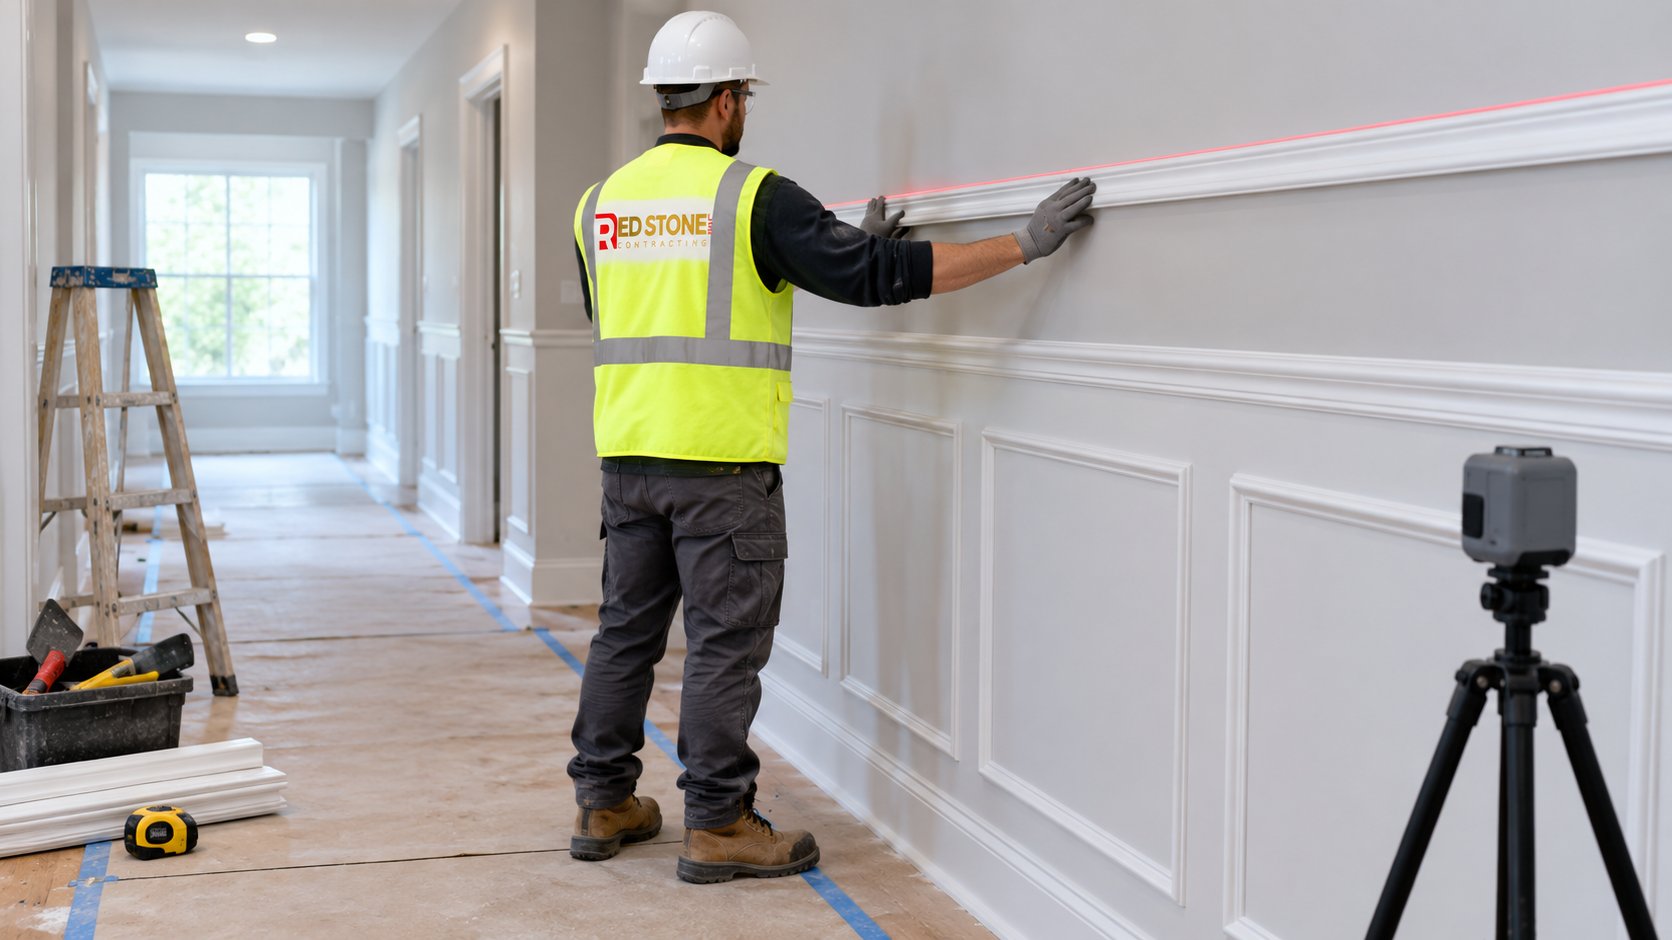
The classic rule is that wainscoting should cover roughly the bottom third of the wall. On an 8 foot ceiling that puts the top of the cap somewhere around 32 to 36 inches, which also happens to be close to traditional chair rail height, where the rail protects the wall from chair backs.
The rule exists because it produces a pleasing proportion. The one height to avoid is exactly halfway, which cuts the wall into two equal bands and makes the room look split.
When to go taller
- Higher ceilings. On 9 or 10 foot ceilings, one-third height can look stubby. Many designers move to something closer to two-thirds of the wall, often somewhere around 54 to 66 inches, with a shelf-style cap.
- Board and batten. This style is commonly run taller, sometimes two-thirds or even full height, because the vertical lines make the room feel taller.
- Mudrooms and entries. Taller panelling can carry a row of hooks on the top rail, protecting the wall where coats and bags hang.
When to go lower or align with something
Existing features often decide height better than a formula. Aligning the cap with a window stool, a kitchen counter height or the top of a vanity backsplash ties the room together. In a bathroom, keep the cap clear of the toilet tank lid, or deliberately take it above the tank, so the tank does not partly cover it.
| Situation | Common cap height | Why |
|---|---|---|
| 8 ft ceiling, traditional panels | About 32 to 36 in | Roughly one-third of the wall; matches chair rail height |
| 9 to 10 ft ceiling | About 36 to 42 in, or taller at two-thirds | Keeps proportion as ceiling height grows |
| Board and batten feature wall | About 54 to 72 in | Vertical emphasis; often two-thirds of the wall |
| Bathroom beadboard | Often 42 to 48 in | Clears the toilet tank and pairs with vanity height |
| Mudroom with hooks | About 60 in or more | Hooks on the top rail and protection where bags hang |
Before committing, tape a line at two or three candidate heights and live with them for a day. It is a cheap way to avoid regret.
MDF, Solid Wood Or PVC: Matching Material To The Room
MDF
Medium density fibreboard is the default for painted wainscoting. It is dimensionally stable, has no grain to telegraph through paint, and machines cleanly. Its weakness is water: cut edges swell when wet and do not shrink back. In dry rooms that is not a problem, especially when primed on all faces. Moisture-resistant MDF grades are better but still not waterproof.
Solid wood
Paint-grade poplar or stain-grade oak and maple give the most authentic result, especially with raised panels. Solid wood moves with humidity, and Ontario homes swing from humid summers to very dry heating seasons. Traditional frame-and-panel construction lets the panel float in its groove for this reason. If panels are glued tight, joints can crack as the wood shrinks through the heating season.
PVC
Cellular PVC trim boards and panels are unaffected by water, which makes them a strong choice for bathrooms, laundry rooms and mudrooms where wet boots and splashing are a given. PVC expands and contracts with temperature, so it needs appropriate adhesive and fasteners and proper joint treatment. It paints well with suitable primers and paints. It does not take stain.
| Material | Water tolerance | Seasonal movement | Finish options | Best rooms |
|---|---|---|---|---|
| Standard MDF | Poor; cut edges swell when wet | Very little | Paint only | Dining rooms, living rooms, bedrooms, hallways |
| Moisture-resistant MDF | Better, but not waterproof | Very little | Paint only | Powder rooms and bathrooms away from splash zones |
| Solid wood (poplar, oak, maple) | Moderate when sealed | Noticeable between humid summers and dry heating seasons | Paint or stain | Formal rooms, stair halls, heritage interiors |
| Cellular PVC | Excellent; unaffected by water | Moves with temperature rather than humidity | Paint with suitable products; no stain | Bathrooms, laundry rooms, mudrooms |
For bathrooms in particular, the wall behind the panelling still needs to suit the room. In a shower or tub surround, wainscoting is not a substitute for a waterproofed tiled wall. If you are renovating the bathroom at the same time, plan panelling and tile together so the transition is clean.
Where Panelling Meets Outlets, Windows And Stairs
This is where experience shows. Wainscoting runs into every other element on the lower wall, and each needs a decision before installation starts.
Outlets and switches
Adding panelling brings the wall surface forward, which leaves existing receptacles recessed. Electrical boxes generally need to be brought flush with the new surface using box extenders, so devices are properly supported and the box is not left buried behind a combustible finish. Plan the panel layout so outlets land neatly in the centre of a panel or fully within a rail, not half on a stile edge. If an outlet sits in an awkward spot, moving it while the baseboard is off is often simpler than it sounds, but it is electrical work that should be done by a licensed electrician.
Window and door casings
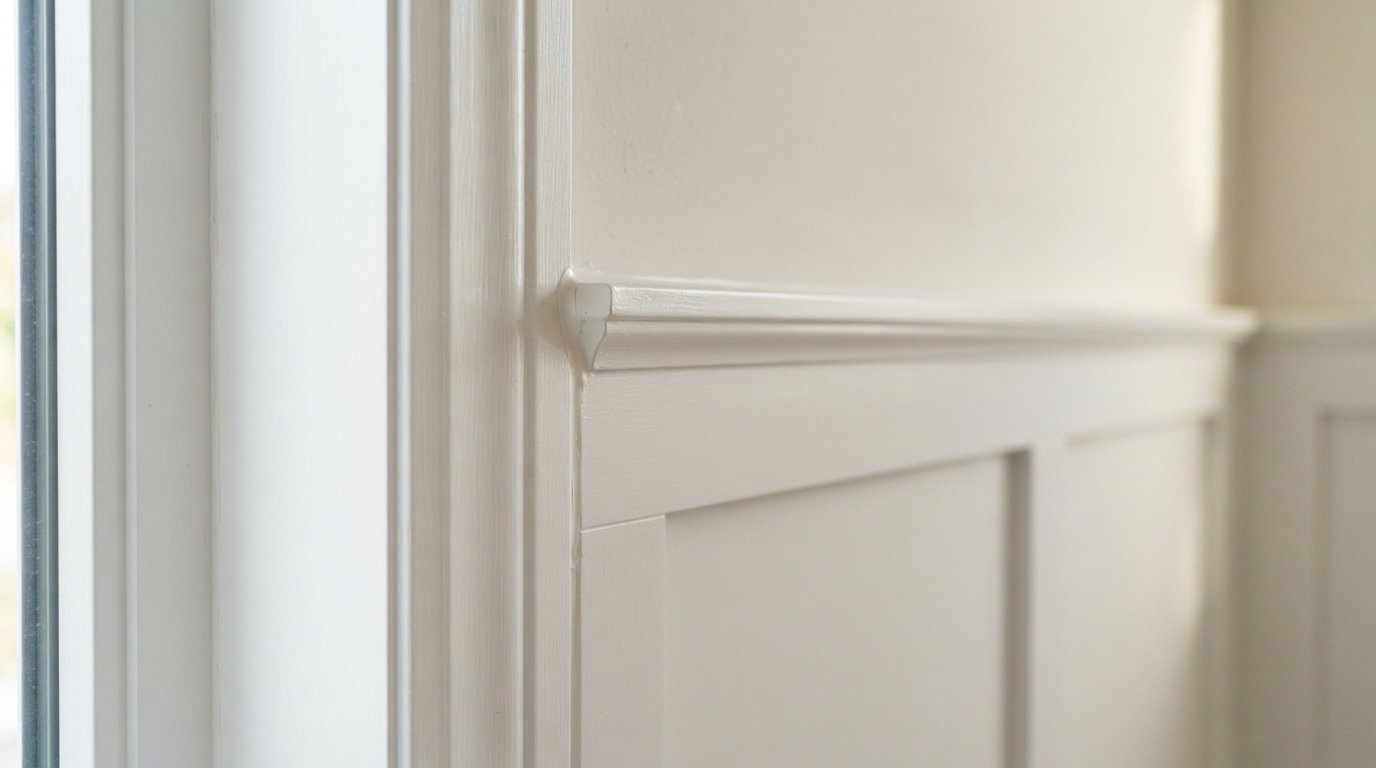
The cap rail and panels must stop cleanly against casings. The problem: if the panelling plus cap is thicker than the casing, the cap stands proud of the casing edge and looks unfinished. The fixes are to choose a thinner cap profile, add a backband to thicken the casing, or replace casings with a heavier profile. Where a window stool sits near cap height, consider aligning them or keeping a clear gap of a few inches so they do not almost touch.
Stair stringers
On a staircase, wainscoting follows the rake of the stairs. Panel frames are laid out parallel to the stair skirt, with the top rail running parallel to the handrail and kept at a consistent height measured plumb from the nosing line. At landings the rail has to change direction, which calls for careful mitres or a short level section. Raked panels are a job for an experienced finish carpenter; they are unforgiving if the layout is off.
Heat registers, baseboards and corners
Wall registers need to fall within a panel or be framed with matching trim. Existing baseboard often has to come off and go back on, or be replaced with a taller base that suits the panelling. Inside corners need a layout plan so panels meet symmetrically rather than ending in a sliver.
Installing On Plaster Versus Drywall
Installation differs a lot depending on what is behind the panelling.
Drywall
On drywall, installers locate studs, apply construction adhesive to the back of panels or rails, and pin them with finish nails into studs where possible. Adhesive does most of the holding; nails hold things while it cures. If walls are open during a renovation, adding horizontal blocking between studs at rail height gives solid fastening everywhere.
Plaster
Plaster walls in older homes are harder, less flat and often out of plumb. Stud locations are less predictable. Nailing near weak or loose plaster can crack it or break it from its lath. Carpenters typically drill pilot holes, rely more on adhesive, fasten into framing rather than plaster alone, and scribe the panels to the wall so gaps are minimal. Wavy walls may need a shim strategy or a flat backer sheet to create a true plane first. Loose plaster should be secured before panelling covers it.
Finishing
Painted wainscoting is only as good as its prep: filled nail holes, caulked joints, sanded primer and a durable enamel. A semi-gloss or satin enamel resists scuffs better than flat paint. Expect a few hairline caulk lines to reopen through the first heating season as the house dries out; a touch-up after that is normal.
Costs And What Drives Them
Prices vary widely with house, access and scope, so treat any number as an estimate. Simple board and batten or beadboard in a single room is usually the least expensive option, while raised panel work in solid wood, stair runs, and walls that need levelling or electrical changes cost considerably more. The biggest drivers are:
- The number of outlets, registers, windows and doors the layout has to work around
- Stair sections and raked panels
- Plaster walls that need securing or flattening
- Material choice, especially stain-grade hardwood
- The amount of finishing and painting included
Our home renovation team across Halton Region prices panelling room by room so you can see where the cost actually sits.
Common Wainscoting Mistakes We Fix
- Panel widths that change from wall to wall. Layout should be worked out per wall so panels look consistent.
- Rails that follow a sloping floor. The cap should be level; the baseboard can be scribed to the floor.
- Caps that stand proud of the window casing. Plan casing and cap thickness together.
- MDF in wet zones. Swollen edges near tubs and toilets are a sign the wrong material was used.
- Outlets left recessed. Boxes should be brought flush to the new surface.
How high should wall panelling be in a room with 8 foot ceilings?
Is MDF okay in a bathroom?
What happens to outlets when panelling is added?
Can panelling go on old plaster walls?
Which style is easiest to keep looking good?
Why do joints crack after installation?
Planning Wainscoting For Your Home
Good panelling looks simple because the hard decisions were made before installation: height, layout, material and how it meets every casing and outlet. Red Stone Contracting designs and installs wainscoting as part of broader interior renovations, from a single dining room to stair halls in older homes with plaster walls.
Call us today at (905) 901-1006 or request a free estimate.
Serving homeowners across Halton Region and the wider GTA.