
Choosing between an undermount sink and a drop-in model is one of the first practical decisions in a kitchen plan, and it affects more than looks. The mounting style depends on your countertop material, changes how you clean, decides how faucet holes are made and sets the size of the cabinet below. Add farmhouse and integrated sinks, plus a range of bowl configurations and materials, and the choice can feel bigger than it should. This guide explains how each option is installed, where it works and where it causes problems, so you can pick a sink that suits your counters, your cooking and your cabinets.
Undermount Sink Vs Drop-In: How Each Is Installed
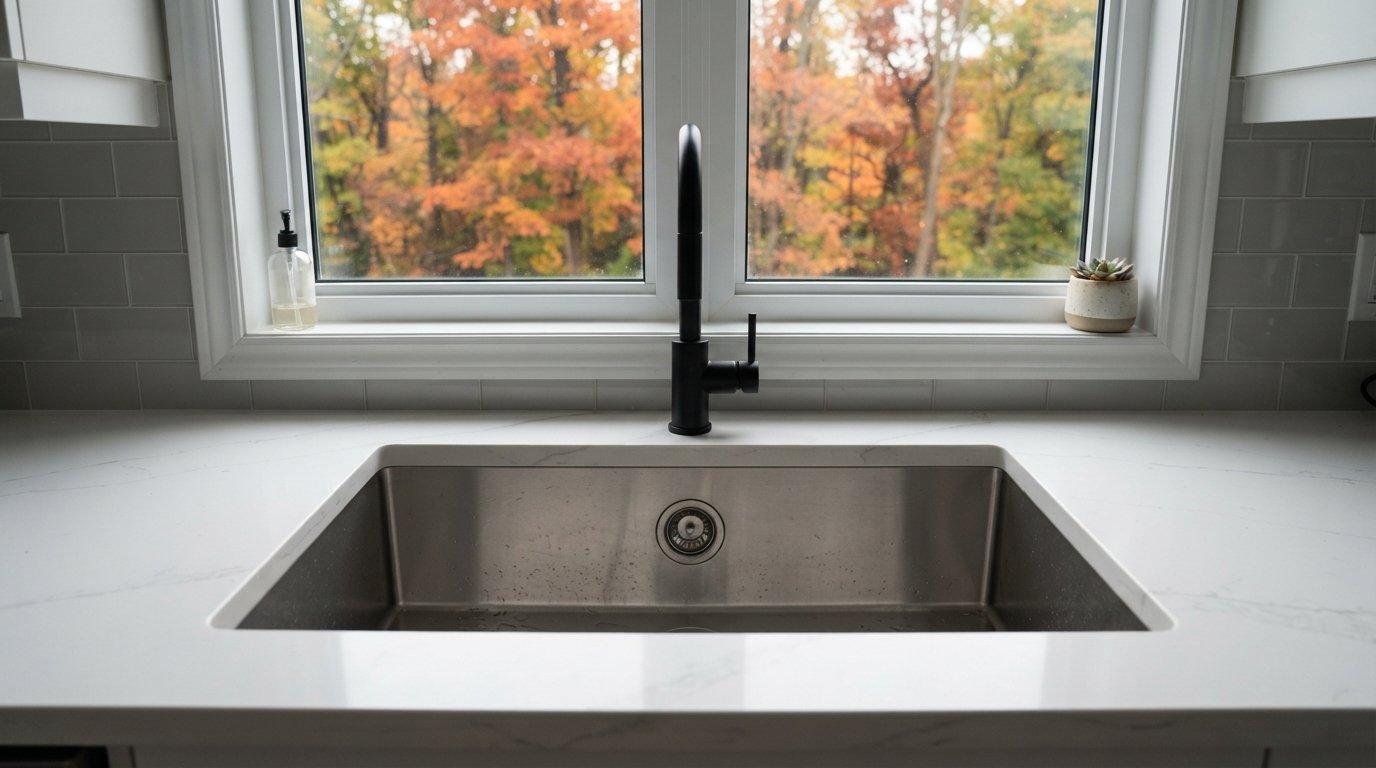
An undermount sink is fastened to the underside of the countertop. The countertop opening is cut and its edge finished, and the sink rim sits beneath it, held by clips or brackets and sealed with silicone. Nothing sits above the counter surface, so you can sweep crumbs straight into the bowl.
A drop-in sink, also called a top-mount or self-rimming sink, is lowered into a cut-out from above. Its rim rests on the counter surface and is sealed around the edge, with clips underneath pulling it tight. Because the rim covers the cut edge of the counter, the cut does not need to be polished or waterproof.
Those two facts explain most of the differences between them. Planning the sink early in a kitchen renovation keeps cabinets, countertops and plumbing working from the same specifications.
| Sink type | Countertop compatibility | Cleaning | Replacement later | Notes |
|---|---|---|---|---|
| Undermount | Stone, quartz, solid surface and similar solid materials | Wipe straight into the bowl | Harder; may disturb the countertop | Needs secure support for heavy sinks |
| Drop-in | Almost any, including laminate | Rim catches debris at the seal | Easier; lift out and replace | Usually the lowest installed cost |
| Farmhouse or apron front | Most solid countertops | Wipe into bowl; front is exposed | Difficult; cabinet built around it | Needs a specific base cabinet and support |
| Integrated | Made from the countertop material itself | Seamless | Usually means replacing the top | Common with solid surface |
Which Countertops Can Take An Undermount Sink?
Because the edge of the cut-out is visible and constantly wet, an undermount sink needs a countertop that is solid all the way through and resistant to water at its cut edge.
- Granite and other natural stone. A classic pairing. The fabricator cuts and polishes the opening to match the template for your specific sink.
- Quartz. Engineered quartz is a popular choice for undermount installation, with clean, polished cut-outs.
- Solid surface. Works well with undermount sinks and also allows integrated sinks in the same material.
- Porcelain and sintered slabs. Can take undermount sinks, but cut-outs require specialised fabrication; follow the slab manufacturer’s guidance.
- Butcher block and wood. Possible with careful sealing and maintenance, but water at the edge is a constant challenge.
Standard laminate is the main exception. It is a thin decorative layer over a particleboard or fibreboard core, and a cut edge exposes that core to water, which makes it swell. Most laminate countertops are paired with drop-in sinks. Some manufacturers offer special edge systems that allow undermount installation in laminate, so if that look matters to you, ask the countertop supplier what their product supports.
Reveal: how the counter edge meets the bowl
When the sink sits below the counter, you can choose how the countertop edge lines up with the bowl:
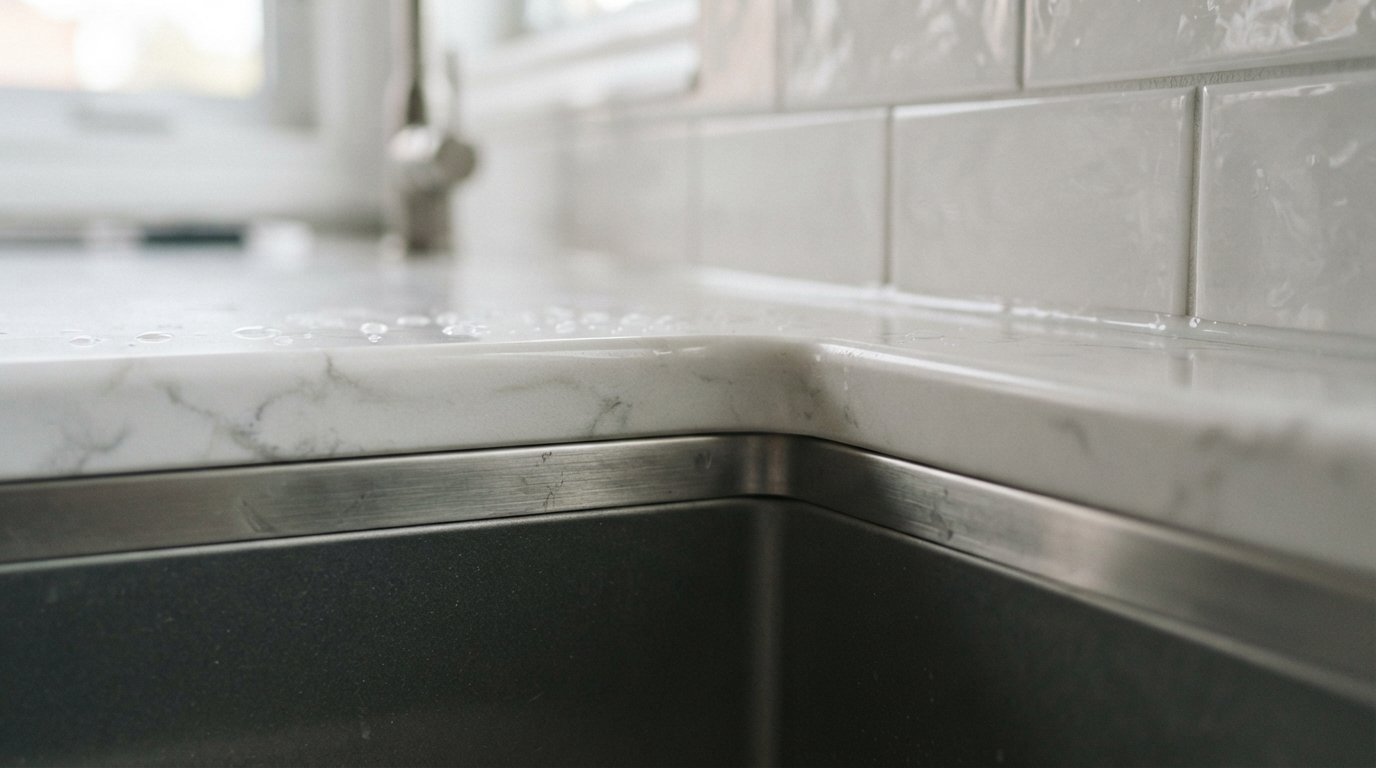
- Positive reveal: the counter edge stops short, leaving a small strip of sink rim visible.
- Negative reveal: the counter overhangs the bowl slightly, hiding the rim.
- Zero or flush reveal: the counter edge lines up with the inside of the bowl.
Each has a slightly different look and cleaning profile. Talk it through with your fabricator, who will need the actual sink or its exact template to cut the opening.
Clips, Epoxy And Support
An undermount sink hangs from the countertop, so how it is held matters, especially with heavy sinks, water and a garbage disposal in them.
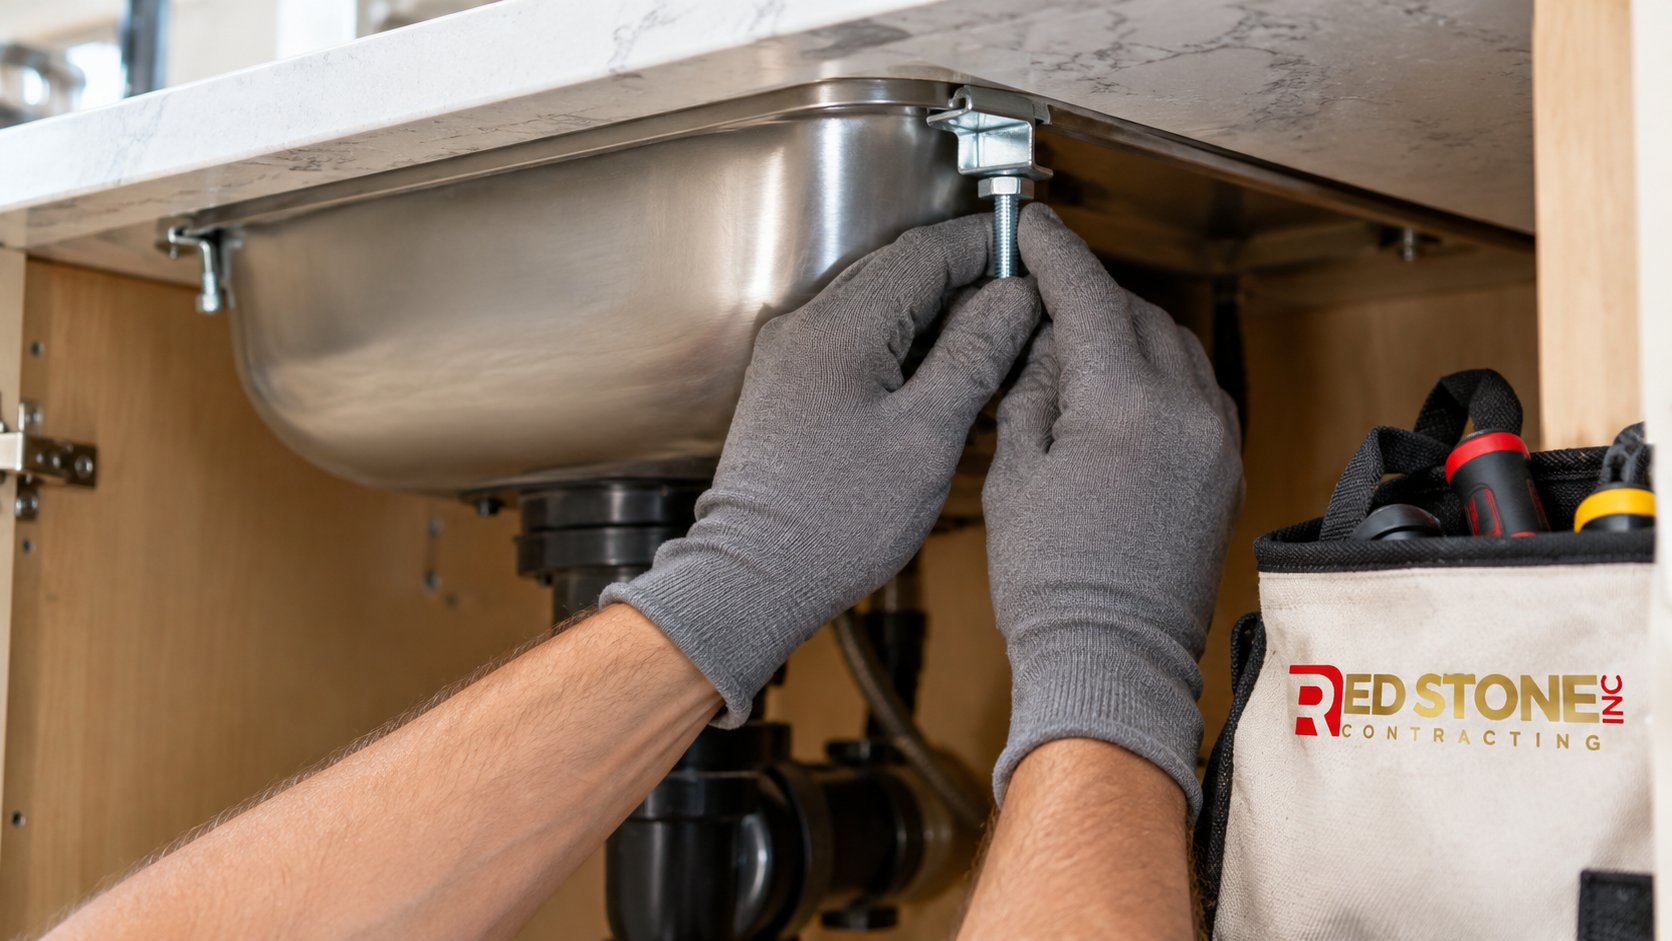
- Mounting clips are fixed to the underside of the stone with anchors or epoxy set studs, then tightened against the sink flange.
- Silicone sealant between the rim and countertop keeps water out of the joint. It is not structural.
- Additional support. Heavy sinks, such as fireclay, cast iron or large composites, are usually supported from below as well, with brackets, rails or a support frame inside the cabinet, as the manufacturer recommends.
- Inspection. Mounting clips and sealant should be checked occasionally. A sink that drops slightly breaks its seal and lets water into the cabinet.
Drop-in sinks are simpler: the rim carries the sink’s weight on the countertop, and clips underneath pull it tight to the surface.
Farmhouse And Integrated Sinks
Farmhouse or apron front
A farmhouse sink has an exposed front panel that replaces part of the cabinet face. It suits traditional and transitional kitchens and gives a deep, generous bowl. The trade-offs are practical:
- It needs a dedicated apron front sink base cabinet, or a standard base modified to suit.
- Fireclay and cast iron versions are heavy and need a solid support frame inside the cabinet.
- Many fireclay sinks vary slightly in size from piece to piece, so the cabinet and countertop should be built around the actual sink on site.
- The apron front can be undermounted beneath the countertop or set flush, depending on the design.
Integrated sinks
An integrated sink is formed from the same material as the countertop, most often solid surface, with no visible seam. It is very easy to clean and minor scratches in solid surface can often be repaired. However, solid surface has limits on heat, so hot pans need a trivet, and replacing a damaged integrated sink usually means replacing the countertop too.
Stainless Gauge Vs Composite Vs Fireclay
The material affects noise, durability, how it looks after years of use and how heavy the sink is.
| Material | Strengths | Weaknesses | Best for |
|---|---|---|---|
| Thicker stainless (16 or 18 gauge) | Durable, resists denting, forgiving with heavy pots | Shows scratches and water spots over time | Busy kitchens, most undermount installs |
| Thin stainless (higher gauge numbers) | Inexpensive | Dents, flexes and is noisier | Budget installs and utility areas |
| Composite (quartz or granite blend) | Quiet, scratch resistant, many colours | Can be marked by extreme heat or certain stains | Matching dark or coloured countertops |
| Fireclay | Hard, glossy glaze, easy to clean | Heavy; can chip if hit hard | Farmhouse styles, traditional kitchens |
| Enamelled cast iron | Very durable glaze, classic look | Very heavy; enamel can chip | Drop-in or farmhouse installs with strong support |
With stainless, a lower gauge number means thicker steel. Look also for sound deadening pads or coatings on the underside, which reduce the ringing noise of dishes and running water. For composite sinks, check the manufacturer’s heat and care guidelines, because some light colours can stain and extreme heat shocks are discouraged.
Single Vs Double Bowl And Other Kitchen Sink Types
Beyond mounting styles, kitchen sink types differ by bowl layout:
- Large single bowl. Fits sheet pans, roasting pans and large pots. Popular with people who cook a lot and rely on a dishwasher for daily dishes.
- Equal double bowl. Allows soaking on one side and prep or rinsing on the other, but neither side fits big pans easily.
- Offset double bowl. One larger bowl and one smaller, a common compromise.
- Low divide double bowl. A shorter divider lets long pans lie across both sides while still separating tasks.
- Workstation sinks. Built-in ledges hold cutting boards, colanders and racks, turning the sink into a prep area.
Think about your actual habits. If you hand wash many items, a double bowl can help. If you cook for a crowd and load the dishwasher, a single large bowl usually wins. Drain position also matters: a rear or offset drain leaves more usable space in the cabinet below and keeps the drain clear of dishes sitting in the bowl.
Placement, Depth And Everyday Comfort
Where the sink sits and how deep it is affects your back and your workflow every day.
- Bowl depth. Deep bowls hide dishes and contain splashing, but a very deep sink makes shorter cooks lean over to reach the bottom, and an undermount sink sits a little lower than a drop-in of the same depth because there is no rim on top. Stand at a display sink if you can.
- Setback from the counter edge. The sink is usually set back a few centimetres from the front edge so the countertop is strong there and water does not run over the edge.
- Dishwasher position. Put the dishwasher directly beside the sink, on the side that suits how you scrape and load dishes, so drips land in the sink or the dishwasher rather than on the floor.
- Window and island sinks. Centring a sink under a window is pleasant but not essential. Island sinks are popular, but the drain venting is more complex away from a wall, so your plumber has to design a code compliant vent solution early.
Faucet Holes, Accessories And Disposals
Faucet holes
With an undermount sink, faucet and accessory holes are drilled in the countertop by the fabricator, so you decide the exact number and position. Plan for the faucet, a soap dispenser, a filtered water tap, an instant hot water dispenser or a dishwasher air gap if your dishwasher installation requires one. Holes added later in stone are possible but cost more.
Drop-in sinks usually come with faucet holes pre-punched in the rim, typically one to four. Choose the right count for your faucet and accessories, because unused holes need cover plates.
Garbage disposals
If you plan a food waste disposer, check your municipality’s rules and, for rural homes, your septic system’s suitability before buying one, since some areas restrict or discourage them. Practically, disposers add weight and vibration, so thicker stainless or well supported sinks handle them better. The disposer needs an electrical supply under the sink and a switch, which should be installed by a licensed electrical contractor, and the dishwasher drain often connects through the disposer. Plan cabinet space for it, along with any filtration system.
How Sink Choice Affects Cabinet Size
The sink sets the minimum width of the base cabinet beneath it. Manufacturers list a minimum cabinet size on the spec sheet, and it is usually larger than the sink itself because the cabinet sides, mounting clips and plumbing need room. For example, a sink that is around 33 inches wide commonly needs a 36 inch base, though you must confirm with the actual spec.
- Undermount sinks need interior cabinet width beyond the sink’s outer dimension so clips can be installed.
- Farmhouse sinks need a specific apron front base designed for the sink’s front panel and weight.
- Deep bowls reduce space for the trap, disposer and filtration under the sink.
- Corner sinks require special corner sink base cabinets and careful plumbing layout.
Ordering the sink before cabinets are finalised, or at least confirming the exact model, avoids the expensive problem of a sink that will not fit the base that arrived. Checking the sink spec sheet against the cabinet order is a routine step for our York Region home renovation team, because a recut stone top costs far more than a second look at a drawing.
Order Of Decisions: Sink, Cabinets, Then Stone
Sink first, cabinets second, stone third: keeping to that rule prevents most recuts. In practice it looks like this:
- Choose the sink and faucet and get both spec sheets, including the minimum cabinet size and hole requirements.
- Order the cabinets using the sink’s specifications, including any apron front base or support frame.
- Install and level the cabinets, then have the sink on site for the countertop template.
- Template and fabricate. The fabricator cuts and finishes the opening and drills faucet holes, often mounting the sink to the stone before or during installation.
- Connect the plumbing, disposer and dishwasher once the sealant has cured, then test for leaks.
Skipping step one, or letting a supplier substitute a different model late, is the most common cause of delays and recuts.
Sink And Installation Price Ranges
The figures below are rough estimates, for the sink alone unless noted. Brand, size, material, the countertop and the installation details all affect the final total.
| Item | Rough estimate | Higher for |
|---|---|---|
| Drop-in stainless sink | Often $150 to $600 | Thicker gauge, larger bowls |
| Undermount stainless sink | Often $300 to $1,500 | 16 gauge steel, workstation features |
| Composite sink | Often $400 to $1,500 | Large single bowls, premium colours |
| Fireclay farmhouse sink | Often $800 to $3,000 or more | Large sizes, handmade finishes |
| Undermount cut-out, polishing and mounting | Often a few hundred dollars | Stone type, extra holes, support frames |
Sink Questions We Get Asked
Can I install an undermount sink with laminate countertops?
Is an undermount sink easier to clean?
What stainless steel gauge should I choose?
Do farmhouse sinks need special cabinets?
Single or double bowl?
Can a garbage disposal go on any sink?
Choose The Right Undermount Sink For Your Kitchen
The right sink fits your countertop, your cooking style and the cabinet below. Red Stone Contracting can help you compare undermount, drop-in, farmhouse and integrated options and coordinate cabinets, countertops and plumbing so everything fits on installation day.
Call us today at (905) 901-1006 or request a free estimate.
Kitchen renovations coordinated from sink to stone for York Region homes and the wider GTA.