
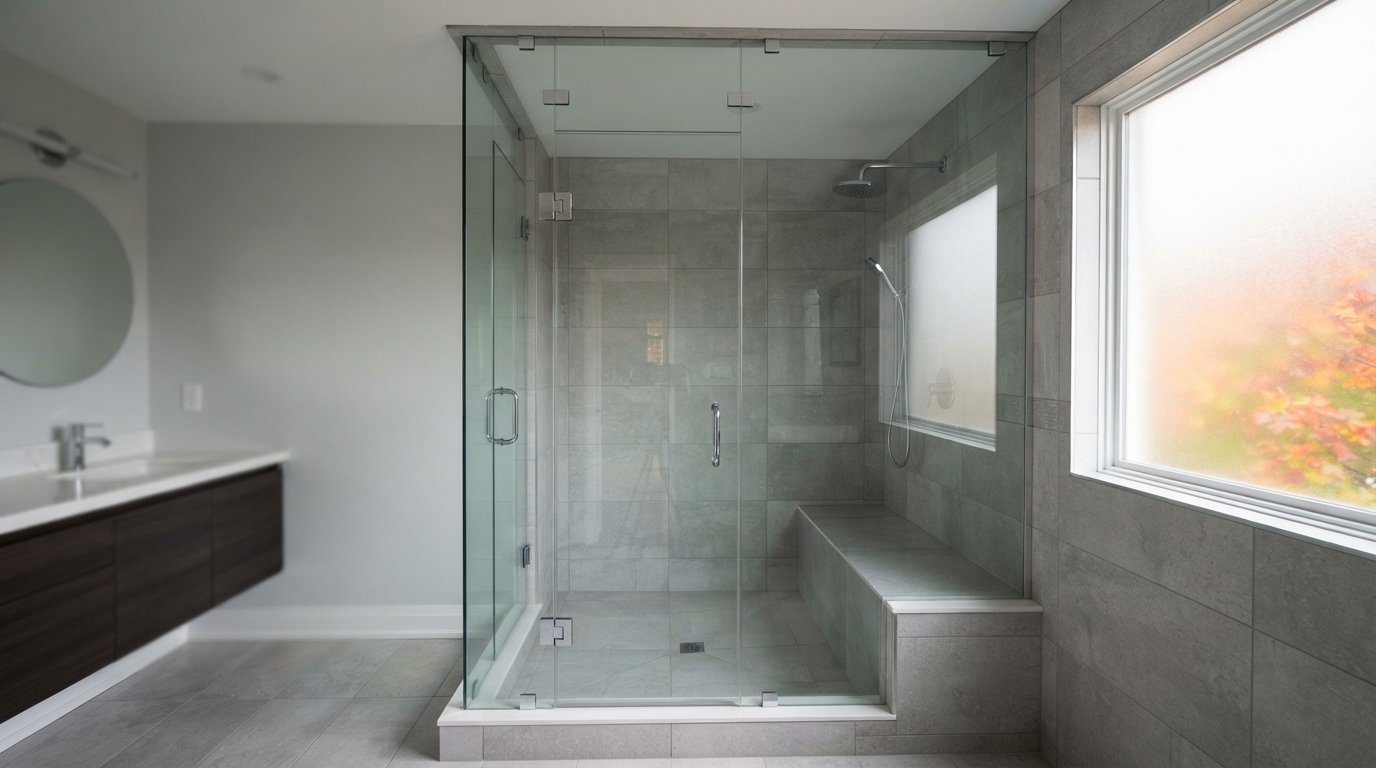
A steam shower turns an ordinary enclosure into a small steam room, which is a welcome thing to come home to on a raw, rainy autumn evening. It is also one of the most technically demanding parts of a bathroom. Steam behaves very differently from shower spray: it is hot, it is pushed into every gap, and it condenses on every cool surface. A shower built to normal standards and then fitted with a generator can look fine for a year or two and then start failing behind the tile. What has to change runs from the membranes and the ceiling slope to the glass, generator and wiring, and it starts with whether your bathroom is a good candidate at all.
How A Steam Shower Differs From A Regular Shower
A regular shower has to resist liquid water running down walls and across a floor. A steam shower has to resist water vapour at high temperature and humidity, filling the whole enclosure from floor to ceiling, for twenty minutes at a time. Vapour moves through materials that would stop liquid water, and it moves toward cooler, drier areas, which means into the wall and ceiling cavities around the enclosure.
That changes several parts of the build, which is why it should be designed in from the start of a bathroom renovation rather than added afterward.
| Element | Standard shower | Steam shower |
|---|---|---|
| Wall and ceiling membrane | Waterproof, on walls up to shower head height or ceiling | Vapour tight, steam rated, on every wall and the whole ceiling |
| Ceiling | Flat is acceptable | Sloped so condensation runs to a wall, not onto the bather |
| Glass enclosure | Can stop short of the ceiling | Reaches the ceiling, often with a transom, and a sealed door |
| Electrical | Lighting and fan only | Dedicated circuit for a steam generator, plus controls |
| Grout and sealing | Standard grout often used | Low absorption grout and sealed penetrations recommended |
| Wall location | Any wall | Interior walls preferred; exterior walls need extra care |
Is Your Bathroom A Good Candidate?
Before choosing a generator or glass, check whether the room suits a steam shower at all. The best candidates share a few traits:
- A compact enclosure. A modest, well proportioned shower heats quickly. A very large walk-in with a high ceiling can be converted, but it needs a bigger generator and more glass.
- Interior walls on most sides. Enclosures that back onto closets, hallways or other bathrooms are easier to keep dry inside the walls than ones on an outside corner.
- Room for the generator nearby. A vanity, linen closet or accessible ceiling below within the manufacturer’s distance limit.
- Electrical capacity. Space in the panel for a dedicated 240 volt circuit, or a willingness to upgrade.
- A plan for the rooms around it. Bedrooms next door benefit from good sound and moisture separation, and the ceiling below a second floor steam shower should be accessible if the generator lives there.
Vapour-Proofing Walls And Ceiling
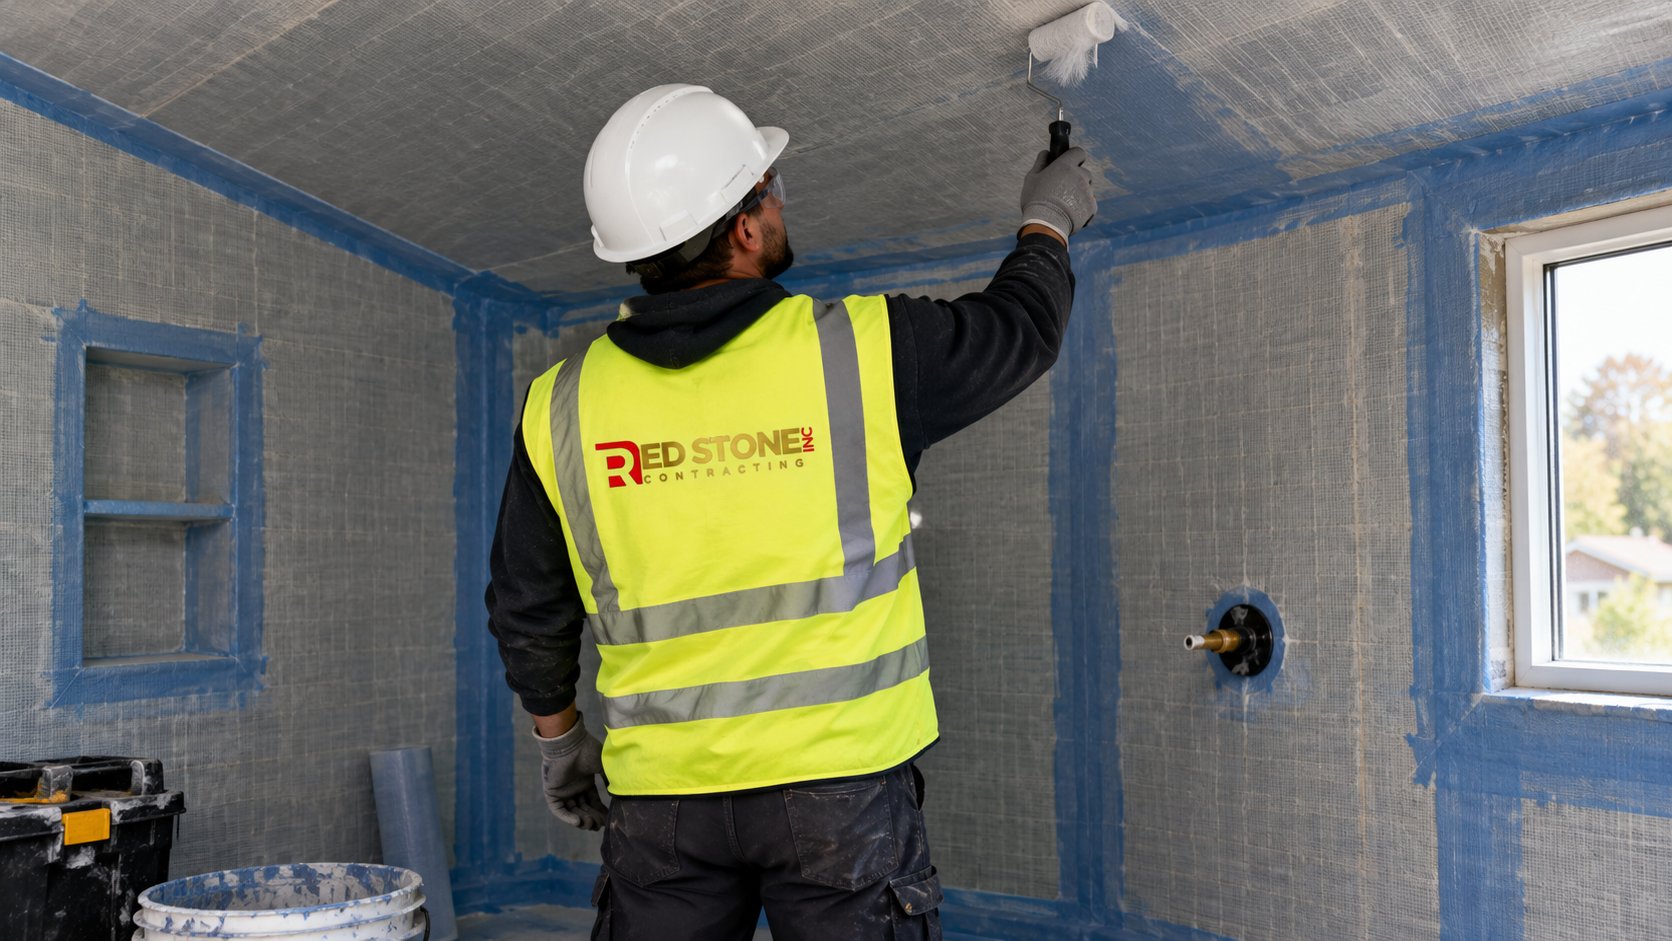
The single most important decision in a steam shower is the membrane system. Many shower waterproofing products are designed for liquid water and are not rated for continuous steam exposure. Their manufacturers often publish separate instructions for steam rooms, which may call for a different product, a thicker application or extra layers, plus fully sealed seams.
- Use a steam rated system. Check that the membrane’s documentation explicitly covers steam showers or steam rooms, and follow those instructions, not the standard shower ones.
- Cover everything. Every wall and the full ceiling of the enclosure must be inside the membrane, lapped and sealed continuously.
- Seal penetrations. The steam head, valve, control panel, lights and any niche are weak points. Each needs the manufacturer’s approved sealing detail.
- Avoid double barriers. Surface applied membranes are generally not paired with a separate plastic vapour barrier behind the board, because moisture can be trapped between the two. Follow the membrane manufacturer’s guidance on what goes behind it.
- Insulate around the enclosure. Insulation in the walls and ceiling around the steam enclosure helps the generator warm the space quickly and keeps the outside of the assembly warmer, which reduces condensation inside the cavity.
Exterior walls deserve particular caution in Ontario. A wall that is cold on the outside in winter has a strong temperature difference across it, which drives vapour toward the cold side. Placing a steam shower on interior walls, or detailing exterior walls very carefully with the membrane maker and designer, avoids the most common source of hidden damage.
Sloped Ceilings To Stop Drips
Steam condenses on the ceiling and falls as large, hot drops. A flat ceiling drips straight onto the person sitting below. The solution is to slope the ceiling, typically toward the back wall or away from the seat, so condensation runs to a wall and down it. Membrane and tile manufacturers commonly suggest a slope in the region of a few centimetres for every 30 centimetres of run, but follow the specific recommendation for your system.
Ceiling height also matters. A lower ceiling means less volume to fill, so the enclosure heats faster and the generator can be smaller. Many designs keep the steam enclosure ceiling lower than the main bathroom ceiling, framing a dropped and sloped ceiling inside it. Lighting in that ceiling must be rated for wet, steam exposed locations and sealed into the membrane.
Floor, Drain And Tile Choices
The floor of a steam shower is built like any well made shower floor: sloped to the drain, with the membrane continuous from the floor up the walls and onto the ceiling so there is no break in the vapour tight envelope. Linear drains work well and allow large format tile on the floor. A curbless entry is possible, but steam escapes more easily at floor level, so the door sweep and the floor slope at the threshold need extra attention.
Porcelain tile is a popular choice because it absorbs very little moisture and holds up to heat. Natural stone can be beautiful but is more porous and may need sealing and gentler cleaners; check the supplier’s guidance for steam exposure. Dense tile and stone also absorb heat when the generator starts, which is why sizing charts add capacity for them. Fewer grout lines, from larger tiles, mean less grout to maintain.
Glass Enclosures And Transoms
The enclosure has to keep steam in. That usually means glass panels and a door that run all the way to the ceiling, or a fixed glass transom above the door that closes the gap between the door head and the ceiling.
- Full height glass. Panels are set into channels or clamps at the ceiling and sealed. Any gap lets steam escape and reduces performance.
- Operable transoms. Some homeowners choose a hinged transom that can be opened after use to let the enclosure dry out quickly.
- Door seals. Vinyl or silicone seals along the door edges and a bottom sweep keep steam in. The door should swing outward for safety.
- Glass thickness and hardware. Thicker tempered glass is common for steam enclosures, with hinges and clamps rated for the weight and for constant humidity.
- Anti-fog options. Coated glass can resist mineral spotting and make daily cleaning easier.
Because glass is measured after tile is installed, there is usually a gap of a week or two between finishing tile and installing the enclosure. Plan the schedule around that.
Sizing And Locating The Steam Generator
The generator is a small boiler that heats water and sends steam through a pipe to a steam head inside the enclosure. Sizing it correctly decides whether the space fills with steam in minutes or never really gets there.
| Factor | Effect on generator size | Why |
|---|---|---|
| Enclosure volume | Larger volume needs a larger unit | Length times width times height sets the base size |
| Porcelain, ceramic or stone tile | Often increases size required | Dense materials absorb heat before the air warms |
| Large areas of glass | Often increases size required | Glass loses heat faster than an insulated wall |
| Exterior walls | Often increases size required | Colder surfaces condense more steam |
| High or vaulted ceiling | Increases size required | More volume and more heat rising away from the bather |
| Distance from generator to steam head | May affect size and placement | Long steam lines lose heat; manufacturers set limits |
Manufacturers publish sizing charts that apply these factors. Use the chart for the specific model and round up if you are between sizes.
Where the generator goes
- Accessible and heated. Common locations are a vanity cabinet, a nearby closet or a basement ceiling directly below. Unheated attics are generally a poor choice in Ontario because of freezing risk.
- Within the manufacturer’s distance limits from the steam head, with the steam line pitched as the instructions require.
- Service space. The unit needs a water supply, a drain or safety valve discharge as specified, and enough room around it to service or replace it.
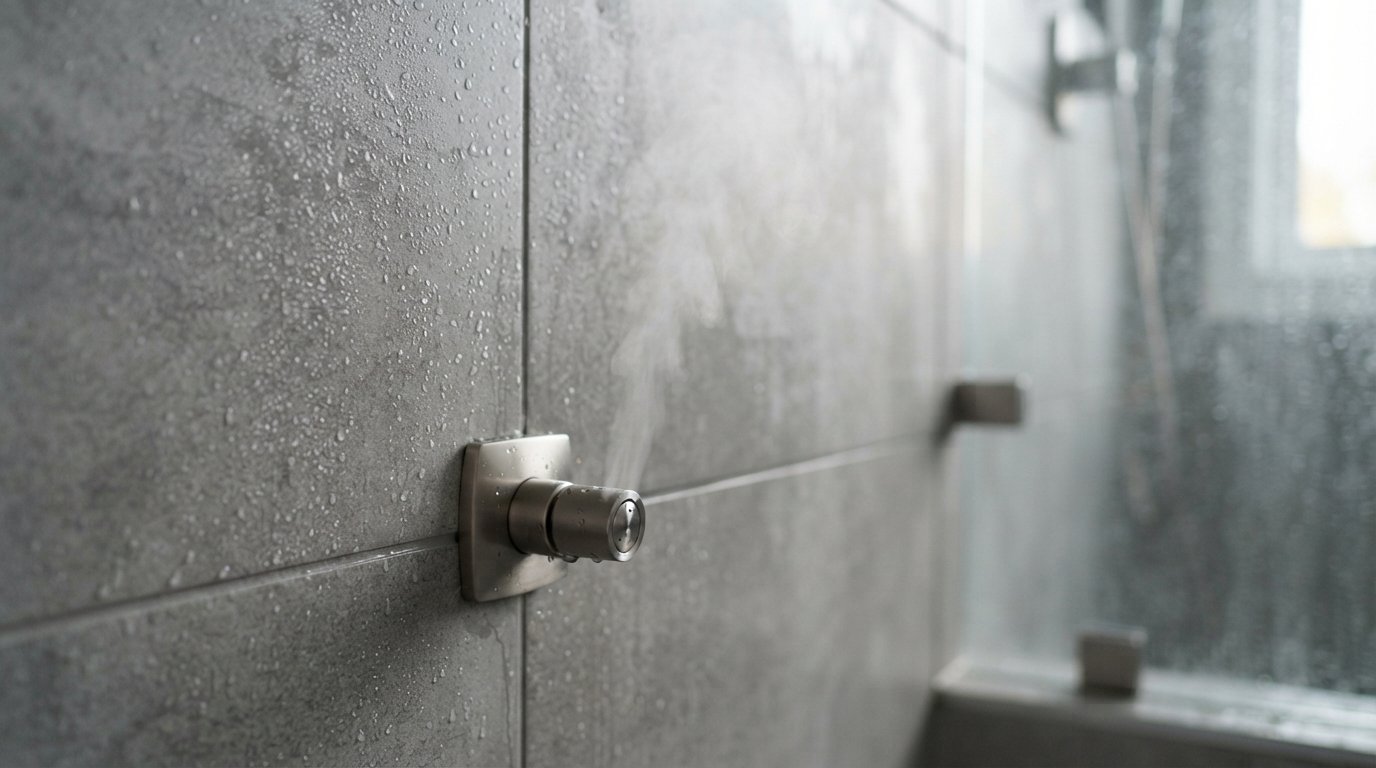
- Steam head placement. The head is usually low on the wall, away from the seat and where nobody can touch it, because it gets very hot.
Many areas in Southern Ontario have moderately hard water, so a generator with an automatic drain or flush feature is worth considering to reduce scale build up.
Electrical Requirements And ESA
Steam generators draw significant power and typically need a dedicated 240 volt circuit sized to the specific unit. Larger units may require a substantial circuit, so panel capacity should be checked early, especially in older homes that already have central air, an electric range or an EV charger.
- The circuit and the generator connection are ESA-notified work, so have a licensed electrical contractor do them and confirm the notification is filed.
- Follow the generator manual for breaker size, wire size and any specific protection required.
- Control panels inside the enclosure are low voltage and must be installed as the manufacturer specifies.
- Lights and any speakers inside the enclosure must be rated for wet or steam locations.
The bathroom’s exhaust fan is normally outside the steam enclosure, run after a session with the door or transom open to clear moisture from the room. Size and duct it to the outside properly, not into the attic.
Seating, Controls And Comfort
Seating
Every steam shower needs a place to sit, because steam sessions are meant to be relaxed rather than standing. Options include:
- A built-in tiled bench, framed or formed and waterproofed as part of the membrane system. The seat should slope slightly so water drains off instead of pooling.
- A fold-down seat fixed to blocking in the wall, useful in a smaller enclosure.
- A corner bench, which saves space and keeps the bather away from the door.
Place the seat away from the steam head and plan its height and depth like any other bench, so you can sit back comfortably.
Controls
Most systems have a control panel inside the enclosure to set temperature and time, and some add an outside control or app to start the generator before you get in. Look for automatic shut-off timers, simple interfaces and a panel that is easy to reach from the seat. Extras such as aromatherapy, lighting or music are available on some models. Anyone with a medical condition should check with a doctor before regular steam use.
Maintenance And Long Term Care
A well built steam shower is not difficult to maintain, but it does need regular attention:
- Dry it out. Open the door or transom after each use and run the bathroom fan.
- Wipe the glass. A squeegee after use limits mineral spotting.
- Look after the grout. Low absorption grouts, such as epoxy, resist moisture and staining better. Cementitious grout may need sealing per the manufacturer.
- Flush or descale the generator as its manual directs, especially in hard water areas.
- Check door seals and sweeps periodically, replacing them if they harden or tear.
Our Halton Region home renovation team walks clients through these maintenance steps at handover, along with the generator’s service requirements.
What Drives The Price Of Steam
Steam adds cost on top of an ordinary shower build. These rough estimates show where it goes; enclosure size, tile, glass, electrical work and the generator all move the numbers.
| Component | Estimated cost | Raises the price |
|---|---|---|
| Steam generator and controls | Often $2,500 to $7,000 | Larger units, smart controls, auto flush |
| Full height glass enclosure with transom | Often $3,000 to $8,000 or more | Thicker glass, operable transoms, custom shapes |
| Steam rated membranes and sloped ceiling framing | Often $2,000 to $6,000 added | Large enclosures, complex niches and benches |
| Dedicated electrical circuit | Often $500 to $2,500 | Panel upgrade, long runs, finished ceilings |
| Complete steam shower build within a bathroom | Often $15,000 to $40,000 or more | Stone tile, size, premium fixtures |
Steam Shower FAQs
Can I add steam to my existing shower?
How big does the generator need to be?
Does a steam shower need its own circuit?
Why does the ceiling need to slope?
Where should the generator be installed?
How much maintenance is involved?
Build A Steam Shower That Stays Dry Behind The Tile
A steam shower is a genuine luxury when it is built correctly and a costly repair when it is not. Red Stone Contracting can plan the membrane, ceiling, glass, generator and electrical work together so the finished room performs as well as it looks.
Call us today at (905) 901-1006 or request a free estimate.
Building bathrooms for homeowners in Halton Region and the wider GTA.