
A good range hood installation is mostly invisible. The hood looks right over the cooktop, the fan is quiet enough to leave running, smoke and steam disappear instead of drifting toward the living room, and on a cold night there is no draft coming down through the hood. Getting there depends far less on the hood’s sticker CFM than on the duct behind it, the termination outside, the damper that is supposed to close, and whether the house can supply air to replace what the fan pulls out.
On a real job the decisions come in a fixed order: ducted or recirculating first, then fan size for gas or induction, then duct diameter and length, then where the duct leaves the house. Make-up air is the last question, and for big hoods it can be the most expensive one.
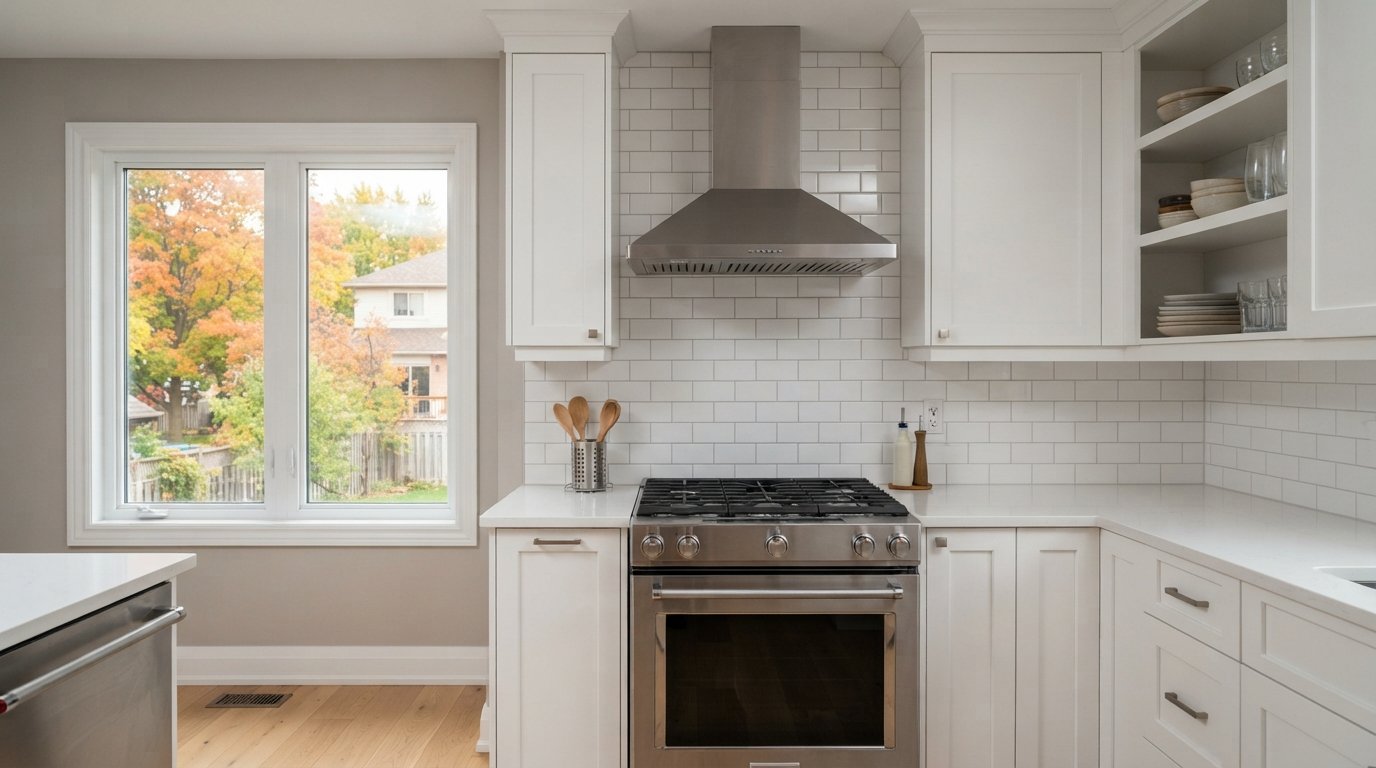
Ducted Or Recirculating: The First Range Hood Installation Decision
A ducted hood moves air through a duct to the outside. A recirculating hood, sometimes called ductless, pulls air through grease and charcoal filters and blows it back into the kitchen.
| Factor | Ducted hood | Recirculating hood |
|---|---|---|
| Removes grease | Yes, filters plus exhaust | Partly, through grease filters |
| Removes smoke and odours | Yes, sends them outside | Partly, charcoal filters reduce odours |
| Removes heat and moisture | Yes | No, both stay in the kitchen |
| Installation complexity | Higher: duct route and exterior termination | Lower: power and mounting only |
| Ongoing maintenance | Clean grease filters | Clean grease filters and replace charcoal filters regularly |
| Best suited to | Most houses, especially with gas cooking | Condos or locations with no practical duct route |
For a house, ducting outdoors is almost always the better choice if a reasonable route exists. Moisture from cooking adds to winter condensation on windows, and gas cooking produces combustion by-products that a charcoal filter does not remove. Recirculating hoods have their place where ducting is impossible, but they are a compromise.
In a kitchen renovation, the duct route is one of the first things we plan, because it affects cabinet layout, ceiling bulkheads and where the hood can actually go.
Sizing The Fan For Gas And Induction Cooking
Hood performance depends on three things: capture area, airflow and how the air moves around the cooktop. A bigger fan does not make up for a hood that is too narrow or too high.
Width and height first
- Width. A wall hood should be at least as wide as the cooktop, and a few inches wider on each side captures much better. Island hoods are usually wider still, because cross drafts in an open room push smoke sideways.
- Mounting height. Follow the manufacturer’s range for the hood and the type of cooktop. Mounting too high lets smoke escape around the edges; too low can be uncomfortable and may not meet the appliance instructions.
- Depth. A deeper hood covers the front burners, where much of the cooking happens.
Airflow rules of thumb
Airflow is quoted in CFM, cubic feet per minute. The rules of thumb below are common starting points, not requirements, and the manufacturer’s guidance for your cooktop comes first.
| Cooktop type | Common rule-of-thumb starting point | Notes |
|---|---|---|
| Electric or induction, wall hood | Roughly 100 CFM per linear foot of cooktop width | Induction produces less waste heat but still produces steam and smoke |
| Electric or induction, island hood | Roughly 150 CFM per linear foot | Island hoods need more airflow because air moves in from all sides |
| Standard gas range | Often sized by burner output, roughly 1 CFM per 100 BTU | Gas cooking adds combustion by-products and heat |
| Professional-style gas range | Sized by total burner output, often well above standard ranges | High CFM can trigger make-up air considerations |
| Wok burners or grills | Higher than standard sizing | Large amounts of smoke and grease |
Induction changes the conversation. It puts less heat into the room than gas, so many induction kitchens can use a smaller fan than an equivalent gas kitchen. Searing, stir-frying and boiling still produce smoke and steam, so the hood still needs good capture.
Noise
Noise is rated in sones. Hoods that are loud get turned off early or not used at all. Some hoods can be paired with an inline or exterior-mounted blower, which moves the motor away from the kitchen and reduces noise at the cooktop.
Duct Diameter, Length And Material
The duct is where many range hood installation problems start. A powerful fan connected to a small, long or bent duct moves far less air than its rating suggests and gets louder doing it.
Diameter
Use the duct size the hood manufacturer specifies and never reduce it. Higher-capacity hoods often need a larger round duct than the small duct many older kitchens have. Reducing the duct to fit an existing hole is one of the most common shortcuts, and it costs a large share of the hood’s performance.
Length and elbows
Every metre of duct and every elbow adds resistance. Manufacturers usually publish a maximum equivalent duct length, where each elbow counts as additional straight length. Keep the run as short and straight as possible, use gentle bends rather than sharp ones, and avoid long horizontal runs where grease can collect.
Material and sealing
- Smooth metal duct is the standard for kitchen exhaust. Flexible plastic or foil duct is not appropriate for range hoods.
- Seal all joints with foil tape or approved mastic, not cloth duct tape.
- Insulate sections that pass through unheated spaces to reduce condensation.
- Strap the duct properly, with a slight fall toward the outside, so grease and water cannot pool in a low spot.
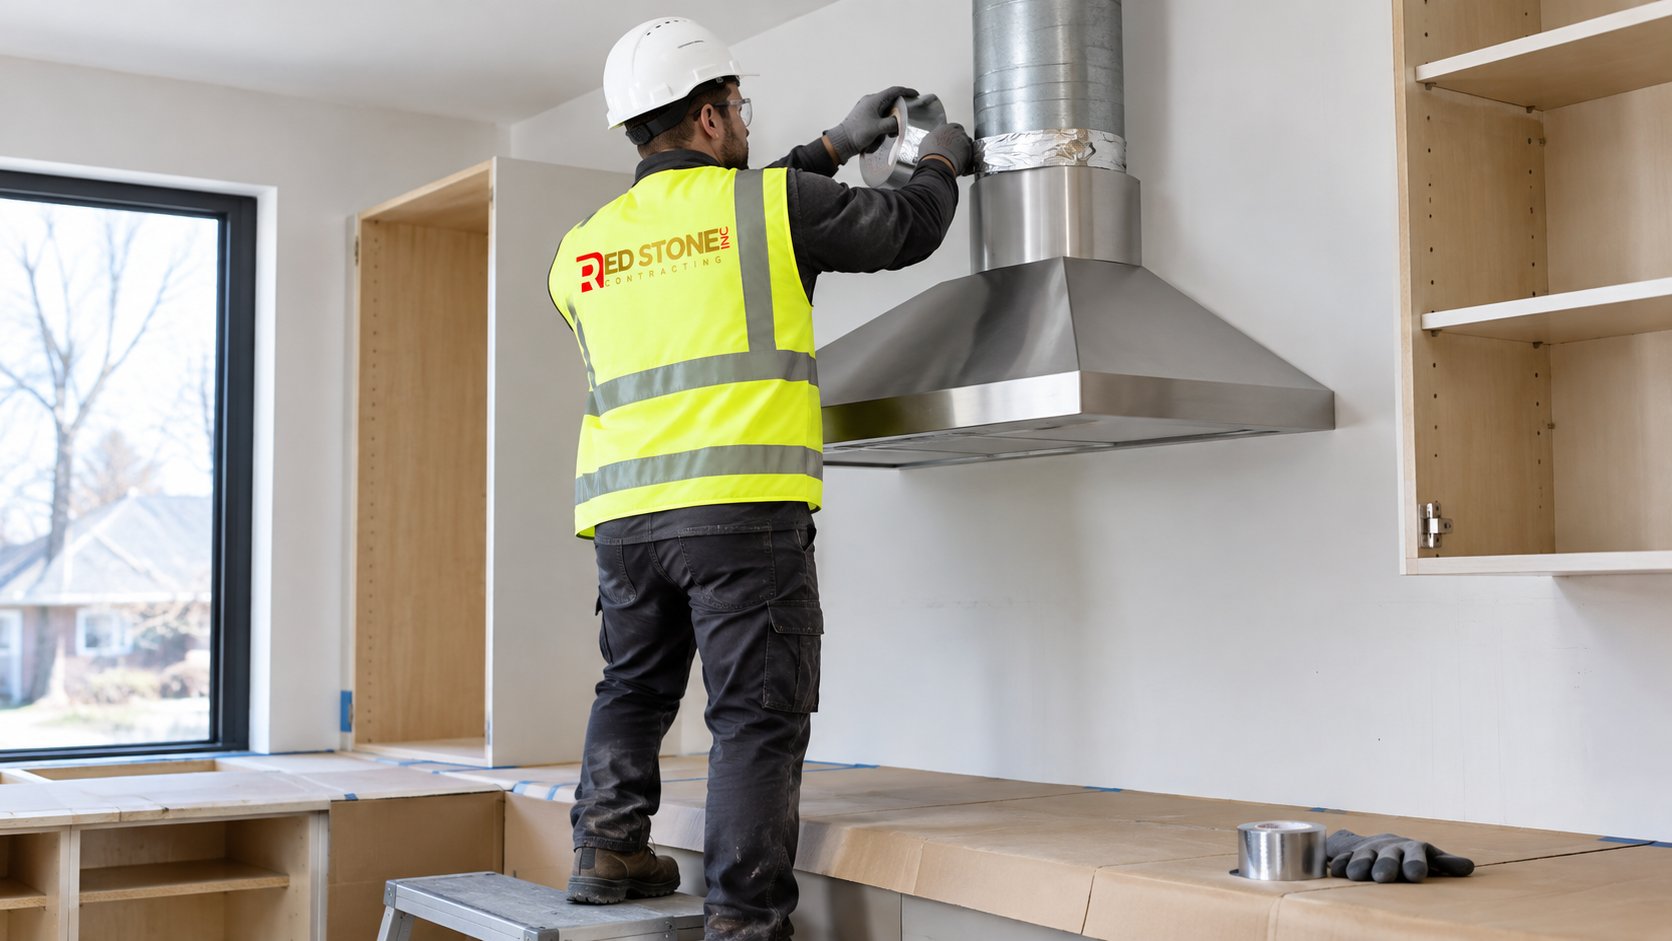
Exterior Wall Or Roof Termination
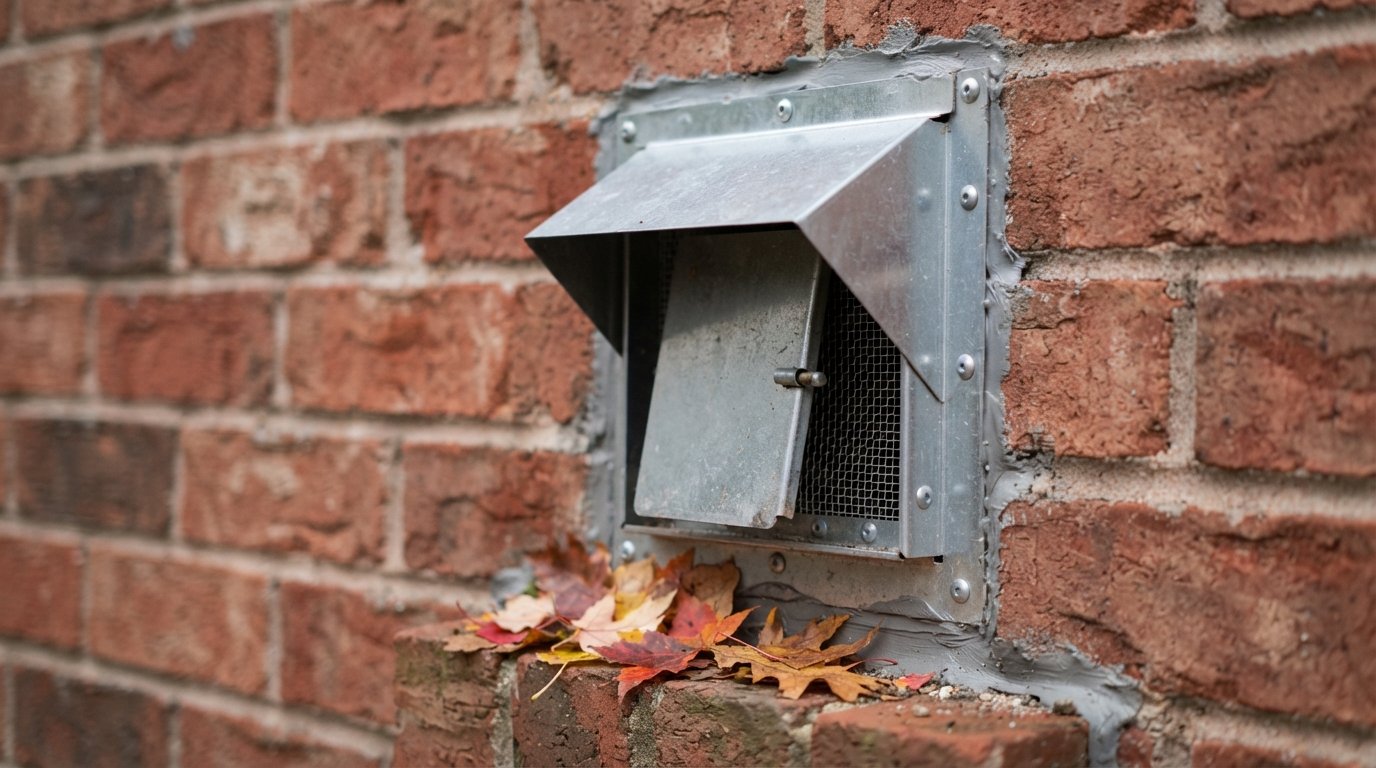
Every ducted range hood installation has to end outside in a proper wall or roof cap with a damper.
- Exterior wall termination is usually simplest for hoods on exterior walls. It keeps the run short and avoids roof penetrations.
- Roof termination suits island hoods or interior walls where a wall route is impractical. The roof cap must be flashed properly to prevent leaks.
- Never terminate in the attic, soffit or ceiling space. Grease and moisture in those spaces cause damage and can create a fire hazard.
Terminations should also be kept away from windows, doors and air intakes. Clearance requirements can vary, so confirm with your municipality or designer.
Backdraft Dampers That Actually Seal In Winter
The damper has one job: stay shut whenever the fan is off. In an Ontario winter, one that hangs open turns the duct into a cold air leak. Cold air can fall through the hood, and frost or condensation can form in the duct.
- Choose a quality damper that closes tightly, ideally with a gasket or spring.
- Check that exterior caps are not blocked by grease or debris.
- Consider an insulated or motorized damper for high-performance hoods.
- Make sure the damper is installed in the correct orientation.
A damper sticking open is often the reason a kitchen feels drafty on cold evenings, even after a brand new range hood installation.
Island Hoods
Island hoods hang from the ceiling over a cooktop in an island. They look striking but need extra planning:
- More airflow and width. With no wall behind the cooktop, air moves in from all sides and pushes smoke sideways. Island hoods are usually wider than the cooktop by a larger margin than wall hoods, and need more airflow for the same cooking.
- Duct route through the ceiling. The duct usually runs up into the ceiling, along the joist bays and out to an exterior wall or the roof. Running parallel to the joists is far easier than crossing them.
- Structural support. The ceiling needs solid blocking or framing to carry the hood’s weight and keep it from swaying.
- Joist limits. Joists cannot be notched or drilled beyond what the Building Code or the joist manufacturer allows. Engineered I-joists have strict rules about hole sizes and locations, so a large duct may need a bulkhead instead.
Where a bedroom or bathroom sits above the kitchen, the island duct often has to share a joist bay with plumbing or other ducts. Opening the ceiling early to confirm the route saves redesigning the island later. Where no route works, a downdraft system or a ceiling-mounted hood with a remote blower may be the fallback, each with its own trade-offs in capture.
Make-Up Air And Why High-CFM Hoods Need It
Every cubic foot of air a hood removes has to be replaced. In older, leakier houses, air seeps in through gaps. In tighter homes, a powerful hood can depressurize the house.
That can cause:
- Fireplaces, furnaces or water heaters with natural draft venting to backdraft, pulling combustion gases into the house.
- Doors that whistle or are hard to open while the fan runs.
- The hood performing far below its rating because it cannot pull enough air.
The Ontario Building Code addresses house depressurization, and large kitchen exhaust fans can trigger make-up air requirements, particularly in homes with fuel-burning appliances. How that applies depends on the house and its equipment, so confirm with your designer, HVAC contractor or building department. Make-up air systems often use a duct with a motorized damper that opens when the hood runs, sometimes with heating to temper cold winter air. Carbon monoxide alarms are important in any home with fuel-burning appliances.
How to tell whether make-up air matters in your house
A few questions narrow it down. Does the house have a wood-burning fireplace, or a furnace or water heater that vents by natural draft through a chimney? Those are the most sensitive to depressurization. Sealed-combustion, direct-vent appliances are far less affected. Has the house been air sealed, with new windows, spray foam or an energy retrofit? Tighter houses have fewer leaks to supply replacement air. And how large is the hood you are considering? A modest hood in an older house is rarely an issue; a high-capacity professional hood in a tight, newer home often is.
A simple make-up air setup is a dedicated duct from outside with a motorized damper wired to open whenever the hood runs. Where the incoming air would be uncomfortably cold in winter, a heater in the duct tempers it. The design should be done by a mechanical contractor familiar with local requirements.
Coordinating Range Hood Installation In A Kitchen Renovation
A range hood installation touches several trades, which is why it is easier during a renovation than as a stand-alone swap.
- Choose the hood before finalizing cabinets so the opening, chimney cover or custom hood insert is designed around it.
- Plan the duct route through walls, joists or bulkheads.
- Plan electrical for the hood and any remote blower; in Ontario this is ESA-notified work for a licensed electrician.
- Coordinate gas work for gas ranges with a TSSA-registered gas contractor.
- Install make-up air where required.
- Finish around the hood with backsplash and trim.
Locking in the exact hood model early is what lets the duct route and cabinet layout be drawn together, which is why it is one of the first selections our York Region home renovation team asks for on a kitchen project.
Replacing A Hood Without A Full Renovation
Not every range hood installation happens during a gut renovation. Many homeowners simply want to replace a weak or noisy hood. A few common situations:
- Existing duct is small. Many older kitchens have a small rectangular duct. A new higher-capacity hood connected to it will be noisy and underperform. Upgrading the duct may mean opening the cabinet above and the wall or ceiling behind it.
- Microwave over the range. Over-the-range microwave combos sit low and shallow and usually capture far less than a proper hood. Replacing one with a hood often means adjusting the cabinet above and the electrical connection.
- Hood vented into the cabinet or ceiling. Some older installations were never ducted outside. Extending the duct to a proper termination is the fix, and the cabinet or ceiling may need cleaning of grease residue.
- Different width. A wider hood may require modifying the cabinets on either side.
A careful assessment of the existing duct, termination and electrical supply before buying the hood avoids most surprises.
Range Hood Installation Costs
These rough estimates cover installation and ducting. The hood itself is priced separately and can run from a few hundred dollars to several thousand.
| Job | Installation estimate | What drives it |
|---|---|---|
| Replacing a hood on an existing good duct | Often $300 to $900 | Hood type, electrical changes |
| New ducted wall hood with exterior wall termination | Commonly $900 to $2,500 | Duct length, wall material, finishing |
| Island hood with ceiling and roof duct | Often $1,800 to $5,000 or more | Ceiling work, roof flashing, support |
| Remote or inline blower | Often adds $500 to $1,500 | Blower type, location |
| Make-up air system | Frequently $1,500 to $5,000 or more | Duct, damper, heating, controls |
Range Hood Symptoms And Their Usual Causes
- Smoke escapes the hood: hood too narrow, too high or underpowered.
- Loud but weak: undersized or long duct.
- Cold drafts: damper not sealing.
- Grease dripping: duct sloping back toward the hood.
- Backdrafting appliances: no make-up air.
Is a ducted hood better than recirculating?
How many CFM do I need?
Where should a range hood duct end?
Do I need make-up air?
Why is my kitchen drafty near the hood?
Does induction need a smaller hood?
Plan Your Range Hood Installation With The Whole Kitchen
The best hood is one that captures well, stays quiet and keeps the kitchen draft-free. Red Stone Contracting works out duct routes, terminations, electrical and make-up air at the design stage, before the cabinets arrive. Call us today at (905) 901-1006 or request a free estimate.
Kitchens that vent properly, for York Region homes and the wider GTA.