
Most kitchen island ideas you see online start with the look: waterfall edges, contrasting colours, statement pendants. Those details matter, but islands succeed or fail on dimensions. An island that is too big for the room turns the kitchen into a maze of hip bumps and half-open dishwashers. One that is too small ends up as an expensive landing spot for mail.
Here we work through the numbers and decisions that make an island comfortable to use every day: aisle widths, seating overhangs, what to build into it, and when a peninsula is the smarter answer.
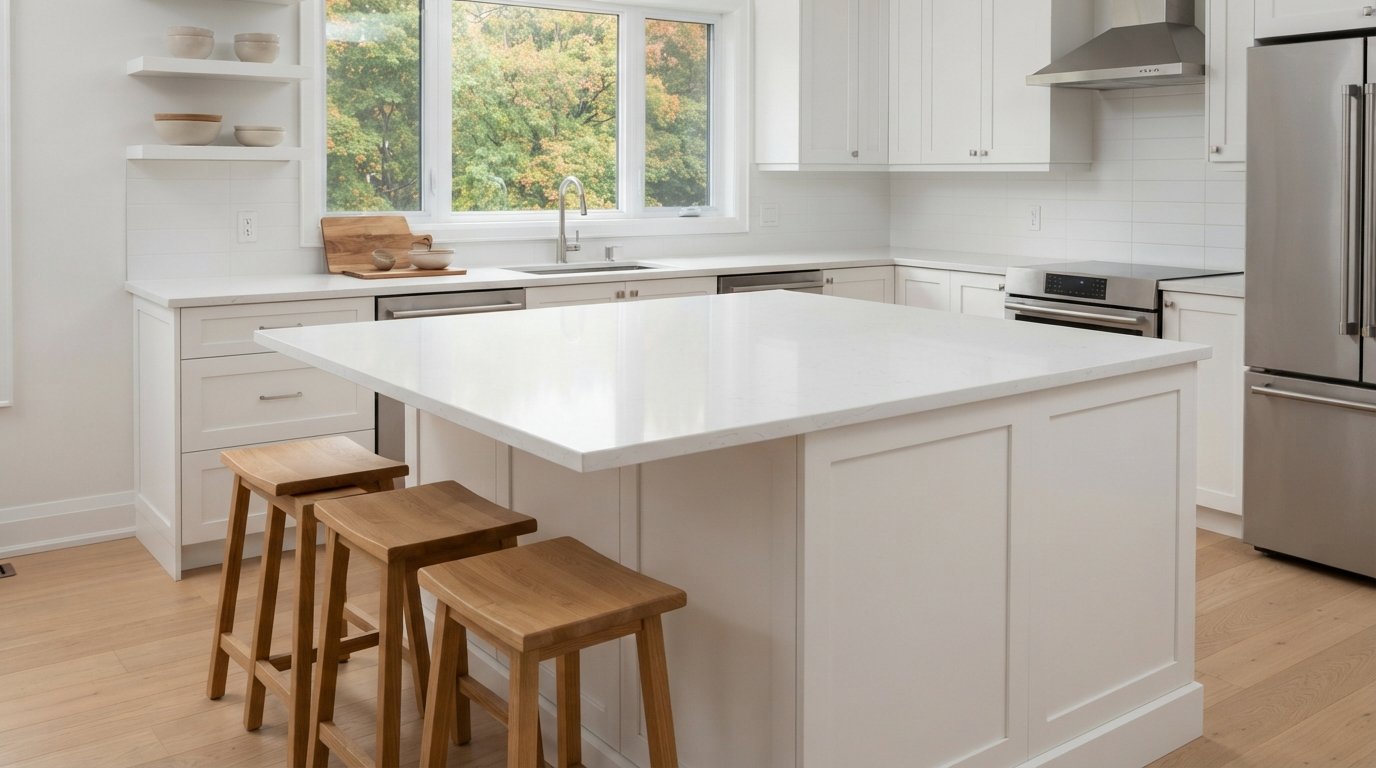
Kitchen Island Ideas Start With The Aisles
The space around an island matters more than the island itself. Widely used kitchen planning guidelines suggest:
- About 42 inches of clear aisle between the island and the counters opposite for a one-cook kitchen.
- About 48 inches where two people regularly cook at once, or where an aisle is also a main walkway.
- At least 36 inches for walkways that do not have work areas or appliances on them.
Measure from the face of the finished countertop, not the cabinet box, and remember that handles and appliance doors eat into that space. A dishwasher door open across a 36 inch aisle blocks it completely. Behind seating, people need room to pull out a stool and still have others pass, so aisles behind stools are often planned wider, commonly 44 inches or more.
| Space | Common planning guideline | What happens if it is tighter |
|---|---|---|
| Work aisle, one cook | About 42 in | Appliance doors and drawers block movement |
| Work aisle, two cooks | About 48 in | People collide, especially near the sink and range |
| Walkway with no work zone | At least 36 in | Feels cramped, hard to carry anything past |
| Behind seated diners, walkway | About 44 in or more | People squeeze past stool backs |
| Behind seated diners, no traffic | About 32 to 36 in | Stools cannot pull out comfortably |
These are well-established planning guidelines rather than code requirements. Planning them properly is part of any good kitchen renovation design, where island size is set by the aisles rather than the other way round.
Sizing An Island To The Room
Before comparing kitchen island ideas, work out the island size by subtracting, not by picking a size you like. A simple way to test a room:
- Measure the room width between the finished faces of the base cabinets on each side (or from cabinet face to wall on an open side).
- Subtract two aisles, typically 42 inches each for a one-cook kitchen.
- What is left is the maximum island depth.
If that leaves less than about 24 inches, an island will not fit comfortably. Around 36 to 42 inches allows a basic island with storage on one side. An island with cabinets on one side and seating on the other usually wants 42 inches or more of depth. For length, a minimum of about 4 feet is where an island starts to be useful; beyond about 10 feet, a single slab countertop may not be available, and walking around the end becomes a detour.
Leave more space when the island is at the centre of an open-plan room where people walk through the kitchen to get to the patio door or dining area.
Seating: Overhang Depth And Space Per Stool
Seating is where most island plans go wrong. People sit with their knees under the counter, and if the overhang is too shallow, they sit sideways or perch on the edge.
| Counter height | Typical knee space depth | Width per seat | Stool or chair height |
|---|---|---|---|
| Table height, about 30 in | About 18 in | About 30 in | Standard dining chair |
| Counter height, about 36 in | About 15 in | About 24 in | Counter stool, about 24 to 26 in seat |
| Bar height, about 42 in | About 12 in | About 24 in | Bar stool, about 29 to 31 in seat |
| End of island seating | Matches the counter height above | About 24 in or more | Encourages conversation, but check the corner |
Supporting the overhang
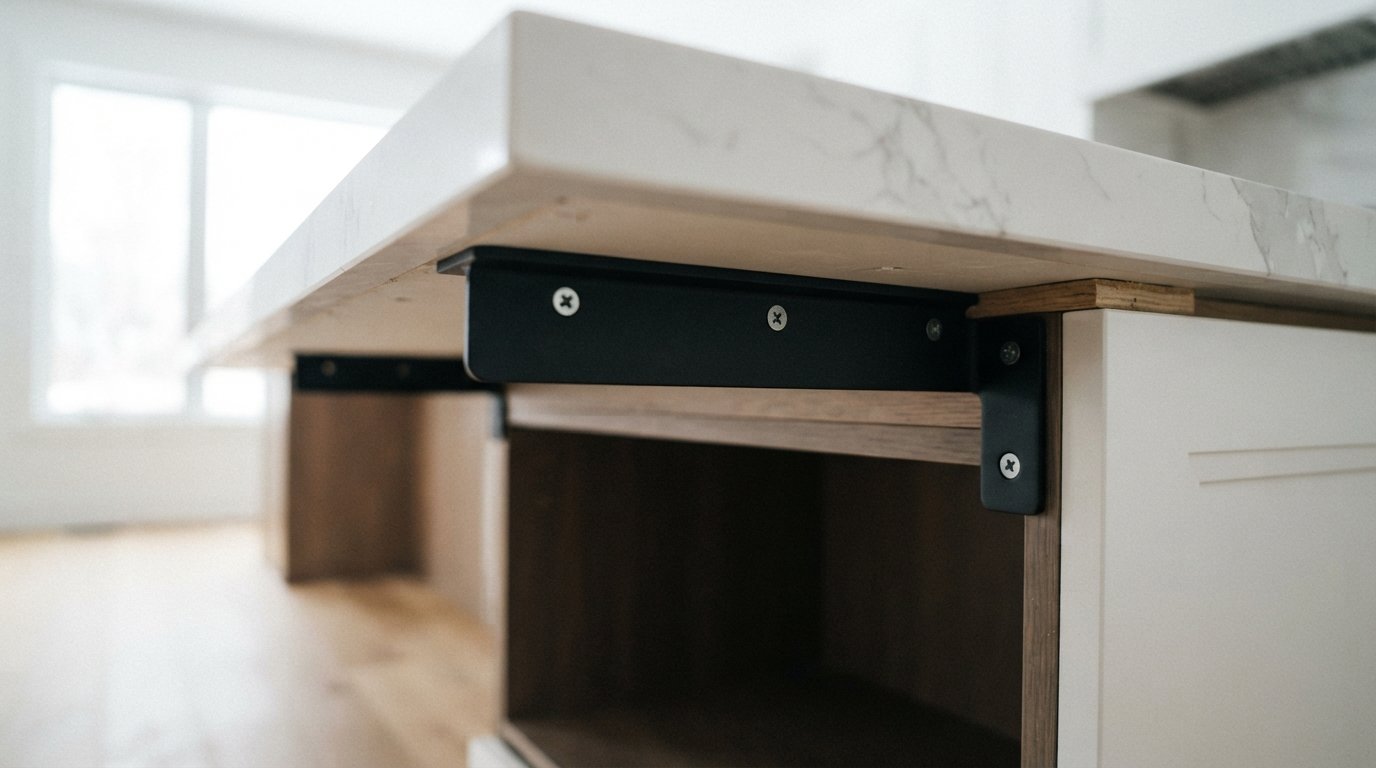
Stone and quartz countertops can only overhang a limited distance without support. The exact limit depends on the material, thickness and fabricator, and often somewhere around 10 to 12 inches is the most allowed unsupported for a typical quartz slab. Deeper overhangs need steel brackets hidden under the top, decorative corbels, legs or a panel end. Ask your fabricator early, because hidden brackets need to be installed before the top goes on.
Counter height or bar height
A single-level island at counter height gives more usable work surface and looks cleaner. A raised bar ledge hides mess from the living room but splits the top and reduces workspace. Most current designs favour a single level, with a table-height extension where family meals or homework happen at the island.
Putting A Sink Or Cooktop In The Island
Sink in the island
An island sink lets you face the room while prepping and washing, and it frees perimeter counters. The challenge is plumbing. The drain has to run under the floor to the stack, and island sinks cannot be vented the usual way through a wall. Plumbers use methods such as an island fixture vent (a loop vent in the cabinet) or, where permitted, an air admittance valve. Which method is allowed depends on the Ontario Building Code and your municipality, so your plumber should confirm before the design is final. On a slab-on-grade floor or where joists run the wrong way, moving a drain can be a major job.
Plan the dishwasher right beside the sink, a trash pull-out within a step, and at least a short run of counter on both sides so dirty dishes do not land in the seating zone.
Cooktop in the island
A cooktop in the island is sociable but needs serious ventilation. The options are a ceiling-hung island hood, which works well but is a large visual element, or a downdraft vent, which is more discreet but generally less effective at capturing steam and smoke rising off tall pots. Island hoods need a duct route to the outside through the ceiling above, so check joist direction and what sits upstairs. Large, powerful hoods may also need make-up air so they do not depressurize the house; confirm the requirements with your HVAC contractor and municipality.
For safety, keep seating well back from the cooktop and allow landing space on both sides. Many designers keep cooking on the perimeter and use the island for prep and seating instead.
| Island function | Advantages | What it needs |
|---|---|---|
| Prep and seating only | Simplest, cleanest top, most flexible | Receptacles, good task lighting |
| Prep sink | Extra water point for two cooks | Drain route and venting method confirmed by the plumber |
| Main sink and dishwasher | Face the room while working | Drain, vent, water lines, plus space for dishes on both sides |
| Cooktop | Cook while facing guests | Island hood or downdraft, duct route, possibly make-up air, safe seating distance |
| Beverage centre or microwave drawer | Keeps traffic out of the main work zone | Dedicated circuit where required, ventilation clearances |
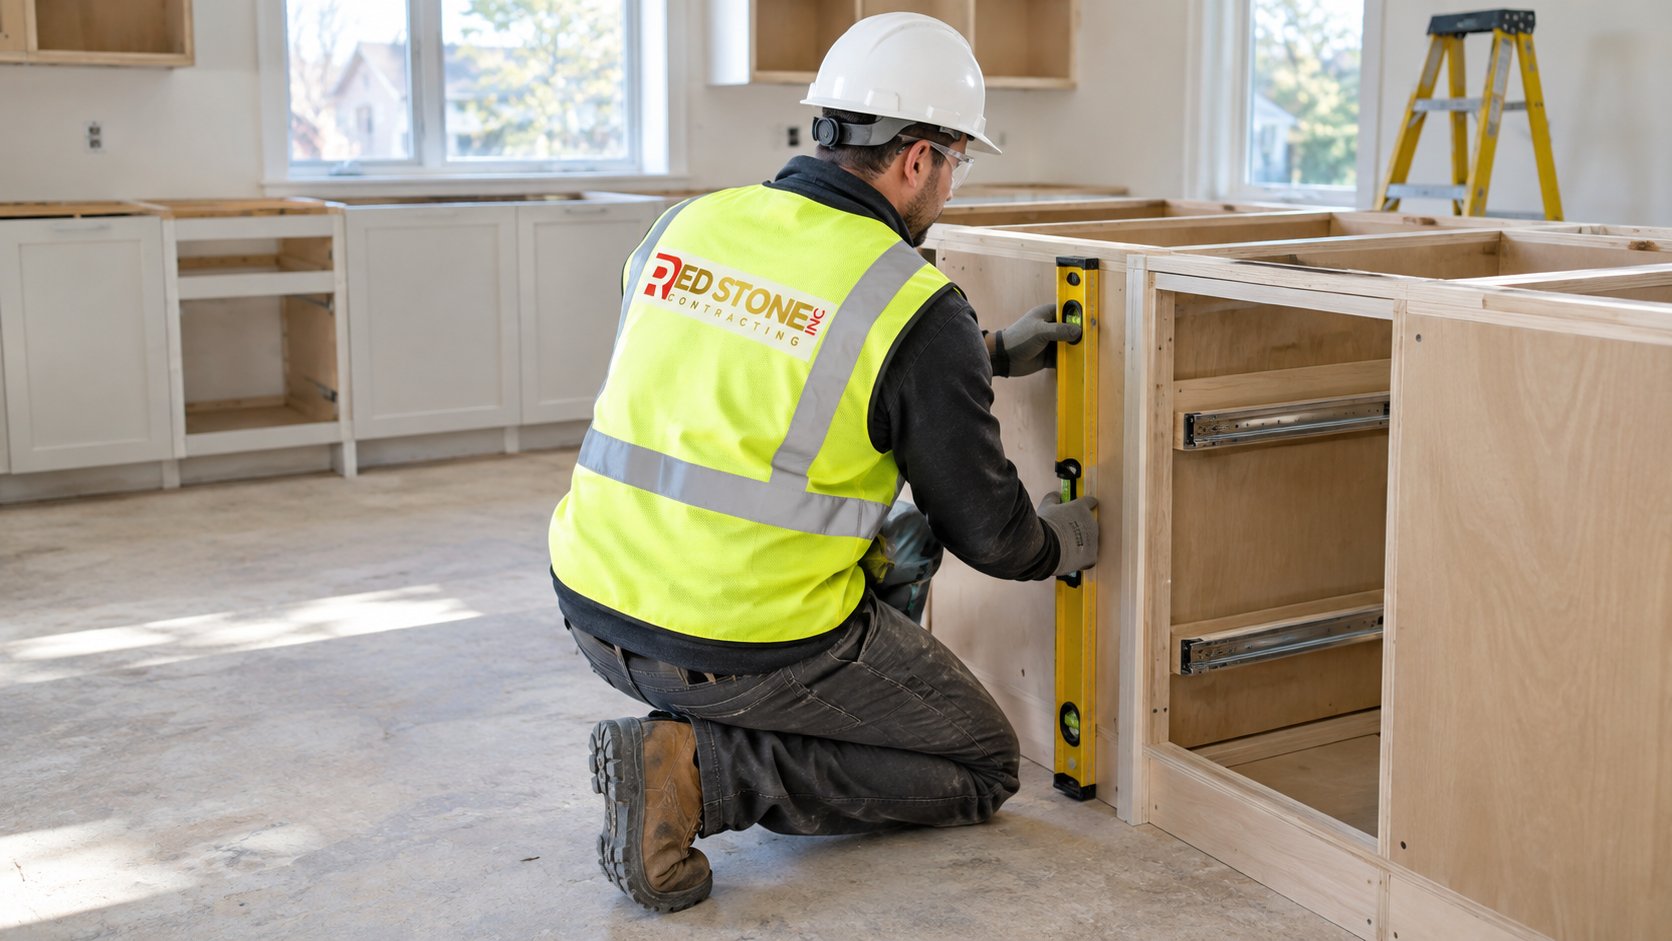
Electrical Requirements For Island Receptacles
Islands need power, both for small appliances and because the electrical code generally requires it. The Ontario Electrical Safety Code sets rules for receptacles serving kitchen counters, including islands above a certain size, and it has changed in recent editions, including how and where island receptacles can be mounted. Countertop receptacles near a sink also have ground fault protection requirements. The details depend on the code edition in force and your layout, so confirm them with your licensed electrician and ESA.
In practice, plan receptacles on the ends or working side of the island rather than on the seating face, where cords hang across knees. Pop-up receptacles are neat but need care around liquids; your electrician can confirm which products are approved. If you plan a microwave drawer, a warming drawer or a beverage fridge in the island, each may need its own circuit, which is simpler to run while the floor or ceiling below is open.
Storage Configurations That Earn Their Space
An island is usually the best storage in the kitchen because it is reachable from both sides. The storage choices that hold up over years of use tend to be the plain, practical ones:
- Deep drawers instead of doors on the working side, for pots, pans and small appliances. Drawers bring everything to you.
- A trash and recycling pull-out near the sink or main prep area.
- Shallow cabinets on the seating side, often 12 inches deep, for items used less often, while the knee space stays clear.
- Open shelving on an island end for cookbooks, which softens the look from the living area.
- A microwave drawer at a convenient height, which frees counter space and keeps it off the wall.
Avoid putting drawers where stool legs and knees will block them, and keep the dishwasher out of the seating zone so it can be opened while people are sitting.
Kitchen Island Ideas For Different Room Shapes
The same island does not suit every kitchen. The shape of the room and where the doors, windows and walkways fall usually point to one of a few layouts.
Long galley that opens to a family room
When one wall of an old galley comes down, a long island often replaces it. It becomes the boundary between kitchen and living space, with cabinets facing the kitchen and seating facing the family room. The key is keeping the working aisle at a comfortable width and leaving a clear route around both ends so the island does not become a wall.
L-shaped kitchen in an open plan
An L-shaped layout with an island is the most common arrangement in newer homes. The sink or cooktop often sits on the island, facing the room, while the fridge and tall pantry cabinets stay on the perimeter. Watch that the island does not block the path from the fridge to the prep area; that short trip happens dozens of times a day.
Square room with space to spare
Larger rooms sometimes tempt people toward a huge island. Once a top gets much beyond arm’s reach from each side, the middle becomes unusable, and cleaning it means climbing on the counter. Two smaller islands, or one island plus a table, is often more practical than one oversized slab. Of all the island layouts we are asked about, the double island is the one that most needs a genuinely large room to work.
Kitchens with a door or patio in the way
Exterior doors and main hallways often dictate where an island can sit. An island that forces family traffic through the cook’s aisle causes friction every day. Shifting the island, shortening it or angling seating away from the door path usually solves it.
When A Peninsula Works Better
A peninsula is an island attached to the perimeter cabinets at one end. It often makes more sense when:
- The room is too narrow for two full aisles around a freestanding island.
- You want seating but the kitchen is a U or L shape that can extend naturally.
- Plumbing or electrical routes are easier from an existing wall.
- You want to separate the kitchen from the living area without closing it off.
A peninsula needs only one aisle, which can free up a lot of floor space in a narrower kitchen. The trade-off is that it creates a dead end and can block access to a corner. Planning the corner storage well, with blind corner pull-outs or a door from the seating side, avoids wasted space.
Lighting And Finishing Touches
Lighting is where many island designs either come together or fall flat. Pendants over an island commonly hang with the bottom around 30 to 36 inches above the counter. Space them evenly with room at each end; two larger pendants or three smaller ones is a typical approach for a standard island. Add recessed lighting or under-counter lights so the work surface is evenly lit, since pendants are often more decorative than functional.
For finishes, a contrasting island colour or wood tone is still popular, and it genuinely helps an island look like furniture. Durable edges matter on the seating side, where bags and elbows hit. Our home renovation team across Durham Region often mocks up an island footprint on the floor with tape so you can walk around it before cabinets are ordered.
How much space do I need around an island?
How deep should the seating overhang be?
Is a sink in the island a good idea?
Does an island need an electrical outlet?
When should I choose a peninsula instead?
What is the smallest useful island?
Turning Kitchen Island Ideas Into A Plan
The best island is the one that fits how you cook, eat and move through the room. Red Stone Contracting plans islands as part of full kitchen renovations, working out clearances, seating, plumbing, ventilation and electrical before cabinets are ordered so the finished kitchen works as well as it looks.
Call us today at (905) 901-1006 or request a free estimate.
Serving homeowners across Durham Region and the wider GTA.