
A freestanding tub looks effortless in a finished bathroom, but almost everything that makes it work is hidden: the joists under it, the drain below the floor, the valve that feeds the filler, and the route it took up the stairs. Those details decide whether the tub sits level for decades or ends up cracking tile, wobbling a floor-mounted spout or leaking into the ceiling below. The sections below follow the order a contractor checks things on site, starting under the floor, so you can choose a tub and a layout that suit your house rather than just the showroom.
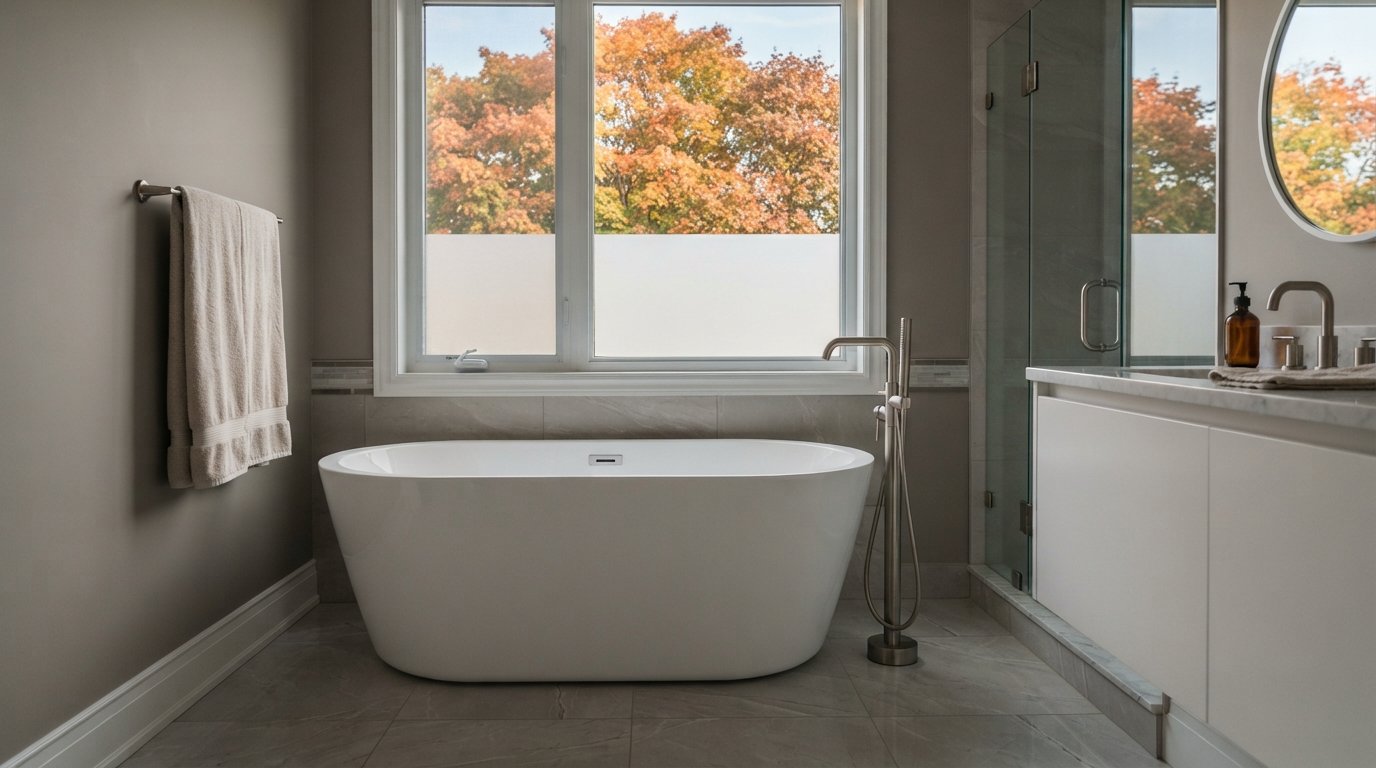
Start Under The Floor: What A Filled Freestanding Tub Weighs
A filled tub is one of the heaviest concentrated loads a house floor ever carries, and the weight sits on a small footprint rather than spreading across the room. Add up three things: the empty tub, the water, and the person in it.
- Empty tub. Acrylic models are relatively light. Stone resin and cast iron can weigh several times as much, and the heaviest cast iron tubs need a team just to carry them.
- Water. One litre weighs about one kilogram, so a tub holding 200 to 300 litres to its overflow adds 200 to 300 kilograms.
- The bather. Add their weight, plus a margin for someone stepping in on one foot.
A filled cast iron or stone resin tub with someone in it can easily reach several hundred kilograms on a patch of floor not much bigger than a single bed’s footprint. Floors in houses are designed around a uniform load spread across the whole room, so a point load like this deserves a proper look, especially in older homes.
What a contractor checks underneath
- Joist size, spacing and span. Older houses sometimes have joists that were adequate for their day but are smaller or more widely spaced than current practice.
- Old plumbing damage. Bathrooms are where past plumbers notched or drilled joists to run drains. A deep notch near mid span can weaken a joist far more than its size suggests.
- Joist direction. A tub set across the joists spreads its weight over more of them than one running parallel to them.
- Deflection and bounce. If the floor already bounces, a heavy tub will make it worse and can crack tile and grout.
Common fixes include sistering new lumber alongside existing joists, adding solid blocking between joists under the tub, adding a layer of plywood subfloor, or in some cases a beam or post below. For heavy tubs on long spans, or where joists have been badly cut, an engineer’s review is the safe route, and structural changes may need a building permit. Confirm with your municipality before work starts.
These checks are a normal part of any well planned bathroom renovation, and they are much easier with the floor opened up than after new tile is down.
Choosing A Tub Material
The material affects weight, how long the water stays warm, how the surface feels and ages, and how hard the tub will be to get into the room.
| Factor | Acrylic | Cast iron | Stone resin |
|---|---|---|---|
| Empty weight | Light; easy to carry and place | Very heavy; often needs four or more people | Heavy; varies widely by size |
| Heat retention | Moderate; double wall models do better | Very good once the iron warms up | Very good |
| Feel and look | Smooth, glossy, warm to the touch | Glossy enamel, classic shapes | Matte, stone like, solid feel |
| Durability and repair | Can scratch; light scratches can often be buffed out | Enamel is hard but can chip; chips are hard to repair invisibly | Scratches can often be sanded and polished |
| Floor reinforcement | Rarely needed on a sound floor | Often needed in older homes | Often needed for larger models |
| Stair and doorway access | Usually manageable | Difficult on narrow or turning stairs | Difficult; rigid and heavy |
Acrylic is the most common freestanding tub material for good reason: it is forgiving on floors and stairs and comes in nearly every shape. Cast iron suits period bathrooms and people who love long, hot soaks. Stone resin has a soft matte surface that many people prefer, but check the manufacturer’s care instructions, since some finishes dislike harsh cleaners.
Floor-Mounted Vs Wall-Mounted Fillers
The filler decision locks in where the tub can sit, so make it before the layout is final.
Floor-mounted fillers
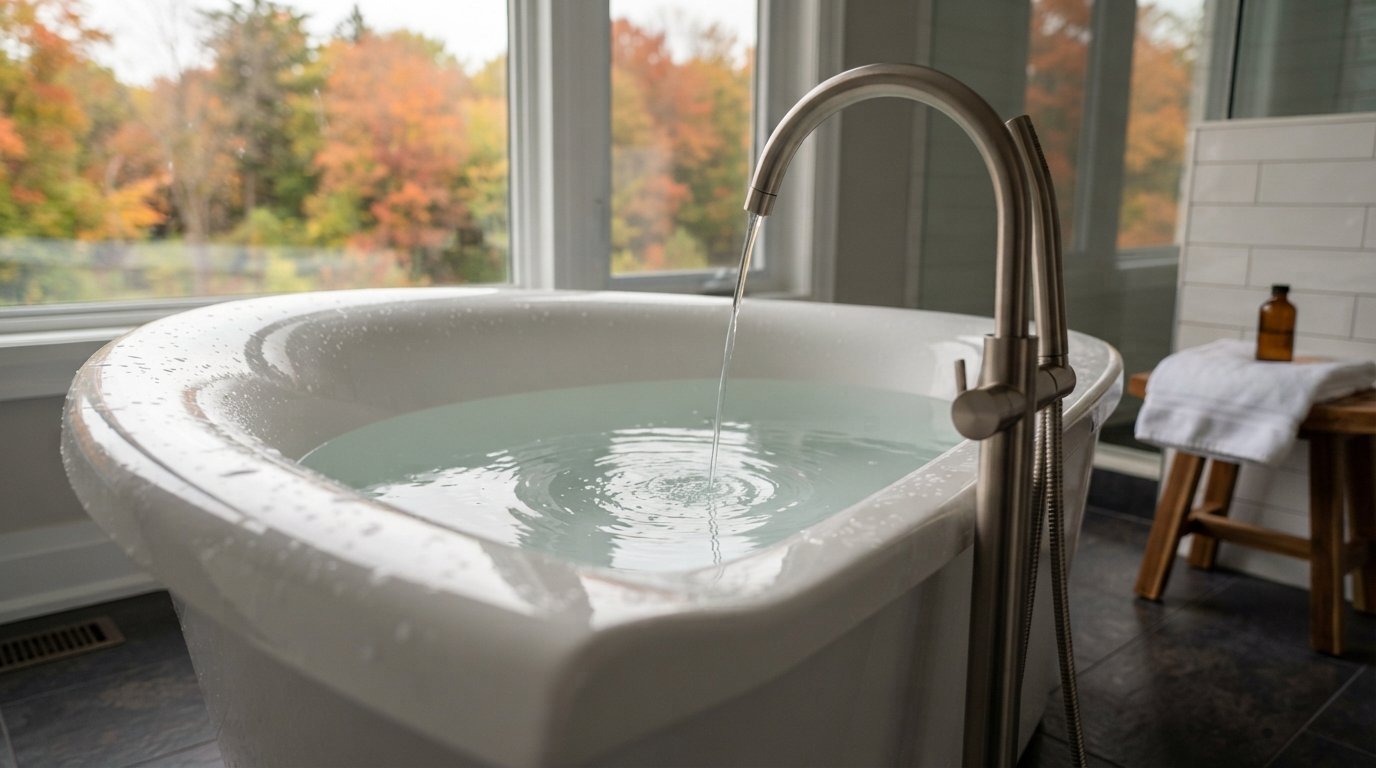
A floor-mounted filler stands on its own beside the tub, usually with a hand shower. It lets the tub float in the middle of the room, but it is the more demanding installation. The hot and cold supply lines come up through the floor, and the filler’s rough-in valve or mounting bracket must be fixed to solid blocking between the joists so the tall spout does not wobble. That work is done from below, which means opening the ceiling under the bathroom unless the basement is unfinished.
Placement is precise. The spout must reach over the rim and land inside the tub, so the filler’s position is set from the manufacturer’s rough-in diagram and the tub’s exact dimensions, before the subfloor is closed. Most installers want both the tub and the filler on site, or at least both spec sheets in hand, before drilling anything.
Wall-mounted fillers
A wall-mounted spout with a valve in the wall is simpler to plumb, especially when the wall already has supply lines in it. The trade-off is that the tub must sit close to that wall, close enough that the spout’s reach clears the rim. That spot is fixed by the spout length, not by taste. A short pony wall behind the tub is a useful middle ground, giving a wall for the valve while the tub stays away from the main walls.
| Filler type | Rough-in needs | Where the tub can sit | Watch outs |
|---|---|---|---|
| Floor-mounted | Supplies through the floor, blocking or bracket below | Almost anywhere with access from below | Ceiling below may need opening; must be rock solid |
| Wall-mounted spout | Valve and spout outlet in the wall | Close to that wall, set by spout reach | Spout reach must land well inside the rim |
| Pony wall mounted | New short wall framed to carry the valve | Mid room, behind the tub | Uses floor space; wall needs waterproof finish |
| Deck-mounted on the tub | Supplies to the tub ledge | Anywhere, if the tub has a ledge | Only suits tubs designed for it; flexible lines need access |
Whichever you choose, the valve should provide temperature control. Ontario’s plumbing requirements include limits on hot water temperature at bathtubs and showers in homes, commonly met with a pressure balancing or thermostatic valve. Your plumber should confirm the current requirement and the valve’s rating.
Drain Position Under The Tub
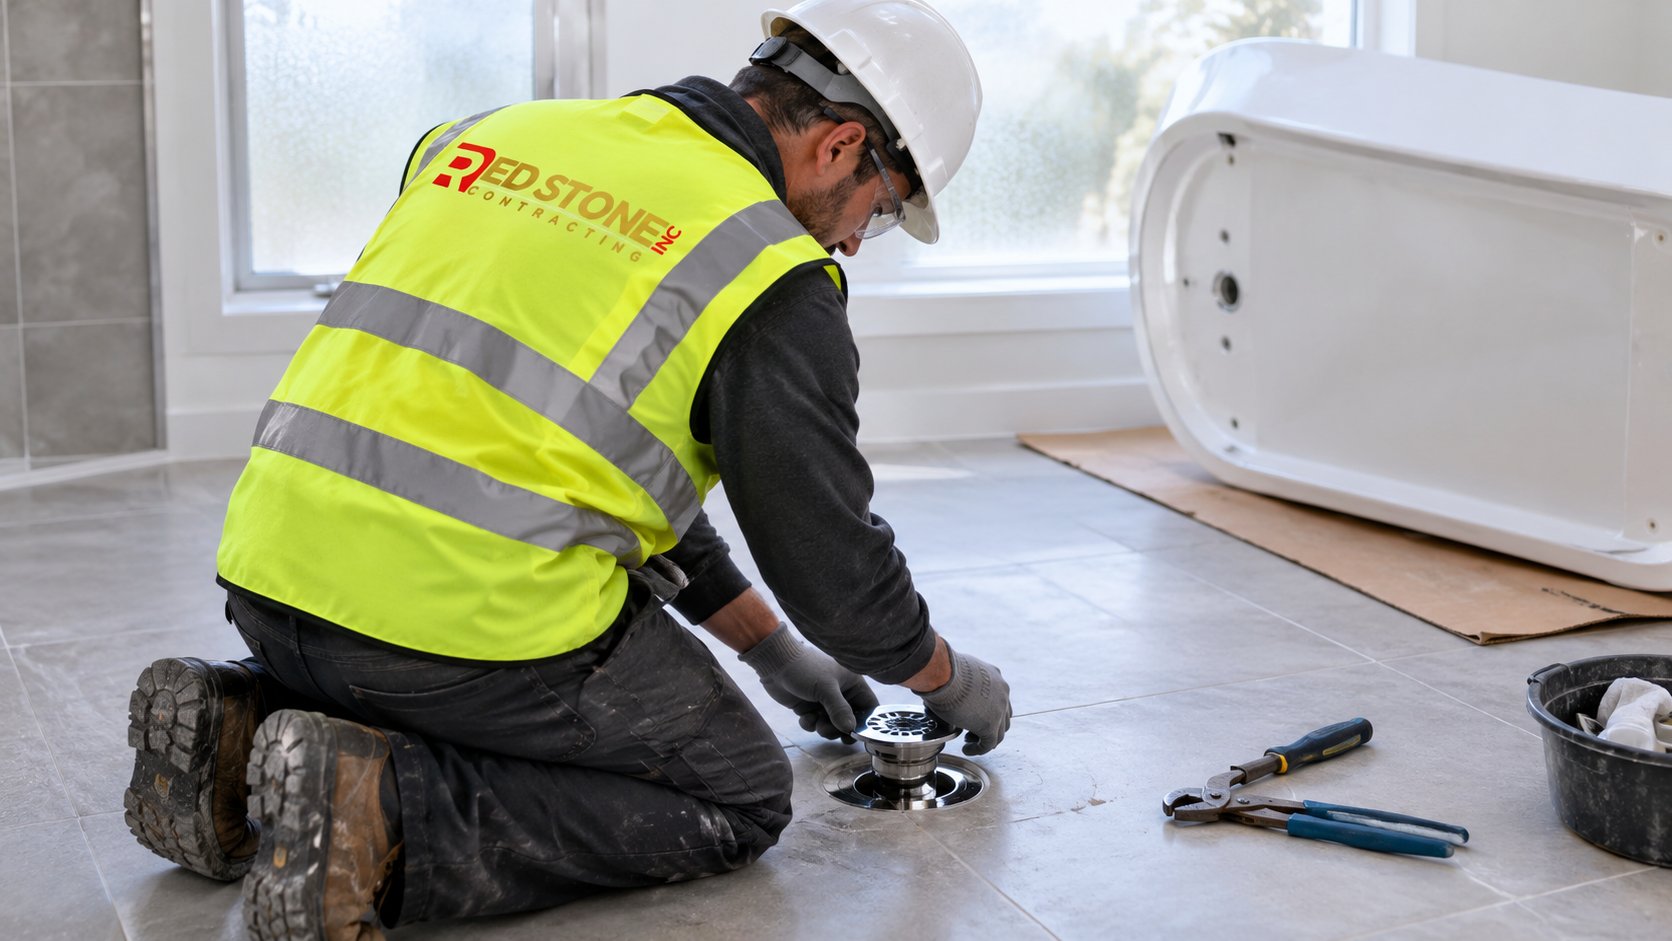
Built-in tubs give you access to the drain from the end wall. A freestanding tub sits on a finished floor with its drain directly underneath, so the connection has to be right the first time.
- Locate from the spec sheet. Drain position varies by model: centre, one end or offset. The hole in the floor is cut from the manufacturer’s dimensions, not from where the old tub drained.
- Avoid joists. If the drain lands on a joist, shift the tub slightly or frame a proper header around the opening. Cutting through a joist to save a few centimetres of layout is how bathrooms end up with sagging floors.
- Trap depth. The trap sits below the floor and needs vertical space between the joists, plus a properly sloped and vented drain run back to the stack.
- Connection method. Many freestanding tubs come with or accept a drain kit that connects from above through the floor opening. Some installers leave a removable access panel in the ceiling below for future service, which is worth asking about.
Before the tub goes down for good, it should be filled and drained to check the connection and the overflow. Water that leaks here shows up on the ceiling below weeks later.
Clearances, Comfort And Cleaning
The most common regret with a freestanding tub is putting it so close to a wall that nobody can clean behind it. Either push it close enough that the gap is deliberate and easy to wipe, or leave enough room to get an arm and a cloth back there. Many designers aim for roughly 15 centimetres or more between the rim and the wall, but tub shape matters: a slipper tub with a raised back needs more space than a low oval.
Leave a clear standing area on the side you step in from, so you are not climbing out against a vanity or toilet. Think about where a bath mat, towel bar and a small stool or tray will go, and keep the filler’s hand shower within easy reach of someone sitting in the tub.
Other comfort decisions worth making early:
- Hot water capacity. A deep tub can use more hot water than a standard tank heater delivers before it runs cool. Check whether your water heater can fill the tub you are choosing.
- Floor heat. Heated tile is pleasant around a tub, but most systems should not run under a fixture. Follow the heating system’s installation manual.
- Waterproofing. The tile floor runs continuously under the tub, so the membrane and grout under it must be sound. Splashes from a freestanding tub land on the floor, not on a tub apron.
Getting A Freestanding Tub Into The Room
Delivery is not the time to discover the tub will not turn at the landing. Before ordering, measure the whole route: exterior door, hallways, stair width, headroom over the stairs, the turn at any landing and the bathroom door itself. Compare those numbers with the tub’s length, width and height, and remember that it can usually be tipped on its side or end but not folded.
- Narrow older stairs with a tight turn at the top often defeat long tubs even when the width looks fine.
- Removing a door, its casing or a section of handrail sometimes buys the space needed.
- Heavy cast iron or stone resin tubs may need a crew with stair dollies and wall protection.
- For very large tubs, some projects bring the tub in through an upper window, or deliver it before final drywall is closed on a stairwell wall.
Plan for where the tub will wait. It usually arrives before tile is finished, and it needs a dry, safe spot in its packaging where nobody will chip it.
Pairing A Tub With A Separate Shower
Most homeowners who install a freestanding tub still want a separate shower, because a freestanding tub is not a practical daily shower. That pairing takes floor space, and the layout should come first.
- Wet zone layout. Some bathrooms place the tub and shower together inside a glass enclosed wet area with one sloped floor and drain. It saves space and keeps splashing contained, but the whole zone must be fully waterproofed.
- Separate fixtures. A tub in the open room with a walk-in shower elsewhere is classic. Keep the shower glass far enough from the tub that both can be cleaned.
- Shared plumbing wall. Grouping the shower valve and tub supplies near one wall keeps rough-in simpler and cheaper.
- Ventilation. A bathroom with both a soaking tub and a shower produces a lot of moisture, so the exhaust fan should be sized and ducted to the outside properly, especially as cooler autumn nights increase condensation on windows.
If you are weighing a tub and shower combination in a smaller room, a designer can lay out both options at scale. Our Halton Region home renovation team regularly walks clients through these trade-offs before any demolition starts.
Budgeting For The Tub, Filler And Rough-In
The ranges below are rough estimates for Ontario homes. Actual costs depend on the tub you choose, the house, access and the scope of plumbing and structural work.
| Item | Ballpark estimate | Pushes it up |
|---|---|---|
| Acrylic freestanding tub | Often $1,000 to $4,000 | Double wall, designer shapes, integrated overflow |
| Cast iron or stone resin tub | Often $2,500 to $8,000 or more | Large sizes, custom finishes, heavy delivery |
| Floor-mounted filler with hand shower | Often $800 to $3,000 for the fixture | Thermostatic valves, premium finishes |
| Plumbing rough-in and drain relocation | Often $1,500 to $5,000 | Opening finished ceilings, new venting, long runs |
| Floor reinforcement | Often $800 to $4,000 where needed | Engineered solutions, beams, permits |
A Pre-Purchase Checklist
- Has someone checked the joists, span and any old notches under the tub location?
- Do I have the tub and filler spec sheets so rough-in can be set accurately?
- Can the drain land between joists, and how will it be accessed later?
- Will my water heater fill this tub with hot water?
- Have I measured every door and stair turn on the delivery route?
Freestanding Tub Questions Before You Buy
Can my second floor support a cast iron tub?
Do I need access below for a floor-mounted filler?
How far from the wall should the tub sit?
Which material keeps bath water warm longest?
Can I reuse my old tub drain location?
Is a freestanding tub practical for daily showers?
Make Room For A Freestanding Tub, Properly
A freestanding tub rewards careful planning: a sound floor, a filler set in exactly the right place, a drain you can trust and a delivery route measured in advance. Red Stone Contracting can assess the structure, coordinate the plumbing rough-in and build the bathroom around the tub you want.
Call us today at (905) 901-1006 or request a free estimate.
Bathrooms planned from the joists up for Halton Region homes and the wider GTA.