
Crown moulding is one of the few finishing details that changes how an entire room reads, yet it is also one of the easiest to get wrong. Pick a profile that is too heavy for an eight-foot ceiling and the room feels lower. Install it over a wavy plaster ceiling without a plan and every gap shows up the moment the paint dries. This guide walks through how we think about crown moulding on real GTA houses: choosing a profile, choosing a material, cutting the corners properly, and dealing with the ceilings, cabinets and lighting that make the job harder than it looks.
Early autumn is a good time to plan trim work. Windows are about to close for the season, the house is settling into its heating-season humidity, and interior finishing can go ahead without worrying about the weather outside. If you are pairing new trim with a larger interior refresh, it helps to decide on the moulding before paint colours and lighting are locked in, because all three affect each other.
What Crown Moulding Actually Does In A Room
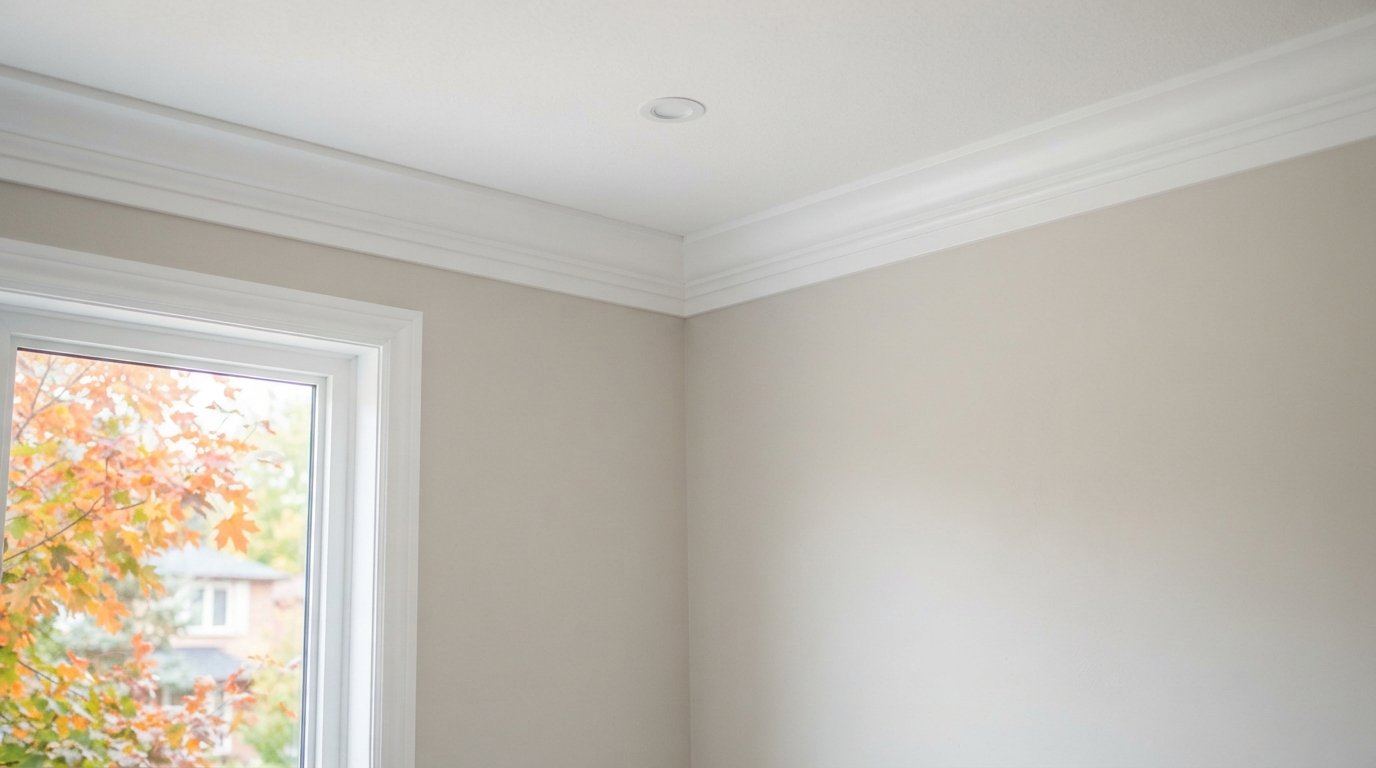
Crown moulding covers the joint where wall meets ceiling. Practically, that joint is where drywall tape cracks, where plaster pulls away and where paint lines wander. Visually, a crown gives the eye a defined edge, which makes walls look straighter and ceilings look more deliberate. It also carries the style of the house: a stepped, built-up crown says something very different from a simple cove.
Most crown is “sprung” moulding. It sits at an angle, bridging the corner with a hollow space behind it, rather than lying flat against the wall. The two numbers that matter on any profile are the projection (how far it extends onto the ceiling) and the drop (how far it comes down the wall). A profile with a large drop and small projection reads as tall and upright; one with a large projection reads as wide and heavy. Most stock profiles are sprung at 38 or 45 degrees from the wall, and knowing which one you have matters when you set up the saw.
Before choosing anything, stand in the room and look at three things: ceiling height, the size of the existing baseboard and casings, and how straight the ceiling line is. Those three observations drive almost every decision below. If you want help pulling trim, paint and lighting into one plan, our design solutions service for interior finishes covers exactly this kind of coordination.
Choosing A Profile For Ceiling Height And House Era
The most common mistake is oversizing. A tall crown on a standard eight-foot ceiling compresses the room, especially if the baseboard is small. The opposite also happens in older homes with nine or ten-foot plaster ceilings, where a thin stock profile looks like an afterthought. A useful starting point is to keep the crown in proportion to the baseboard: many finish carpenters aim for the crown’s overall size to be similar to or slightly larger than the base, so the room feels balanced top and bottom.
| Ceiling height | Typical crown size (overall face) | Profile character that usually works | Watch out for |
|---|---|---|---|
| 8 feet | About 3 to 4.5 inches | Simple cove, small ogee, clean modern step | Tall profiles that make the room feel lower |
| 9 feet | About 4.5 to 6 inches | Classic ogee, cove with a bead, modest build-up | Mismatch with thin 1990s baseboard |
| 10 feet | About 5.5 to 7.5 inches | Two-piece built-up crown, dentil or step detail | Single stock pieces that look undersized |
| Over 10 feet or coffered | 7 inches and up, often built-up | Multi-piece assemblies with a frieze board | Weight, fastening and paint time on large runs |
| Sloped or cathedral | Case by case | Often skipped or replaced with a flat band | Compound angles at every transition |
These are rules of thumb, not requirements. Room size matters too: a small bedroom with a nine-foot ceiling may still look better with a lighter profile than a large open living area at the same height.
Matching the era of the house
Pre-war houses in older GTA neighbourhoods often had plaster cornices or simple picture rails rather than milled crown. In those homes, a restrained cove or a crown paired with a picture rail a few inches below usually looks more honest than an elaborate colonial profile. Postwar bungalows and 1960s split-levels tend to suit simple, low-projection shapes. Houses built from the late 1980s onward often came with thin builder trim, and upgrading the crown there works best when the baseboard and casings are upgraded at the same time. Modern and transitional interiors lean toward flat, stepped or shadow-gap details that read as clean lines rather than curves.
Built-up crown
Built-up crown combines two or three pieces: often a flat frieze board on the wall, a stock crown above it, and sometimes a small bed moulding or backband. It lets you create a large, custom-looking assembly from affordable stock pieces, and it is also a practical fix for tall ceilings where one stock profile is not big enough. The trade-off is more cutting, more caulking and more painting.
MDF Vs Poplar Vs Polyurethane Crown Moulding
Material choice affects how the crown moulding cuts, how it holds paint, how it reacts to humidity and what it costs. None is universally best. Here is how the three common options compare in the situations we see most.
| Factor | MDF | Poplar (solid wood) | Polyurethane |
|---|---|---|---|
| Paint finish | Very smooth, comes primed | Good, may show slight grain or a green tint under thin paint | Smooth, factory primed |
| Humidity and moisture | Swells if the cut edges or face get wet | Moves with seasons but tolerates damp better | Largely unaffected by moisture |
| Cutting and coping | Cuts cleanly, edges can fuzz and crumble on fine copes | Copes crisply, holds detail well | Cuts easily, often joined with adhesive |
| Stain-grade option | No | Can be stained, though often painted | No |
| Relative material cost | Usually the lowest | Mid range | Varies widely with profile size |
| Best fit | Dry living spaces, painted finish, tight budgets | Long straight runs, fine copes, higher-end painted trim | Bathrooms, ornate profiles, curved walls with flexible versions |
MDF is the default in many renovations because it is stable, straight and inexpensive. Its weak point is moisture: a bathroom without good ventilation, or an exterior wall with condensation problems, can swell the edges over time. It also dulls saw blades and throws fine dust, so cutting is best done outdoors or with dust collection.
Poplar is our usual choice when a client wants crown moulding that looks crisp up close and will be painted. It holds a sharp cope and takes nails without splitting as readily as some woods. It needs to acclimatise in the house for a few days before installation so it is not installed at a different moisture content than the room will settle at.
Polyurethane (foam-based) crown is light, moisture resistant and comes in ornate profiles that would be expensive in wood. It is common in bathrooms and in rooms with elaborate period details. It is usually installed with construction adhesive plus a few finish nails and joined at corners with the manufacturer’s recommended adhesive. Some profiles come in flexible versions for curved walls.
Coping Vs Mitring Inside Corners
This is the question that separates a crown that looks good on day one from one that still looks good after a couple of heating seasons. Outside corners are always mitred. Inside corners can be either mitred or coped, and experienced finish carpenters cope them almost every time in wood and MDF.
Why mitred inside corners open up
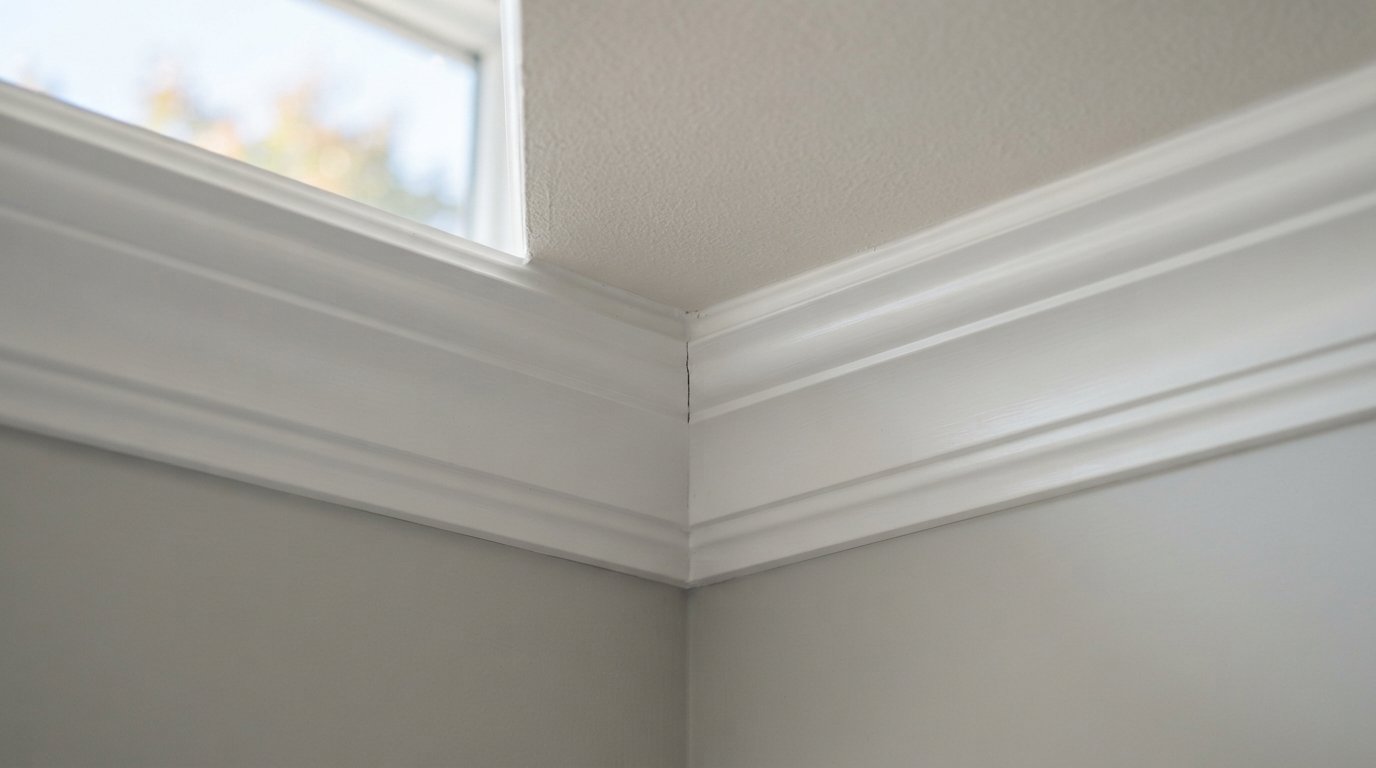
A mitred inside corner is two 45-degree cuts meeting. It only closes perfectly if the walls are exactly 90 degrees, which in most houses they are not. Worse, as wood shrinks slightly in the dry winter air, the two cut faces pull away from each other and a visible gap appears in the corner. Caulk hides it for a while, then cracks.
How a coped joint works
With a coped joint, the first piece runs square into the corner. The second piece is cut with an inside mitre to reveal the profile line, then the carpenter removes the material behind that line with a coping saw, file or rotary tool, leaving a thin edge shaped exactly like the face of the first piece. The coped piece sits over the first like a puzzle piece. If the wall is slightly off square, the joint still closes, and seasonal movement tends to slide rather than open a gap.
Coping takes longer, particularly on complex profiles, and MDF can crumble at thin edges if the cope is too aggressive. That is a real labour consideration, and it is one reason a quote from a finish carpenter who copes will sometimes be higher than one from a crew that mitres everything.
Outside corners and long runs
Outside corners should be glued as well as nailed, since glue at the mitre keeps the joint closed. On walls longer than a single length of moulding, pieces are joined with a scarf joint: two matching angled cuts that overlap, glued and pinned, ideally located where the eye does not land first, and over a solid backer where possible.
Installing Crown Moulding On Out-Of-Level Ceilings And Plaster
Very few ceilings are flat. Drywall ceilings sag between joists, older plaster ceilings dip and wave, and the wall-to-ceiling line can wander by a noticeable amount over a single wall. How the installer handles this matters more than the profile you choose.

Follow the ceiling or follow a level line
There are two approaches. You can hold the crown tight to the ceiling everywhere, which avoids gaps on top but lets the bottom edge wander down the wall. Or you can snap a level line on the wall and install to it, which keeps the bottom edge straight but opens gaps against the ceiling in the low spots. In practice, most installers split the difference: they find the lowest point of the ceiling, set the line from there, then scribe or caulk the gaps above. For small variations, a bead of paintable caulk works. For larger dips, the ceiling may need skim coating or shimming before the crown goes up.
Fastening into plaster and lath
Crown is nailed into the top plate of the wall and, where possible, into ceiling joists. Many installers screw a continuous triangular backer block along the wall first, which gives solid nailing and makes the angle of the moulding consistent. In older homes with plaster over lath, finish nails can crack plaster if driven carelessly, so pre-drilling in brittle spots and using construction adhesive on the backer helps. If the plaster is loose, crumbling or delaminating from the lath, that needs repair before new trim goes on, otherwise the moulding will move with it. Our restoration work on older homes often starts with exactly this kind of plaster assessment.
Common problems and their causes
| What you see | Likely cause | Usual fix |
|---|---|---|
| Gap opening in inside corners over winter | Mitred instead of coped; wood shrinking in dry air | Recut as a coped joint; stable humidity helps |
| Gap along the top edge that comes and goes | Ceiling truss or joist movement, sagging drywall | Fasten to wall only; flexible caulk; add ceiling fasteners if missing |
| Swollen, fuzzy edges on MDF | Moisture from steam or condensation | Replace with poplar or polyurethane; improve ventilation |
| Crown dipping visibly on a long wall | Installed tight to a wavy ceiling | Reset to a straight line and caulk or skim the ceiling |
| Cracked outside mitres | No glue at the joint, poor backing | Reglue and pin; add backer blocking |
| Nail holes showing through paint | Filler shrank or was not sanded flush | Refill, sand, spot prime and repaint |
The top-edge gap in the second row is worth a note. In some houses, particularly those with roof trusses over a top floor, the ceiling can lift and settle slightly with the seasons. In those rooms, nailing the crown only to the wall and not the ceiling lets the ceiling move without cracking the joint. Ask your installer how they plan to handle it if you have seen the ceiling-to-wall joint crack before.
Crown Moulding With Cabinets And LED Cove Lighting
Kitchen and built-in cabinets
On upper cabinets, crown moulding either closes the gap to the ceiling or finishes the top of cabinets that stop short. If cabinets run to the ceiling, the crown is usually cabinet-matched and attached to the cabinet boxes, not the wall. If there is a soffit or a gap, the options are a full filler with crown, a small cabinet crown with open space above, or a room crown that runs continuously over the cabinets. The last option looks tidy but needs careful planning where the room crown meets cabinet ends and range hoods. These decisions are best made during kitchen renovation planning, before cabinets are ordered, because the cabinet heights and filler sizes depend on them.
LED cove lighting
A popular upgrade is to mount the crown a few inches down the wall with its top edge open, leaving a channel for an LED strip that washes light across the ceiling. It gives soft indirect light and makes the ceiling feel higher. A few things determine whether it looks good:
- Gap to the ceiling: too small and the light forms a hot band; too large and you can see the strip from across the room. Mock up a section and test it before committing.
- Ceiling flatness: grazing light exaggerates every bump and seam in the ceiling. A cove over a wavy ceiling usually needs skim coating first.
- Power and access: the driver (transformer) needs to be accessible for future service, and the wiring must meet electrical rules. New circuits and connections should be done by a licensed electrical contractor, with an ESA permit where required.
- Colour temperature: warmer strips usually suit living spaces; confirm the strip’s specifications and dimming compatibility with the manufacturer before ordering.
Realistic Labour Considerations And Costs
Crown moulding looks simple on a drawing, but most of the cost is in labour, not material. Time goes into measuring each wall, setting up for the spring angle, coping, test fitting, fastening to backers, then filling, caulking, sanding and painting. A square room with four inside corners is straightforward. A room with bump-outs, bay windows, bulkheads and a vaulted section can take several times as long for the same linear footage.
Pricing in the GTA is usually quoted per linear foot installed or as a room or project total. As a very rough guide, installed crown moulding for painted MDF or poplar often falls somewhere around $8 to $20 per linear foot, and built-up or ornate assemblies can run well above that. These are estimates only: the real figure varies with the profile, material, number of corners, ceiling condition, ladder access and whether painting is included. Get a written quote that says what is included.
Things that tend to push a quote up:
- Many short walls and corners rather than long straight runs
- High ceilings needing scaffolding or planks
- Plaster repair, skim coating or levelling before install
- Built-up profiles, integrated lighting coves or cabinet tie-ins
- Painting included, especially with multiple coats in a finished room
- Working around furniture in occupied rooms
Sequence of a typical crown moulding job
- Measure every wall and note inside and outside corners, then order material with an allowance for waste.
- Deliver material and let wood acclimatise in the house.
- Check the ceiling line and decide how to handle dips; repair plaster if needed.
- Install backer blocking along walls where required.
- Cut and fit, coping inside corners and gluing outside mitres.
- Fill nail holes, caulk the top and bottom edges, sand and prime touch-ups.
- Paint, usually two finish coats, ideally before or together with the wall and ceiling paint.
Timing matters in autumn. Once the furnace is running, indoor air dries out, and wood that was installed in humid late summer can shrink. Installing after the house has settled into its heating-season humidity, and keeping humidity reasonably stable with a humidifier if the house runs very dry, helps joints stay tight. If you are scheduling trim as part of a bigger project, our home renovation team across York Region and the rest of the GTA typically slots it in after drywall and before final paint.
Questions To Ask Before You Hire An Installer
Whether you are hiring a finish carpenter or a general contractor, a few questions reveal a lot about how the job will turn out:
- Do you cope inside corners or mitre them? For paint-grade wood or MDF, coping is the answer you want to hear.
- How will you handle the low and high spots in my ceiling? A good installer will have already looked.
- Will you install backer blocking? It is not always needed, but they should have a reason either way.
- Which material do you recommend for this room, and why? The answer should consider moisture, finish and budget.
- Is caulking, filling and painting included? This is where quotes often differ the most.
- Where will joints fall on long walls? You want scarf joints away from focal points.
- Can I see a sample corner or a finished room? Photos of coped corners and scarf joints tell you more than any sales pitch.
It is also worth asking how the crown moulding will relate to your other trim. If you plan to change baseboards or door casings in the next few years, doing them together usually gives a more coherent result and avoids repainting twice. You can read what past clients say about our finish work on our reviews page.
Painting And Finishing So It Lasts
Paint makes or breaks trim. Primed MDF and polyurethane still benefit from a coat of primer on any cut ends and filled spots. Nail holes are filled, sanded flush and spot primed so they do not flash through the topcoat. The top edge where crown meets ceiling and the bottom edge where it meets the wall are caulked with a paintable, flexible caulk. A semi-gloss or satin enamel is common for trim because it wipes clean and gives a crisp line against a flat ceiling. If the walls are a different colour, cutting a clean line along the bottom edge of the crown is slow work, so allow time for it in the schedule.
Painting crown before installation, then touching up after, saves ladder time on large jobs. It works best with long straight runs and simple profiles; on rooms with many corners, painting in place usually gives a cleaner result.
Frequently Asked Questions
What size crown moulding should I use for an eight-foot ceiling?
Is MDF or wood better for crown moulding?
Why do the corners of my trim keep opening up in winter?
Can crown moulding be installed on old plaster ceilings?
Can I add LED lighting behind my trim?
How long does it take to install trim in a typical room?
Planning Your Crown Moulding Project
Good crown moulding comes from a few careful decisions made early: a profile in proportion to the room, a material suited to its conditions, coped corners and a clear plan for imperfect ceilings. Red Stone Contracting handles finish carpentry as part of full interior renovations, so trim, paint and lighting are planned together rather than patched in afterward.
Call us today at (905) 901-1006 or request a free estimate.
Proudly serving homeowners in York Region and across the wider GTA.