
A floating vanity hangs on the wall with open floor beneath it, which makes a bathroom look larger, simplifies mopping and leaves room for a strip of soft light along the floor. It also asks more of the wall than a cabinet that sits on the floor. Everything, from the stone top and sink to the drawers full of toiletries and the occasional person leaning on the edge, is carried by fasteners in the wall. The plumbing has to fit inside a cabinet that stops well above the floor. Getting those two things right is what separates a vanity that feels solid for decades from one that slowly tilts away from the tile.
Solid backing and correct plumbing heights come first. Sizes, whether a double vanity earns its space, lighting and the order of work follow from them.
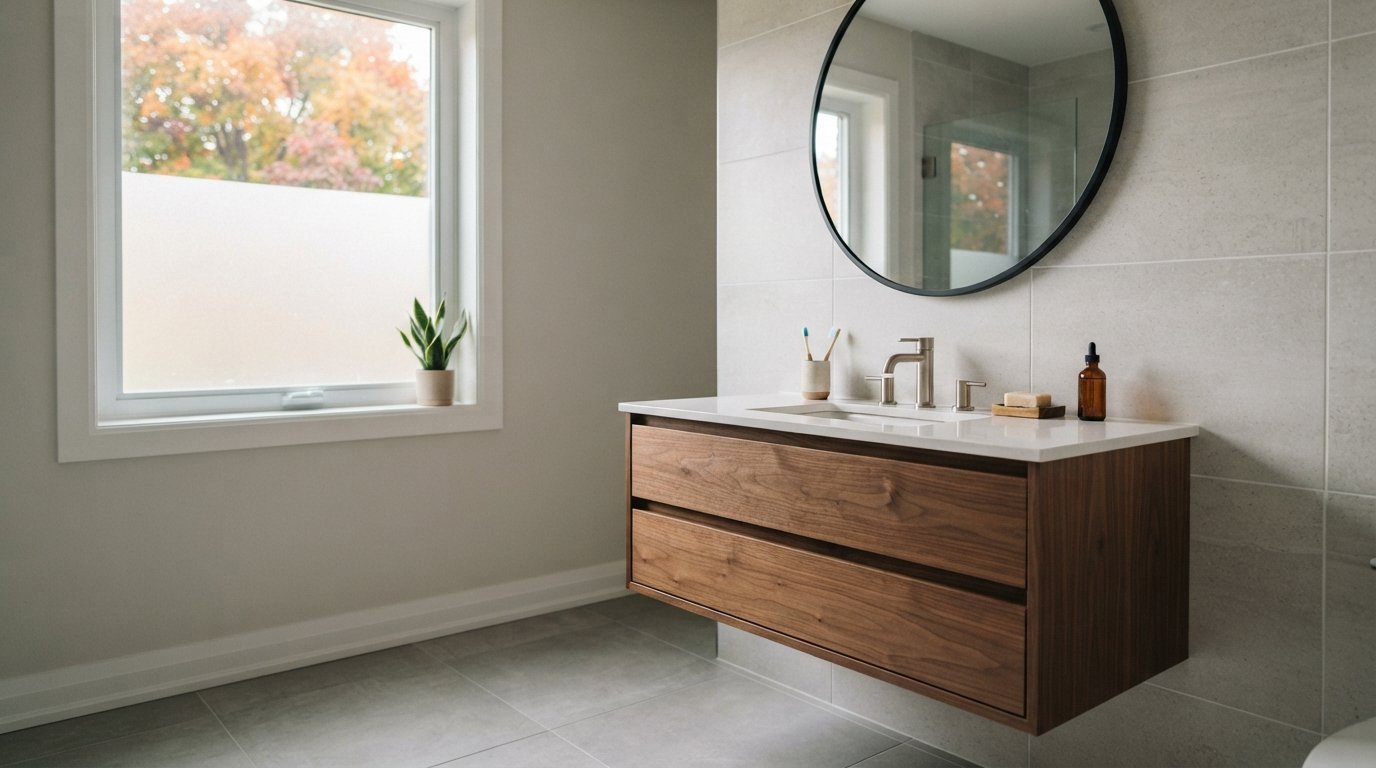
What A Floating Vanity Needs From The Wall
A floor-standing vanity puts its weight on the floor and uses the wall only to keep it from tipping. A floating vanity reverses that: the wall carries all of it. That load is not small. A long cabinet with a stone top, an undermount sink, full drawers and water in the trap is heavy before anyone leans on it to look in the mirror.
Drywall anchors cannot handle that load safely. The cabinet needs to fasten into solid wood blocking or structural backing installed inside the wall before drywall or cement board goes up. That is why a floating vanity is much easier to install as part of a planned bathroom renovation than as a quick swap on a finished wall.
Solid blocking
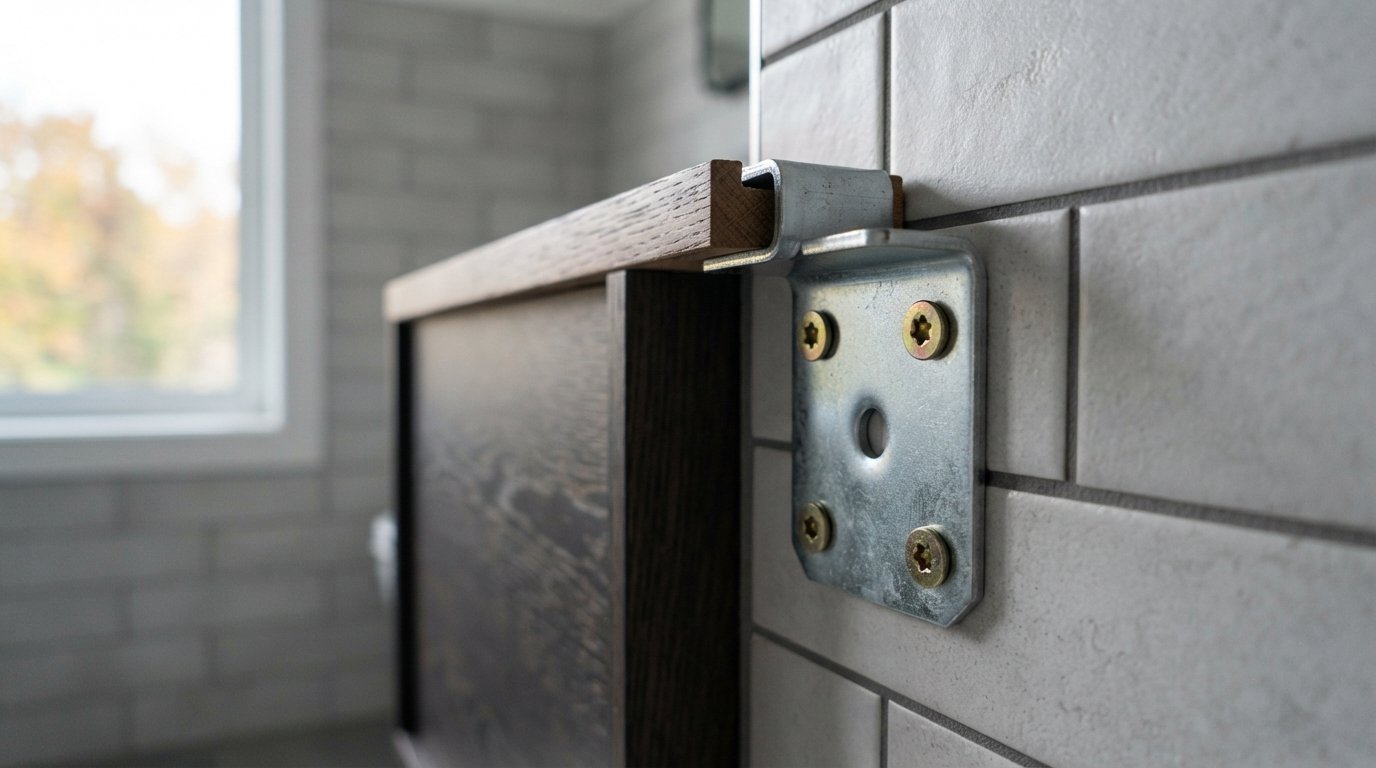
Blocking is usually solid lumber fitted horizontally between studs at the height of the mounting hardware, or a continuous sheet of thick plywood fastened across the studs. Either gives the screws something solid to bite into wherever the brackets land, not just where a stud happens to be. The vanity manufacturer’s installation sheet shows the bracket height and spacing, and the blocking should cover that zone with margin above and below.
Some practical points:
- Get the spec sheet first. Bracket heights vary by product. Blocking installed before the vanity is chosen is often in the wrong place.
- Photograph and measure the blocking before the wall is closed, so its position is known later.
- Steel-stud walls need a different approach, such as wood blocking secured to the steel studs or a manufactured backing system.
- Exterior walls have insulation and an air and vapour barrier. Blocking must be detailed so the barrier stays continuous.
Mounting systems
Floating vanities hang in a few different ways, and the method affects how the blocking is planned.
| Mounting method | How it works | Strengths | Watch for |
|---|---|---|---|
| Hanging brackets | Metal brackets fixed to the wall; the cabinet hooks on and adjusts | Fine height and level adjustment | Bracket screws must land in blocking |
| Mounting rail or French cleat | A long rail on the wall interlocks with a rail on the cabinet back | Spreads load along the width | Rail must be dead level and full length |
| Through-bolting the cabinet back | Screws through a reinforced back panel into blocking | Simple and strong on solid cabinets | Needs a reinforced back panel |
| Concealed steel frame | A steel carrier inside the wall supports the cabinet | Very heavy tops, long spans | Planned during framing, higher cost |
Tile thickness matters too. Fasteners pass through tile, backer and into blocking, so they need to be long enough and the tile must be drilled carefully to avoid cracking.
Adding a floating vanity to a finished wall
If the bathroom tile is staying, there are still options. Sometimes the wall can be opened from the other side, in a closet or bedroom, to add blocking without touching the bathroom finishes; that side is then patched and painted. Where the vanity bracket lines up with studs at the right spacing, heavy structural screws into those studs may be enough for a smaller cabinet, but only if the manufacturer’s instructions allow it. For a long cabinet with a stone top, opening the wall is usually the honest answer. A quick test of a well-hung cabinet is to press down firmly on the front edge of the top: it should feel as solid as a counter on a floor base, with no flex or movement at the wall.
Plumbing: Moving Drain And Supply Heights
On a floor-standing vanity, plumbing can enter from the floor or the wall at almost any height, because the cabinet reaches the floor. A floating vanity stops well above the floor, so every pipe must enter through the wall within the cabinet’s footprint.
Drain height
The drain stub-out often has to move. If the existing drain sits low, below the bottom of the new cabinet, it would be exposed. The plumber raises it inside the wall to land within the cabinet, usually high enough to clear the drawers or sit behind them. That means opening the wall and adjusting the drain and vent connection inside. In Ontario, altering drain, waste and vent piping generally requires a plumbing permit. Confirm with your municipality before work begins.
Supply lines
Hot and cold supply valves should also land inside the cabinet, high enough to reach and clear of drawer paths. Wall-mounted faucets need supply rough-ins much higher on the wall, set to the faucet manufacturer’s dimensions, and they have to be placed before tile.
Traps and drawers
A standard P-trap takes space in the middle of the cabinet. That space is lost to storage unless the drawers are designed around it. Options include:
- U-shaped drawers that wrap around the trap.
- Space-saving traps that sit tight to the wall and free more drawer depth.
- Offset drains that put the plumbing to one side, leaving a full drawer stack on the other.
Doors are simpler around plumbing but less practical for everyday storage. Drawers make the most of the space if planned with the plumber.
Common Sizes And Heights
Floating vanities come in standard widths, but height is a choice, which is one of their advantages.
| Width | Typical use | Sinks | Notes |
|---|---|---|---|
| 18 to 24 inches | Powder rooms and small ensuites | One | Shallow depth helps tight spaces |
| 30 to 36 inches | Main bathrooms | One | Good balance of storage and space |
| 42 to 48 inches | Larger bathrooms | One, sometimes off-centre | Generous counter beside sink |
| 60 inches | Shared ensuites | One or two | Double sinks are possible but tight |
| 72 inches or more | Large ensuites | Two | Comfortable for two users |
Depth usually ranges from about 18 to 21 inches, with shallower units for powder rooms. For height, many homeowners choose a counter around 32 to 36 inches off the floor. The best height depends on who uses it: taller households often prefer the higher end, while a family bathroom with children may sit lower. Because the vanity floats, the installer can set it to the height you choose.

Double Vanity Spacing And When One Sink Is Better
A double vanity is often on the wish list for an ensuite, but it only works if there is enough width for two people to stand comfortably.
- Sink spacing. Design guidelines commonly suggest roughly 30 inches or more between sink centres so two people do not bump elbows.
- Side clearance. Leave enough space from each sink centre to a side wall or tall cabinet for comfortable use.
- Width. Two sinks under about 60 inches usually feel cramped. Around 72 inches is more comfortable.
In many bathrooms, one sink with a long counter is the better choice. It gives more usable counter space, more drawer storage and simpler plumbing. Two sinks in a short vanity leave very little counter between them, and each sink takes storage space below. If two people rarely use the bathroom at the same time, one sink may serve better.
A useful middle ground in a long ensuite is one sink set off-centre, with a lowered section or a wide stretch of counter on the other side for grooming or makeup. Another is two separate wall-hung cabinets with a gap or a tall linen tower between them, which gives each person their own space and lets the floor show through in the middle. Both approaches need blocking planned for each cabinet’s hardware.
Heated Floors And Under-Vanity Lighting
Heated floors
One advantage of a floating vanity is that the floor beneath it is open, so radiant floor heating can run under it, and the warm floor is enjoyed fully. Electric floor heating systems require careful layout, a dedicated thermostat and proper electrical work; the circuit and thermostat need an ESA notification in Ontario, so have a licensed electrician connect them. Avoid placing heating cable where any fixtures will be fastened to the floor, such as a toilet.
Plan the floor sensor location so it sits in a heated area between cable runs, and put the thermostat where it is easy to reach outside the splash zone. Because the floor under the cabinet stays visible, the tile layout should be planned with the vanity in mind, so a cut row does not land right at the front edge where it draws the eye.
Toe-kick and under-vanity lighting
A strip of LED light under the vanity makes a soft night light and highlights the floating effect. Use fixtures rated for damp locations, keep drivers accessible and plan the switch or motion sensor during rough-in. Warm colour temperatures usually look best for night lighting.
Set the strip near the front of the cabinet’s underside, ideally in a channel with a diffuser, so the light washes down onto the floor and back toward the wall. Glossy floor tile will reflect individual LEDs if they are visible, so a diffused strip matters more on polished porcelain than on a matte finish.
Cleaning Access And Everyday Practicality
- Leave enough height under the vanity for a mop or vacuum head. Some homeowners plan the gap for a robot vacuum.
- Choose drawer hardware with soft-close slides rated for the weight of full drawers.
- Consider a backsplash or full-height tile behind the vanity to protect the wall.
- Check that the top drawer clears the sink bowl and plumbing.
Above all, pick the exact model before rough-in. In bathrooms built by our Peel Region home renovation team, the blocking, drain and lighting feed are placed for one specific cabinet, not a generic one.
Floating Vanity Costs
The cabinet and top are only part of the bill; wall work and plumbing changes can add nearly as much again. Treat these as rough estimates.
| Component | Rough estimate | Cost drivers |
|---|---|---|
| Floating vanity cabinet | Often $600 to $3,500 | Width, material, drawer configuration |
| Stone or quartz top with sink | Commonly $600 to $2,500 | Size, material, single or double sink |
| Blocking and wall preparation | Often $300 to $900 | Wall opening, tile removal, steel studs |
| Raising drain and moving supplies | Commonly $600 to $1,800 | Distance moved, wall access, permit |
| Under-vanity lighting | Often $300 to $900 | Fixture, driver, switching |
Sequencing A Wall-Hung Vanity Install
Most callbacks on floating vanity jobs come from steps done out of sequence. This order avoids them:
- Choose the exact vanity and top before demolition is finished, and get the installation sheet showing bracket positions, cabinet depth, drawer layout and the plumbing zone.
- Decide the counter height with everyone who will use the room. Once blocking and drains are set, changing height means opening the wall again.
- Mark the wall. The installer draws the cabinet outline, bracket line, drain and supply locations, outlet positions, mirror and sconce heights on the open studs.
- Rough-in. Blocking, drain and vent changes, supply valves, electrical boxes and any under-vanity lighting feed go in, followed by plumbing and electrical inspections where required.
- Close the wall and tile. Waterproofing and tile go on, with the blocking location recorded in photos.
- Hang and level the cabinet, then template and install the top, sink, faucet and trap.
Step three is where good planning shows. Outlets need to clear the backsplash and mirror, and sconces are usually centred on the mirror at a height that relates to the finished counter. A floating vanity set higher than standard pushes everything above it up as well, so those heights are worth confirming on the wall rather than on a drawing.
Why Wall-Hung Vanities Sag, Tilt Or Leak
- Vanity sagging or pulling away from the wall: insufficient blocking or anchors in drywall.
- Exposed plumbing below the cabinet: drain not raised.
- Drawers that do not fit: trap or supply lines in the drawer path.
- Cracked tile at fasteners: holes drilled without care or overtightened screws.
- Vanity out of level: wall not flat or rail not level.
When the vanity is part of a bigger layout change, our design solutions service draws the plumbing wall, cabinetry and lighting together before anything is ordered.
Can a floating vanity be installed on drywall?
How high should a wall-hung vanity be?
Do I need to move the plumbing?
How wide does a double vanity need to be?
Can I put heated floors under the vanity?
Do drawers fit around plumbing?
A Floating Vanity Starts Inside The Wall
A wall-hung vanity is only as good as the blocking, plumbing and layout behind it. Red Stone Contracting builds the backing, sets the plumbing heights and roughs in the lighting before tile goes on, so the vanity hangs level and stays that way. Call us today at (905) 901-1006 or request a free estimate.
Bathroom renovations with solid walls behind them, for Peel Region homes and the wider GTA.