
A kitchen backsplash does a practical job first: it protects the wall behind the counter, sink and range from water, grease and splatter. It also takes up a large share of what you see when you walk into the kitchen, so small layout decisions, like where the tile stops or how it meets a window, end up being noticed every day. This guide covers the main material options, how far to run the tile, how to handle outlets and window returns, what works behind a range, grout choices and the order the work should happen in relative to your countertops.
Early autumn is a popular time to finish a kitchen before the holidays, and the backsplash is usually one of the last pieces. That timing is exactly why it gets rushed. Most of the problems we are asked to fix come from decisions that were made on installation day instead of during planning.
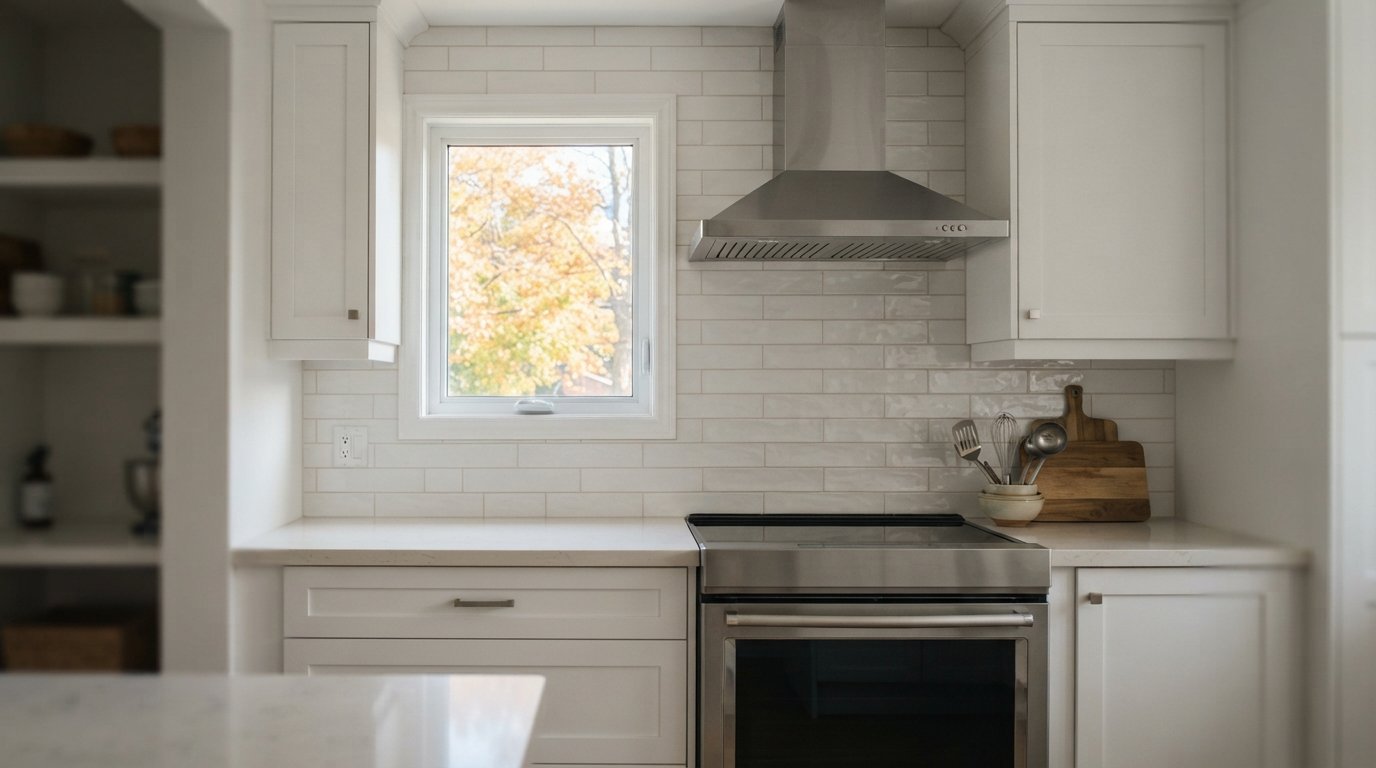
Choosing A Kitchen Backsplash Material
Five materials cover most of what homeowners choose today: ceramic tile, porcelain (as tile or large thin slabs), natural stone, glass, and quartz or other engineered surfaces cut to match the counter. Each behaves differently around water, heat and cleaning products, and each has a different installation process.
| Material | Strengths | Weak points | Maintenance |
|---|---|---|---|
| Ceramic tile | Huge range of colours, shapes and handmade looks; easy to cut | Softer glaze on some tiles; many grout lines to clean | Wipe clean; seal cement grout if recommended |
| Porcelain tile or slab | Dense, stain resistant, heat tolerant; slabs give few or no grout lines | Thin slabs need skilled handling and flat walls | Very low; wipe with mild cleaner |
| Natural stone (marble, travertine, slate) | Unique veining and texture | Porous; acids like lemon juice and vinegar can etch marble | Periodic sealing; pH-neutral cleaners |
| Glass tile or panel | Reflects light, easy to wipe, strong colours | Shows adhesive trowel marks if installed poorly; edges need finishing | Glass cleaner; check grout lines |
| Quartz (matching the counter) | Seamless look, non-porous, no grout | Many manufacturers caution about direct high heat; costlier per square foot | Wipe clean; follow manufacturer care guide |
Ceramic and porcelain tile
Ceramic subway tile remains popular because it is affordable, easy to cut around outlets and available in handmade-look glazes that give texture. Porcelain is denser and more stain resistant, and it is the better choice when you want a stone or concrete look without the maintenance. For most families, a good porcelain or glazed ceramic is the lowest-risk option.
Full-height porcelain slab and stone slab
A full-height slab kitchen backsplash, running from the counter to the underside of the upper cabinets or all the way to the ceiling, is one of the most requested upgrades right now. Thin porcelain slabs are light enough to install on walls, and their large size means only a few seams. Natural stone and quartz slabs are heavier and usually thicker, and they are typically fabricated and installed by the countertop company. Slabs demand flat walls and accurate templating, because there is no grout joint to hide a wall that bows.
Natural stone tile
Marble mosaics and tumbled stone look beautiful, but they are porous and can stain or etch. Behind a busy cooking area they need sealing and gentle cleaning. If you love the look, consider limiting stone to a feature area and using porcelain elsewhere.
Glass
Glass tile needs careful setting because the adhesive can show through. Installers use white thinset or adhesive recommended by the tile manufacturer and comb it in straight lines. Large back-painted glass panels are another option; behind a range, check with the fabricator that the glass is tempered and suited to the location.
If you are still at the stage of choosing cabinets and counters, our kitchen renovation planning service helps line up the backsplash, counters and lighting as one design rather than three separate decisions.
How Far To Run The Tile
This is the question installers ask on day one, and it should already be answered on the drawings. The rule we follow is that a backsplash should end at a natural stopping point, never partway across open wall with no reason.
- Between counter and upper cabinets: run tile to the underside of the uppers, and to the outer edge of the uppers or the counter, whichever the eye reads as the end.
- Where there are no upper cabinets: options are a standard height band (often aligned with a window sill or a shelf), full height to the ceiling, or tile up to a range hood. Pick one line and keep it consistent across the room.
- At an open wall end: stop the tile flush with the counter end or cabinet side, and finish the exposed edge with a bullnose tile, a finished slab edge or a metal edge profile.
- At an adjacent wall: in an L-shaped kitchen, the tile usually turns the corner and continues, so both walls share the same height line.
- Behind the range with a chimney hood: many designs take the tile up to the ceiling or to the top of the hood so there is no awkward band of paint.
A useful exercise is to have the installer or designer draw the tile layout on each wall elevation. That shows where cut tiles will land, whether a thin sliver will sit at the top under the cabinets, and where to centre the pattern. Centring on the range or sink, then adjusting so there are no thin cuts at the ends, usually gives the best result.
Pattern, Tile Size And What They Do To Labour
The same tile can look completely different, and cost noticeably more to install, depending on the pattern. Before you settle on a kitchen backsplash pattern, it helps to know how each one affects cutting, waste and the time your installer will spend on the wall.
| Pattern | Look | Cutting and waste | Installation effort |
|---|---|---|---|
| Running bond (offset subway) | Classic, familiar, forgiving | Low waste, simple end cuts | Lowest; the most common baseline for quotes |
| Stacked (straight grid), horizontal or vertical | Modern, calm, architectural | Low waste | Moderate; every joint must line up, so uneven walls show |
| Herringbone | Textured, traditional or contemporary | Higher waste, many angled cuts at every edge | High; layout and cutting take much longer |
| Chevron | Bold zigzag | Requires tiles made with angled ends or extra cutting | High; layout must be centred carefully |
| Large-format tile or slab | Minimal joints, stone-like | Low waste but costly breakage if mishandled | Moderate to high; needs flat walls and two installers for big pieces |
Tile size interacts with the wall height. The space between a standard counter and the underside of upper cabinets is often around 18 inches, though it varies with counter thickness and cabinet mounting height. A tile module that divides neatly into that height avoids a skinny row at the top. With a 3 by 6 inch subway tile plus grout joints, installers can usually adjust by starting the layout from the top or bottom to hide the cut where it is least visible, typically behind the lip of the upper cabinets.
Order extra material. Most installers suggest an allowance of roughly 10 to 15 percent over the measured area for straight patterns and more for herringbone or chevron, and it is wise to keep a few spare tiles after the job for future repairs. Dye lots and handmade glazes vary, so buying all the tile for your kitchen backsplash at once, from the same batch, keeps the colour consistent.
Outlets, Switches And Window Returns
Outlets and switches
Receptacles along the counter are unavoidable, but they can be less obvious. The tile or slab adds thickness to the wall, so the electrical boxes need box extenders so that devices sit flush and are properly supported. Plan the layout so outlets land in the centre of a tile or on a grout line rather than leaving tiny notches. Some kitchens use under-cabinet power strips or pop-up outlets on islands; any change to kitchen circuits or device locations should be done by a licensed electrical contractor, with an ESA permit where required.
Window returns
When a window sits over the sink, the kitchen backsplash meets its side and bottom jambs. There are three common approaches:
- Tile into the return: the tile wraps into the window opening and meets the frame. It looks finished and is easy to wipe down, but it needs careful cutting and a bullnose or metal profile at the outside corner.
- Stop at the casing: the tile butts into a wood or MDF window casing. Simple, but the painted casing next to the sink takes splashes.
- Stone or quartz sill: a solid sill in the counter material replaces the lower jamb, and tile or slab covers the sides.
Whichever you choose, keep the tile layout in mind so a grout line does not wander just off the window edge.

Behind The Range: Heat, Grease And Clearances
The wall behind the cooktop takes the most punishment in the kitchen. Grease settles on it, pots splash it and, with gas ranges, it gets hot. Porcelain and ceramic tile handle this well. Natural stone works with sealing and regular cleaning. Glass and quartz need more care.
Some quartz manufacturers caution against installing their product directly behind high-output cooktops, because concentrated heat can discolour or damage the resin. Read the current care and warranty documents for the specific product before choosing quartz here. For any range, follow the appliance’s installation instructions for clearances to combustible materials, especially where wood shelves, trim or open cabinet sides are near the cooktop.
A few practical details help:
- A slab or large-format tile behind the range means fewer grout joints to scrub.
- Textured, deeply relieved tile looks great but collects grease; keep it away from the cooktop or accept more cleaning.
- A pot filler or niche behind the range needs plumbing or framing planned before the wall is closed.
- A properly sized, exterior-vented range hood does more to protect the backsplash than any material choice.
Grout, Sealant And The Joint Nobody Thinks About
Grout is where most kitchen backsplash complaints start: stains, cracking, discolouration near the sink. The choice of grout matters as much as the tile.
| Grout type | Typical use | Pros | Cons |
|---|---|---|---|
| Unsanded cement grout | Narrow joints, often up to about 1/8 inch | Smooth finish, easy to work, safe for polished surfaces | Porous; may need sealing |
| Sanded cement grout | Wider joints | Stronger in wide joints, economical | Can scratch glass or polished stone; porous |
| Premixed or urethane grout | Most tile types | Stain resistant, often no sealing, consistent colour | Higher cost; follow cure times closely |
| Epoxy grout | Behind ranges and sinks, glass tile | Very stain and chemical resistant | Harder to install cleanly; needs an experienced installer |
| Colour-matched silicone | Change of plane, counter joint, inside corners | Flexible, allows movement | Not a grout substitute on flat joints; replace when it degrades |
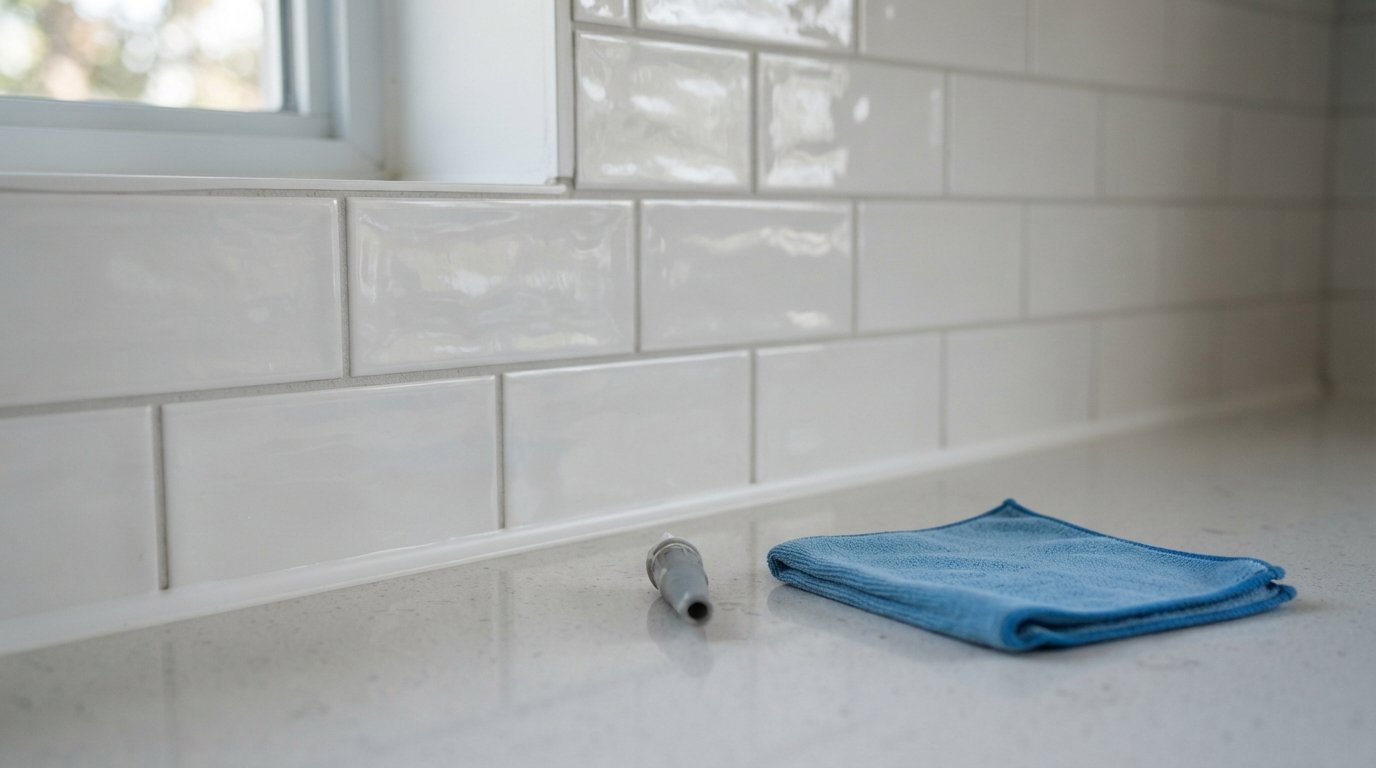
The joint that nobody thinks about is where the backsplash meets the countertop. It should not be grouted. The counter and the wall move independently, and grout in that joint will crack. The correct detail is a small gap filled with flexible, colour-matched sealant. The same goes for inside corners where two walls meet. If you look at an older kitchen and see a cracked line along the counter, this is almost always the cause.
Grout colour is also a design decision. Matching grout minimizes the grid and makes a busy tile calmer. Contrasting grout highlights the pattern, which is great for herringbone or subway layouts, but it also highlights any uneven spacing. Mid-tone greys hide staining better than pure white near the stove.
Under-Cabinet Lighting And How It Changes The Wall
Under-cabinet LED lighting shines almost parallel to the wall, which is the harshest possible light for any tiled surface. It exaggerates lippage (tile edges sitting proud of their neighbours), uneven grout joints and any wave in the wall. Handmade-look tiles are designed to catch this light and look good doing it; flat glossy tiles laid over an uneven wall do not. If you plan lighting under the uppers, tell your installer so they pay extra attention to flatness, and decide on the light position before tiling so wiring and any driver locations are hidden and accessible. Warm white strips generally flatter tile and stone more than very cool ones.
Sequencing The Backsplash With Countertop Templating
The order of work determines whether the kitchen backsplash fits properly. Here is the sequence we follow:
- Cabinets installed and levelled. Countertops cannot be templated until base cabinets are fixed in place.
- Countertop templating. The fabricator measures the installed cabinets. If you are doing a full-height slab backsplash in the same material, it is usually templated at the same visit or after the counter is installed, depending on the fabricator’s process.
- Countertop installation. Sink and cooktop cut-outs are finished and the counter is set.
- Plumbing and appliance hook-ups. The sink, faucet and range are connected, or at least positioned, so the tile setter knows exact locations.
- Wall preparation. The wall is checked for flatness, patched and primed as the tile or adhesive manufacturer requires. Electrical box extenders go in.
- Tile or slab installation. Tile is laid out from a centre line, set and left to cure before grouting.
- Grout and sealant. Grout fills the joints; flexible sealant goes at the counter joint and inside corners.
- Devices and trim. Outlet covers go back on and any edge trim or paint touch-ups are completed.
Installing a kitchen backsplash before the counters is sometimes done to save time, but it creates problems: the tile has to stop at a guessed height, and the counter then needs to slide under it or butt against it without a clean joint. We do not recommend it.
Walls that are not flat
Wall condition decides what kind of kitchen backsplash you can realistically install. Older plaster walls and walls that were patched after removing old tile often have humps and dips. Small tiles can follow minor variation. Large-format tiles and slabs cannot, so the wall may need skim coating or new drywall before installation. Ask your installer to check the walls with a straightedge before you choose large-format material.
Costs And Common Mistakes
Kitchen backsplash cost depends mostly on the material, the tile size and pattern, how many outlets and window returns there are, and wall preparation. As a very rough guide, installed ceramic or porcelain tile often falls somewhere in the range of $25 to $60 per square foot including labour, while full-height stone, quartz or porcelain slab can run considerably higher once fabrication is included. These are estimates only; complex patterns, mosaics and wall repairs all push the figure up. Ask for a written quote that separates material, labour and wall preparation.
Mistakes we see regularly, and how to avoid them:
- Grout at the counter joint: it cracks. Use flexible sealant.
- Thin slivers of tile under the cabinets: plan the layout from the top or choose a tile size that fits.
- Unfinished tile edges at open ends: use bullnose, a finished slab edge or a metal profile.
- Outlets recessed behind tile: install box extenders so devices are flush and secure.
- Pattern not centred on the range or sink: lay out a centre line before setting a single tile.
- Heat damage behind a range: confirm the material’s suitability with the manufacturer.
Our renovation team serving Peel Region and the wider GTA usually confirms these details at the design stage so installation day is only about craftsmanship. You can also read what homeowners say about finished kitchens on our reviews page.
Questions To Ask Your Installer
- Will you draw the tile layout on each wall before starting?
- Where will the tile start and stop, and how will exposed edges be finished?
- Which grout do you recommend behind the range and sink, and why?
- Will you use flexible sealant at the counter joint and inside corners?
- How will you handle the outlets and the window return?
- Do the walls need preparation for the tile size I have chosen?
- For a slab: who templates it, and when?
Frequently Asked Questions
Should the backsplash go all the way to the ceiling?
Is quartz a good choice behind a gas range?
Should backsplash tile go in before or after the countertop?
What grout is best for a kitchen?
Can new tile go over the old tile?
How do I stop grout discolouring near the stove?
Plan Your Kitchen Backsplash With Confidence
A well-planned backsplash is decided before the counters are ordered: material, height, edges, outlets, the range wall and the grout. Red Stone Contracting plans and installs backsplashes as part of complete kitchen renovations, so the tile, counters and electrical all line up.
Call us today at (905) 901-1006 or request a free estimate.
Serving homeowners in Peel Region and across the wider GTA.