
A shower niche is one of those small details that people use every single day. A well-built one keeps bottles off the floor and out of the way, and it looks like part of the tile design rather than a hole cut in the wall. A badly built one collects standing water, leaks into the wall cavity, or lands in the wrong place with awkward tile cuts all around it.
Because a niche is a recess in the waterproofed shower wall, it is also one of the most common places for a shower to fail. This guide covers where to put one, how big to make it, how to frame and waterproof it so it never leaks, and when a ledge or shelf is the better idea.
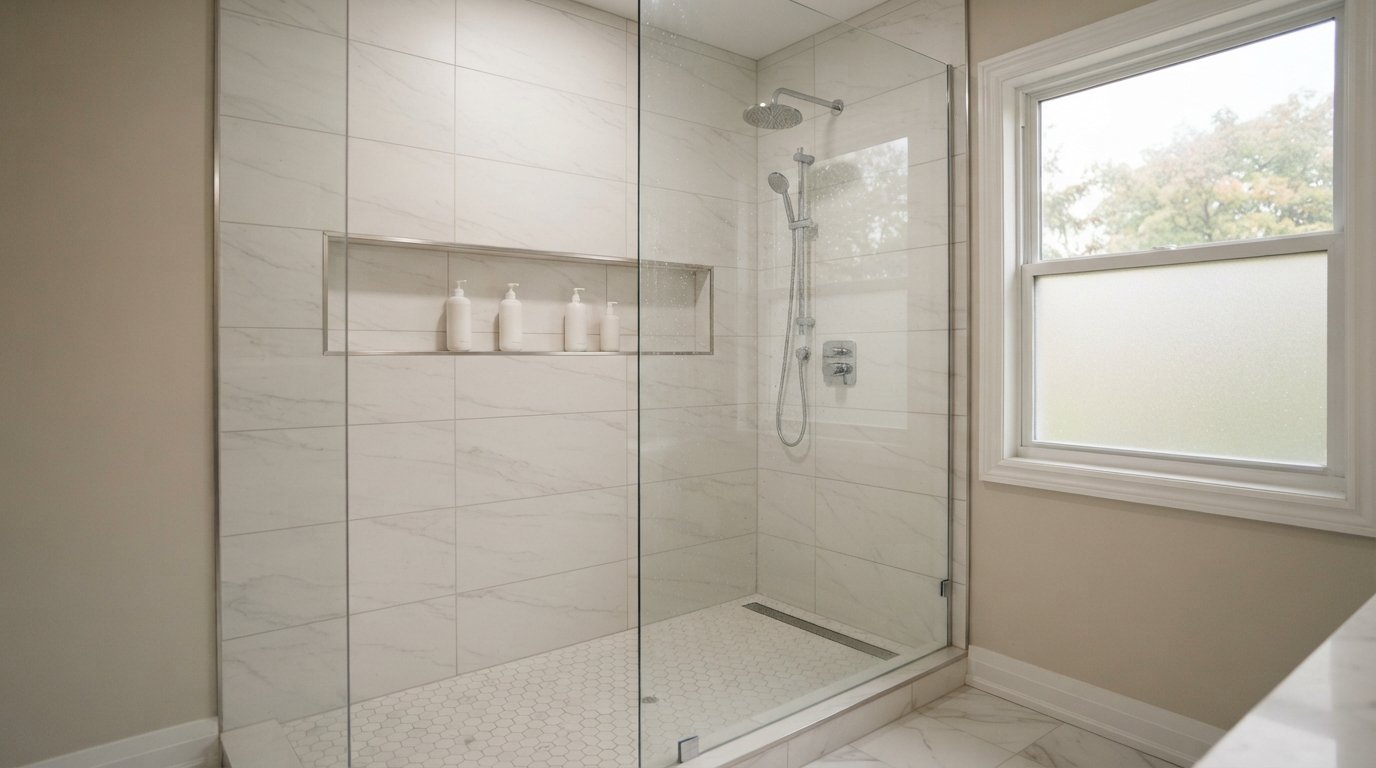
Where To Put A Shower Niche
Placement is the first and most important shower niche decision, and it has to be made before the walls are closed, ideally before the plumbing rough-in.
Avoid exterior walls
In an Ontario house, an exterior wall contains insulation and a vapour barrier. Cutting a shower niche into it leaves only a thin layer of insulation behind the tile, or none at all, creating a cold spot. Warm, humid shower air meets that cold surface, and condensation can form inside the wall assembly through the heating season. The vapour barrier also has to be cut and resealed around the recess, which is easy to get wrong. Wherever possible, put the niche on an interior wall.
Think about the plumbing wall
The wall that carries the valve and shower head pipes is often tempting because it is right where you stand. But pipes and the valve body may already occupy the stud bay. If you want the niche on that wall, plan it with the plumber so pipes are routed around it.
Consider the spray and the view
A niche directly in the spray path fills with water and soap scum. The side wall, out of the main spray, usually works better. Also think about what you see from the bathroom door. A niche full of bottles on the wall facing the entrance is the first thing everyone notices. A niche on a wall that is hidden from the doorway, or behind a glass panel with a partition, keeps the view tidy.
If you are planning a new shower, placement is one of many details we work through in our bathroom renovation planning, alongside the valve location, glass layout and tile pattern.
Sizes And Heights For Standing And Seated Use
Width and depth
Most homes have studs spaced 16 inches on centre, which leaves roughly 14.5 inches of clear space between them. A niche built inside a single stud bay is simple and keeps the wall structure intact. Wider niches, such as a long horizontal niche of 24 inches or more, require cutting a stud and framing a header and sill. That is routine in a non-load-bearing wall; in a load-bearing wall, it needs a properly sized header and more care.
Depth is limited by the wall. In a standard 2×4 wall, after backer board, membrane and tile on the back of the niche, usable depth is usually around 3 inches, which is enough for most bottles. Larger pump bottles may not fit, so check what you use before choosing a height or shelf spacing.
Height
The right height depends on who uses the shower and how.
| Use | Typical niche bottom above shower floor | Notes |
|---|---|---|
| Standing adults | About 36 to 48 in | Around waist to chest height, easy reach without bending |
| Seated use at a bench | Close to bench height, often a short reach above the seat | Position within arm’s reach of where the person sits |
| Shared family shower | Two niches, or a vertical niche with a shelf | A lower shelf for children, higher for adults |
| Tub and shower combination | About 12 to 24 in above the tub rim | Reachable when sitting in the bath and when standing |
| Razor or small-item niche | About 48 to 60 in | A small upper niche keeps razors away from children |
A common size is around 12 inches tall by 24 inches wide for a horizontal niche, or a single-bay vertical niche with a shelf dividing it. The final dimensions should be adjusted to match the tile layout, as described below.
Framing The Niche Properly
A shower niche starts at the framing stage. The carpenter installs a solid header at the top and a sill at the bottom between the studs, with side blocking if the niche is narrower than the stud bay. Every surface of the recess needs solid backing for the board or foam panel that will carry the membrane.
Two details matter here:
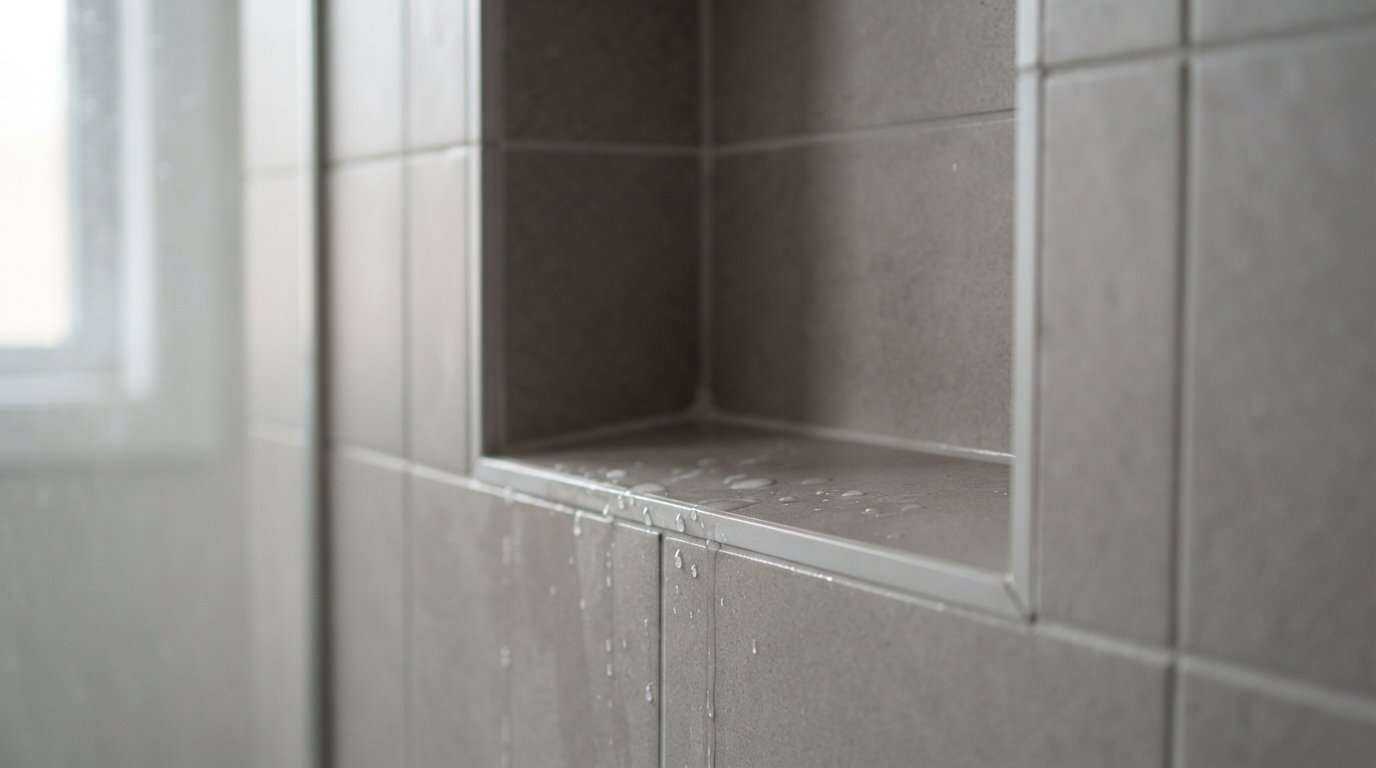
- The sill must slope toward the shower. The bottom of the niche should pitch slightly outward so water drains out rather than pooling against the back wall. This slope should be built into the framing or the substrate, not just faked with thin-set under the tile.
- Dimensions include the finished tile. The rough opening has to allow for backer board, membrane, thin-set and tile on every face. Framing an opening to the finished size results in a niche that is too small.
Waterproofing Membrane Corners And Preformed Inserts
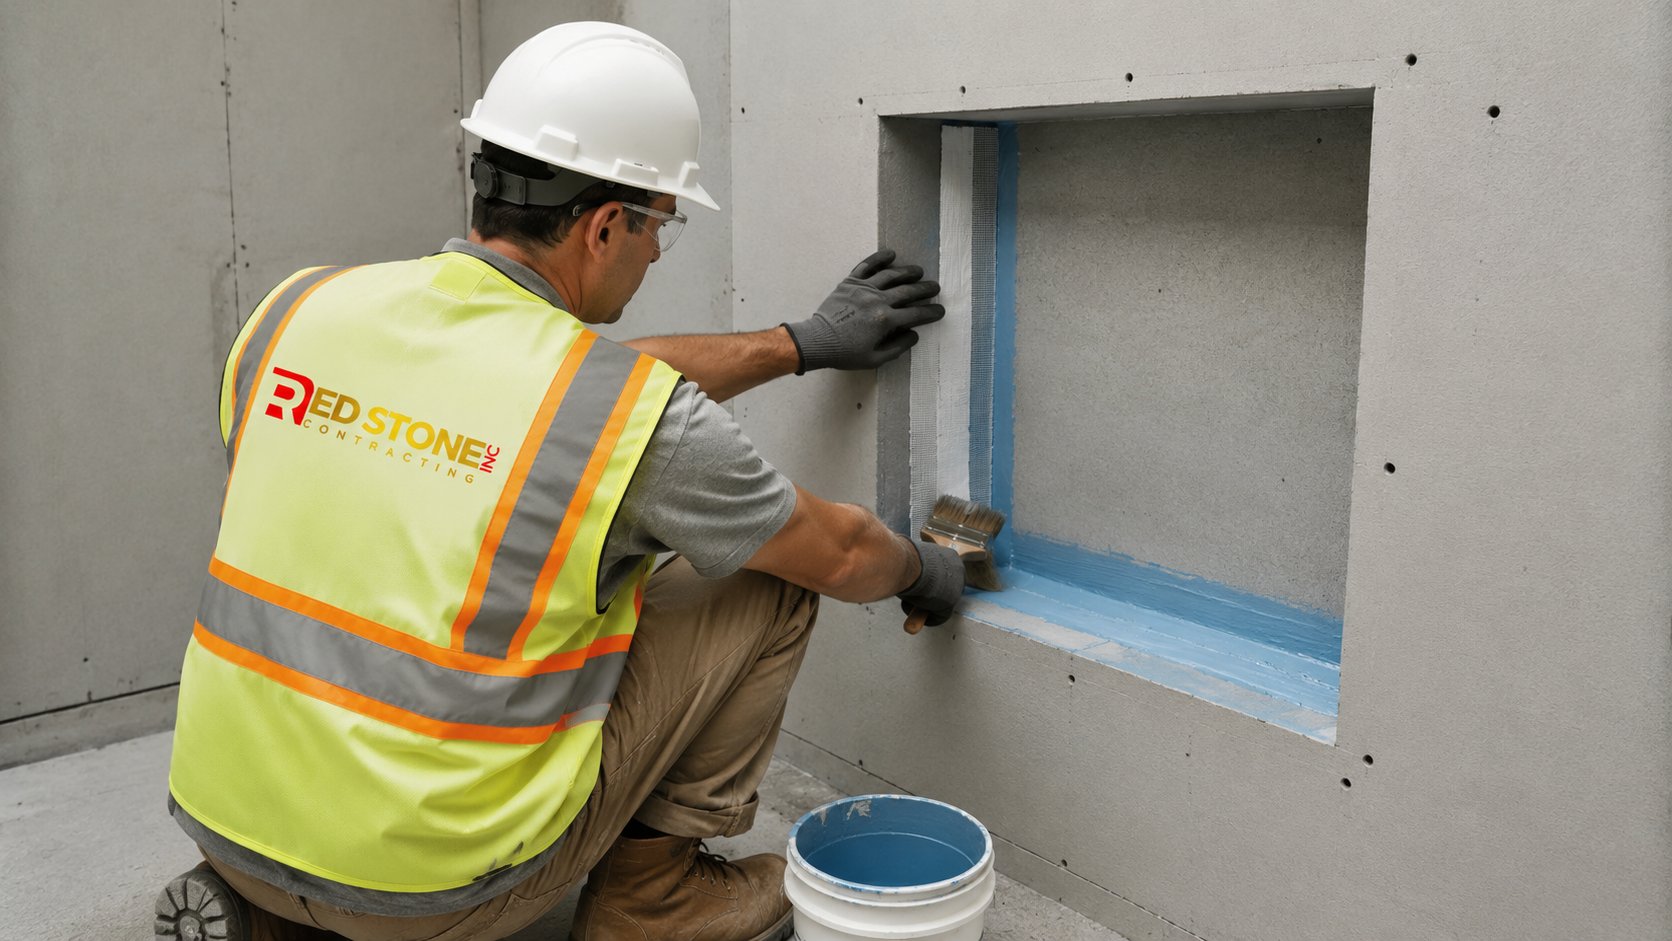
This is where most niche leaks start. A niche adds four inside corners at the back and four outside corners at the front edge, plus seams where the recess meets the wall. Every one of them must be continuous with the rest of the shower membrane.
Site-built niches
With a sheet membrane, preformed inside and outside corners are bonded into each corner and the membrane pieces overlap by the manufacturer’s specified amount. With a liquid membrane, reinforcing fabric is embedded at every corner and seam, and the full coat thickness is applied across the recess. The membrane must run over the sloped sill, up the sides and across the header, then tie seamlessly into the wall membrane.
Preformed niche inserts
Many waterproofing systems include preformed niches, typically foam units with a membrane already bonded to them and a built-in slope. They slide into a framed opening and are sealed into the wall membrane at the flange. Preformed inserts reduce the number of hand-made corners, which reduces risk, but they come in fixed sizes, so the tile layout has to be planned around them.
| Factor | Site-built framed niche | Preformed niche insert |
|---|---|---|
| Size | Any size or shape, including long horizontal niches | Limited to the manufacturer’s sizes |
| Sloped sill | Must be built in by the installer | Usually built in |
| Waterproof corners | Every corner made by hand | Corners already sealed; only the flange connection is made on site |
| Tile layout | Opening can be adjusted to suit tile | Tile layout planned around a fixed size |
| Compatibility | Needs a complete membrane system | Should match the wall membrane system |
Whichever you choose, use components from one manufacturer’s system and follow its instructions. Mixing products is a common cause of failure and can affect warranty coverage; check the manufacturer’s current documents.
Tile Layout So Grout Lines Align
A shower niche that ignores the tile pattern looks like an afterthought. The best niches are sized and placed so their edges fall on grout lines.
- Plan the wall tile layout first. Decide where the first full course starts and where the cuts will fall at the ceiling and corners.
- Set the niche top and bottom on grout lines. The niche height should be a multiple of the tile height plus grout joints, so full tiles run above and below the opening.
- Centre or align the niche horizontally. Either centre it on the wall, or align its sides with vertical grout lines in a stacked pattern.
- Choose an edge detail. Mitred tile edges give a clean, seamless look. Metal edge trim protects the corners and is faster. Bullnose tile suits some traditional styles.
- Decide on the back. The back of the niche can continue the wall tile, or use an accent tile or mosaic as a feature.
With large-format tile, the niche size is often driven by the tile. A 12 by 24 inch tile laid horizontally, for example, might suggest a niche exactly one tile high. This is why the niche opening should be finalized with the tile setter before framing if possible.
Lighting Inside A Niche
A small LED strip at the top of a shower niche looks striking and makes it easy to see what you are reaching for. It also adds a penetration through the waterproofing, so it needs care:
- Use a fixture and strip rated for wet locations.
- Low-voltage systems are common, with the driver placed outside the wet area in an accessible location, not buried in the wall.
- The wire penetration must be sealed into the membrane using the system’s approved method.
- New wiring is electrical work that falls under Ontario’s Electrical Safety Authority and should be done by a licensed electrician.
A channel or recess for the strip can be formed in the header during framing, with a small lip to hide the light source.
Alternatives To A Niche
A niche is not always the best choice. On an exterior wall, a thin wall, or a wall full of pipes, one of these may work better.
| Option | Advantages | Drawbacks |
|---|---|---|
| Recessed niche | Flush with the wall, clean look | Needs a suitable interior wall; more waterproofing detail |
| Ledge on a knee wall or partial wall | Long, useful surface; no recess in the wall | Needs a knee wall; top must slope to drain |
| Tiled or stone corner shelf | Works on any wall, simple to waterproof | Takes up corner space; small capacity |
| Bench with storage ledge | Doubles as seating and a spot for bottles | Needs space in the shower and careful waterproofing |
| Stainless or aluminum caddy | Cheapest, no penetrations | Can look cluttered; less permanent |
In walk-in showers with a partial wall or knee wall, a ledge running the length of the wall often holds more than a niche. The top must slope slightly toward the shower so water does not sit on it.
When The Niche Gets Built, And What It Adds To The Job
A shower niche touches four trades, so the sequence matters:
- Design: wall, size, height and tile layout are agreed, ideally with the tile already chosen.
- Framing and plumbing rough-in: the header, sloped sill and blocking go in, and pipes are kept clear of the stud bay.
- Electrical rough-in: if the niche will be lit, the wire and a channel for the strip are placed now and inspected.
- Board and waterproofing: backer board or foam panels go on, then the membrane with every niche corner reinforced.
- Tile: the niche is tiled with the wall so courses line up, and the edges are finished with mitres or trim.
Cost varies with the house and scope, so treat this as a general guide only. A single-bay shower niche adds a modest amount of framing, waterproofing and tile labour to a shower build. Long horizontal niches that need a header, mitred edges, accent tile on the back, integrated lighting or a preformed insert all add more. The extra cost is almost always far less than a leak repair later, which usually means removing tile and rebuilding the wall.
Common Shower Niche Problems
- Water pooling on the sill: the sill was built flat or sloped backward.
- Staining or mould behind tile: a gap in the membrane at a niche corner or seam.
- Chipped tile edges: sharp exposed tile corners with no trim or mitre protection.
- Awkward tile cuts: the niche was placed before the tile layout was planned.
- Condensation or cold wall: the niche was built into an exterior wall.
- Bottles that do not fit: depth or shelf spacing was not checked against the products actually used.
Our home renovation team across Peel Region often sees these issues when opening up showers built a few years ago. In most cases, fixing a leaking niche means removing the tile and rebuilding the waterproofing properly.
What height should a niche be in a shower?
Can I put a niche in an exterior wall?
Why should the bottom slope?
Are preformed niche inserts better than site-built?
How deep can a niche be?
Can I add lighting inside the niche?
Planning A Shower Niche That Stays Dry
A good niche is planned with the framing, waterproofing and tile layout together, not cut in at the end. Red Stone Contracting builds showers with niches that slope, seal and line up with the tile, as part of complete bathroom renovations.
Call us today at (905) 901-1006 or request a free estimate.
Serving homeowners across Peel Region and the wider GTA.