
If your house was built before about 1950, there is a good chance its original plaster walls are still there under the paint. Lath-and-plaster is dense, quiet and durable, and it often outlasts the drywall of houses built decades later. It also cracks, sags and bulges in ways that make homeowners wonder whether to repair it, cover it or tear it all out.
There is no single right answer, but there is a sensible way to decide. This guide explains how plaster is built, how to read the damage, which repairs actually last, and when full removal is worth the mess.
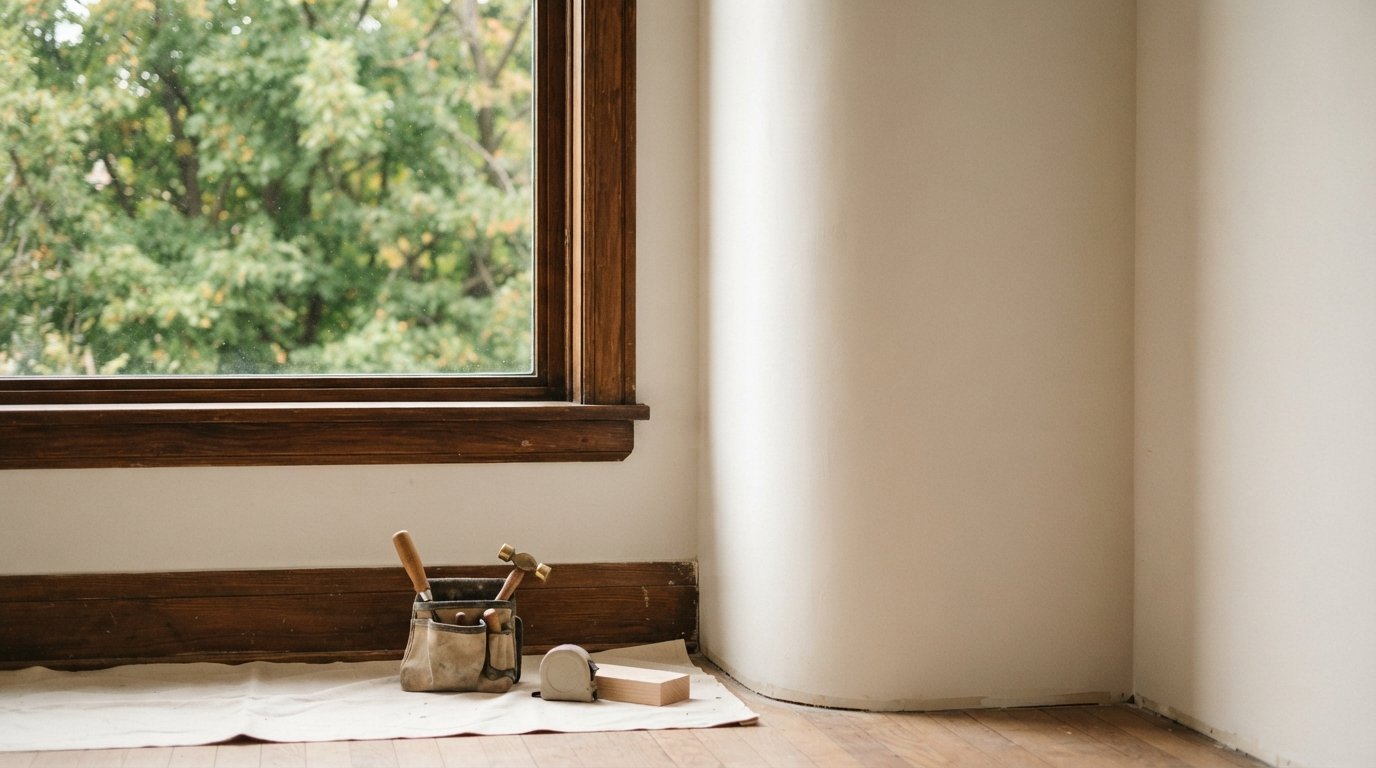
How Plaster Walls Are Built, And Why That Matters
Traditional plaster walls start with wood lath: narrow strips nailed horizontally across the studs with small gaps between them. The first coat of plaster, called the scratch coat, is pushed hard against the lath so some of it squeezes through the gaps and curls over the back. Those curls are the keys, and they are what holds the wall on. A brown coat levels the surface, and a thin, hard finish coat goes on top. The total thickness is often somewhere around 3/4 inch to 1 inch, noticeably thicker than standard drywall.
Some houses from roughly the 1930s onward used gypsum lath (sometimes called rock lath), which are small gypsum boards used as a plaster base. It behaves more like drywall behind the plaster and fails differently.
Understanding the keys is the key to diagnosis. Plaster can crack and still be firmly attached. It can also look sound while the keys behind it have broken and the plaster is effectively hanging by the paint.
Reading The Damage: Cracks Or Delamination
Surface cracks
Hairline cracks, often running diagonally from the corners of doors and windows or along ceiling lines, are usually the result of settling and seasonal movement. If the plaster around them is solid when pressed, they are a cosmetic repair.
Delamination
When keys break, the plaster separates from the lath. Signs include:
- A section that moves or flexes when you press it gently with a flat palm
- A hollow or dull sound when tapped, compared with a solid knock elsewhere
- Bulges or a visible belly, especially on ceilings
- Cracks that open and close, or whose edges sit at different heights
Delamination is common on ceilings, where gravity works against the keys, and around areas that have been hit, shaken by heavy doors, or soaked by past leaks. A delaminated ceiling can eventually come down, so it should not be ignored.
| What you see | Likely cause | Usual repair |
|---|---|---|
| Fine hairline cracks, plaster firm | Settling, seasonal movement | Open slightly, tape with mesh and fill with setting compound |
| Diagonal cracks at door and window corners | Framing movement around openings | Reinforce with mesh and setting compound; check for loose areas nearby |
| Plaster flexes when pressed, sounds hollow | Broken keys, plaster detached from lath | Re-attach with plaster washers or injected adhesive, then fill |
| Bulging ceiling section | Advanced delamination | Support immediately, re-attach or remove and patch that section |
| Crumbling, soft or stained plaster | Past or ongoing water damage | Find and fix the leak, remove damaged plaster, patch |
| Network of fine crazing over a whole wall | Aged finish coat | Skim coat, sometimes with fibreglass mesh embedded |
Test Before You Sand: Asbestos And Lead
Before any sanding, cutting or demolition, deal with the hazards that older finishes can hide.
Asbestos. Some plaster, textured wall and ceiling finishes (such as stipple and popcorn textures), and older joint compounds may contain asbestos. You cannot tell by looking. Have samples tested by a qualified lab before disturbing them. If asbestos is present, Ontario has specific regulations for how that work must be done, and removal may need to be carried out by a qualified abatement contractor. Confirm current requirements with the Ministry of Labour, Immigration, Training and Skills Development guidance before work starts.
Lead paint. Houses of this age are very likely to have lead-based paint somewhere in the layers. Sanding it creates hazardous dust. Test kits and lab tests are available, and repairs should use dust control: plastic containment, HEPA vacuums, wet methods and no dry sanding of painted surfaces.
This step is not optional. It protects your family and the crew, and finding out mid-project is far more expensive than testing first. Our restoration work in older homes always starts with testing suspect materials before any plaster is disturbed.
Repair Methods That Actually Last
Plaster washers
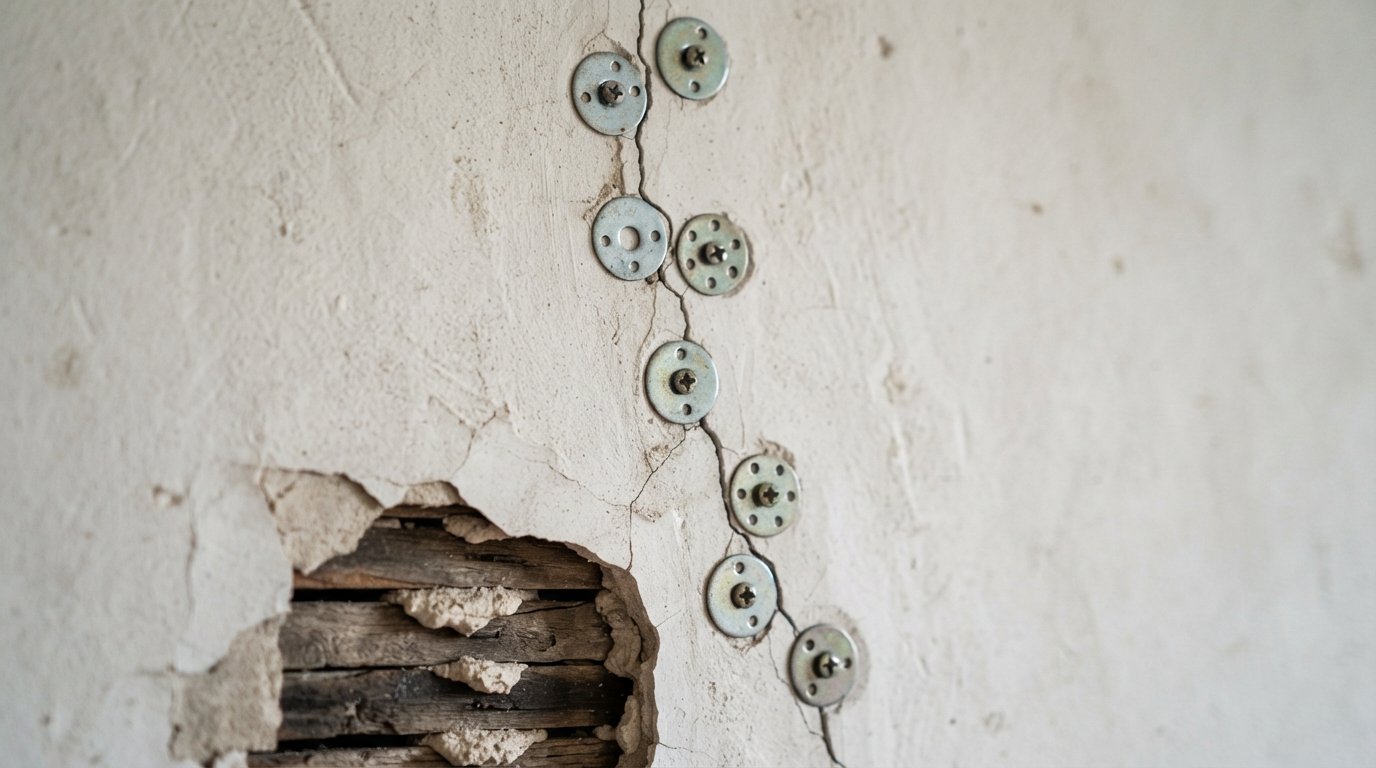
Plaster washers are thin, perforated discs, sometimes called conservation buttons, driven with a screw through loose plaster into the lath or framing behind. Tightening them pulls the plaster back against the lath. They are quick and effective for small or moderate loose areas. Once the plaster is secure, the washers are skimmed over with compound so they disappear.
Adhesive re-attachment
For larger delaminated areas, particularly ceilings, a more thorough method is used. Holes are drilled through the plaster to the lath (not through the lath), dust is vacuumed out, a conditioner is sprayed in, and a special plaster adhesive is injected. The plaster is then pushed back and held with temporary screws and washers until the adhesive cures. After that, the temporary fasteners are removed and the holes are filled. This effectively recreates the keys with glue and can save a historic ceiling that would otherwise have to come down.
Crack repair done properly
Simply filling a crack with premixed compound almost always means it will return. A lasting repair opens the crack slightly, secures any loose plaster on either side, bridges it with fibreglass mesh tape, and fills it with a setting-type joint compound, which cures chemically and is harder than premixed products. The area is then feathered wide so the repair does not show.
Skim coating
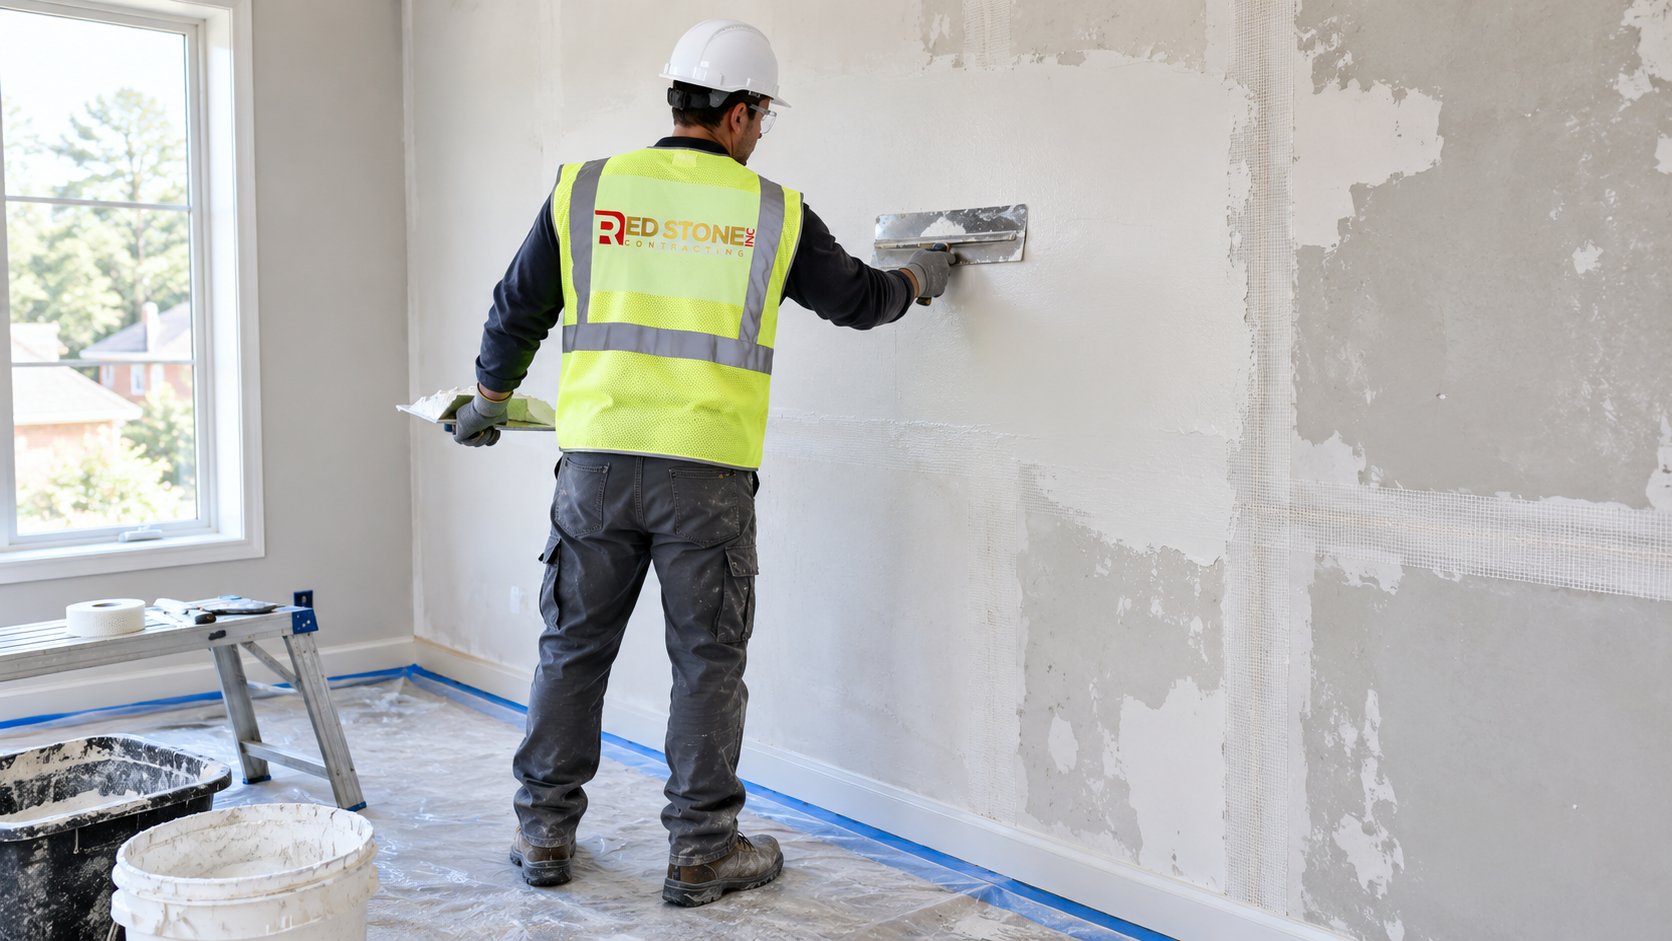
Once loose plaster is secured and cracks are repaired, a skim coat evens out the whole surface. A bonding primer goes on first so the new material grips old paint, then thin coats of joint compound or veneer plaster are troweled across the entire wall. For walls with extensive crazing, fibreglass mesh can be embedded in the first coat. Skim coating is a skilled trade; done well, it produces a smooth surface that looks and feels better than drywall.
| Method | Best for | Mess and disruption | Keeps original plaster |
|---|---|---|---|
| Crack repair with mesh and setting compound | Cracks in firmly attached plaster | Low | Yes |
| Plaster washers | Small to moderate loose areas | Low | Yes |
| Adhesive re-attachment | Large delaminated areas, especially ceilings | Moderate | Yes |
| Skim coat over repaired plaster | Crazed, patched or uneven surfaces | Moderate | Yes |
| Thin drywall overlay | Walls that are sound but badly marked | Moderate; trim often needs adjusting | Yes, hidden behind new board |
| Full removal to studs and new drywall | Failing plaster, or when walls must open anyway | High | No |
Patching Holes And Openings In Plaster
Renovations punch holes in plaster walls: a new outlet, a moved switch, an electrician’s access opening, an old heating pipe removed. Patching these well is its own skill, because plaster is thicker than drywall and the patch has to finish flush with a hard, slightly uneven surface.
- Square up the opening and make sure the plaster around the edge is firmly attached, adding washers where it is not.
- Build up the depth. A piece of drywall alone sits below the surrounding plaster. Installers shim it out or use a thicker board so the patch is close to flush before compound goes on.
- Fill with setting compound or a base coat plaster, which bonds better and shrinks less than premixed products in thick layers.
- Feather wide and finish with a thin coat that matches the surrounding texture. Old plaster often has a subtle hand-troweled texture that a perfectly flat patch will not match.
On a ceiling, patches must be screwed to framing or to backing installed above, not just glued in. A heavy patch set only with compound can let go over time.
When Full Removal To Drywall Makes Sense
Sometimes replacing plaster walls is the better decision. The strongest reasons are practical, not cosmetic.
Insulation
Many older houses have little or no insulation in the exterior walls. If you are opening them anyway, removing the plaster lets you insulate properly and install a continuous air and vapour barrier. That can make a noticeable difference to comfort and drafts, especially as the heating season approaches. There are alternatives, such as blown-in insulation from the exterior, but each has trade-offs to discuss with your contractor.
Wiring and plumbing
Older wiring, including knob-and-tube in some houses, often needs replacing. Electricians can fish new cable through plaster walls in many cases, but when a room needs extensive rewiring, opening the walls can be faster and cleaner overall. The same applies to old plumbing in bathroom and kitchen walls.
Extensive damage
When large areas are delaminated, water damaged or patched many times, repair may cost as much as replacement and still produce a poor result.
The trade-offs of removal
- Dust and debris. Plaster and lath removal is heavy, dusty work. A single room can fill a large bin. Containment and disposal add real cost.
- Trim fit. Plaster is thicker than standard drywall. New drywall can leave casings and baseboards sitting proud of the wall, so installers often use thicker board or furring to match the original depth.
- Sound and feel. Plaster is dense and quiet. Drywall is lighter, and rooms can sound more hollow unless sound insulation is added.
- Character. Curved corners, original textures and details disappear with the plaster.
| Decision factor | Points toward repair | Points toward replacement |
|---|---|---|
| Condition | Mostly sound, localized cracks or loose areas | Widespread delamination, water damage, many old patches |
| Exterior wall insulation | Adequate or can be improved from outside | Uninsulated walls you want to insulate from inside |
| Wiring and plumbing | Updated, or can be fished through | Extensive replacement needed in that wall |
| Trim and heritage detail | Original trim and details you want to keep in place | Trim being replaced anyway |
| Hazardous materials | Testing clear, or limited disturbance planned | Abatement needed anyway in that area |
Many renovations end up with a mix: exterior walls opened for insulation and wiring, interior partitions and ceilings repaired and skim coated. Our home renovation team across Halton Region often recommends this split, room by room, after testing and inspection.
Living With Repaired Plaster Walls
Even well-repaired plaster walls live in a house that moves. Framing dries and swells with the seasons, and older houses often settle slightly over decades. A few fine cracks can reappear at corners of doors and windows after a heating season or two, particularly in the first year after work, as the house adjusts. That is normal and does not mean the repair failed.
What should not happen is loose plaster returning or large cracks reopening along the same line. That usually points to a repair that filled a crack without securing the plaster around it, or ongoing movement from a structural or moisture issue that needs its own investigation. Keeping indoor humidity moderate through the heating season, and fixing roof or plumbing leaks promptly, goes a long way to keeping plaster walls sound for decades more.
What Repair And Replacement Typically Cost
Costs vary with the house, access and scope, so treat this only as a general guide. Localised crack repairs and plaster washer work are usually the least expensive option. Skim coating a full room costs more because of the labour involved, but it is typically well below the cost of removal plus new drywall, insulation and finishing once disposal, containment and trim work are included. Asbestos testing and any required abatement are separate costs that should be identified up front.
Questions To Ask Before Choosing
- Have suspect materials been tested for asbestos, and has lead paint been accounted for?
- Which areas are delaminated, and how will they be re-attached?
- What product will be used to fill cracks, and will mesh be used?
- If walls are removed, how will the new wall thickness match existing trim?
- How will dust be contained in the rest of the house?
How do I know if old plaster is coming loose?
Can cracked plaster be repaired instead of replaced?
Should I test for asbestos before sanding?
Is it worth insulating exterior walls when removing plaster?
Why do new drywall walls make my trim stick out?
What is a skim coat?
Repairing Or Replacing Plaster Walls In Your Home
The best outcome comes from testing first, diagnosing honestly, and choosing repair or replacement room by room. Red Stone Contracting works on older homes regularly, repairing and skim coating sound plaster, and opening walls where insulation, wiring or damage make replacement the better choice.
Call us today at (905) 901-1006 or request a free estimate.
Serving homeowners across Halton Region and the wider GTA.